I've decided to start sharing some methods or tips here on my blog. I hesitate to call them tutorials, because that makes me nervous.
So I thought I'd call them {not a tutorial}s, just {the way I do it}.
There are so many talented sewers out there and tons of tutorials, so I don't profess to be the authority on anything, but wanted to share my process.
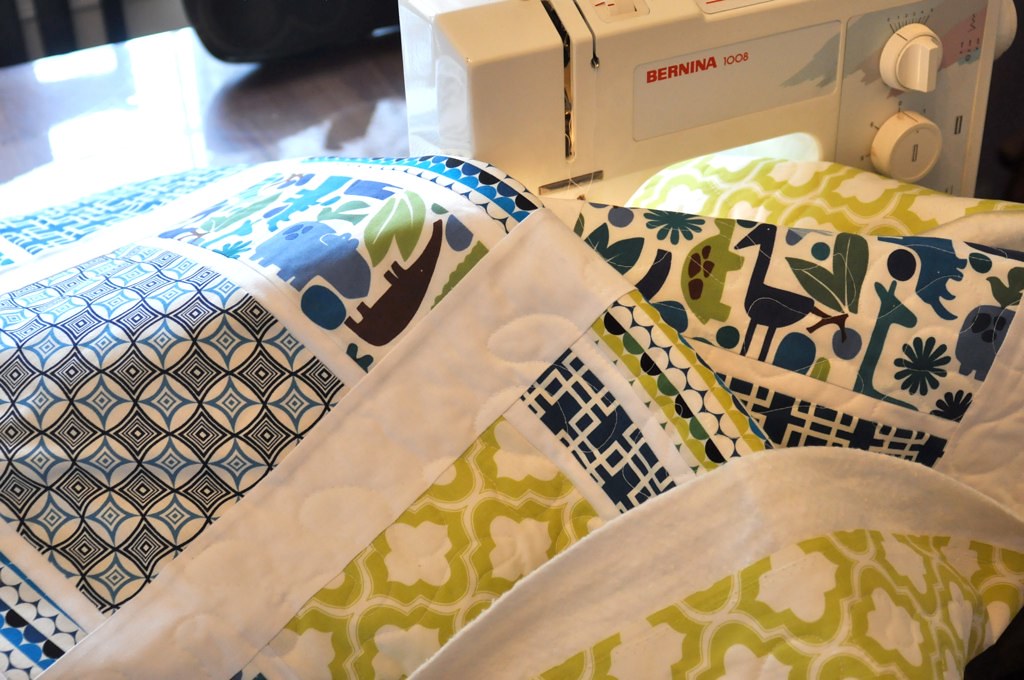
I've talked to a lot of quilters who have never used a basting spray. When I was getting ready to quilt my bird quilt - the first thing I ever quilted on my little machine - I bought a bunch of safety pins to baste it with.
But I'm going to be honest. The thought of pinning that whole thing and then trying to quilt around the pins~well, UGH!! It just seemed a little daunting. I mean, I'm horrible about taking out straight pins!! So I decided to just use a basting spray. And I have to say I LOVE IT!!
I can't give you an honest comparison vs. pin basting but it works for me and gives me a nice clean surface to quilt on without having to worry about running into a pin every 3" or so. So here you go.
Quilt Basting {the way I do it}.
Supplies:
1 Quilt Sandwich
Packing tape
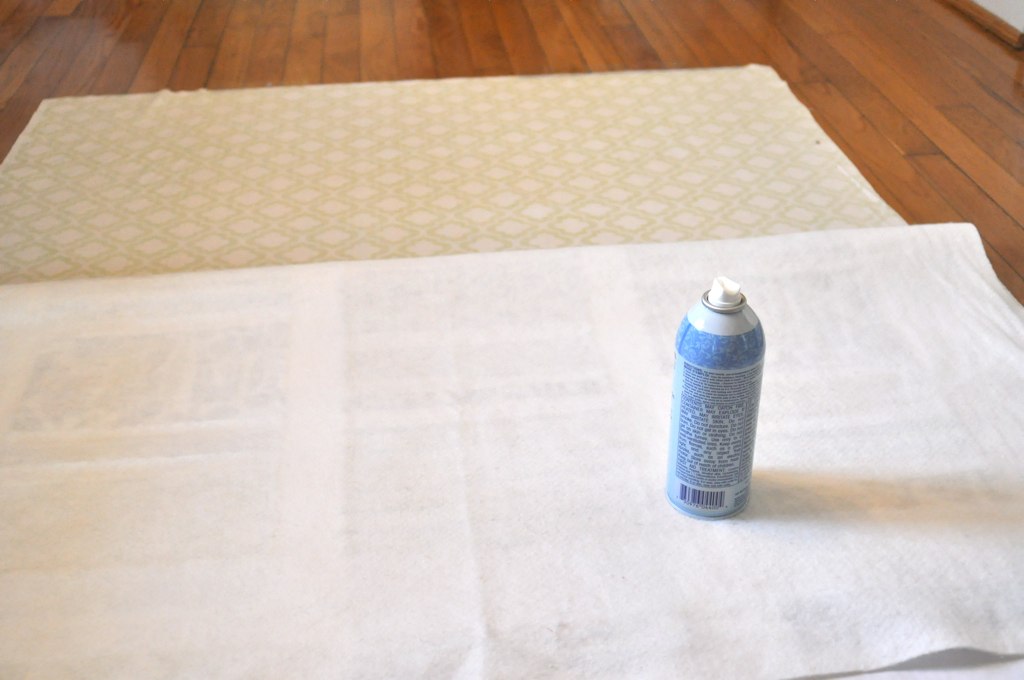
Basting Spray
* a note on basting spray. I just bought a can at Joann's (or Hancock's) using my 40% coupon. I know there are different brands but this is just what was easily available to me.
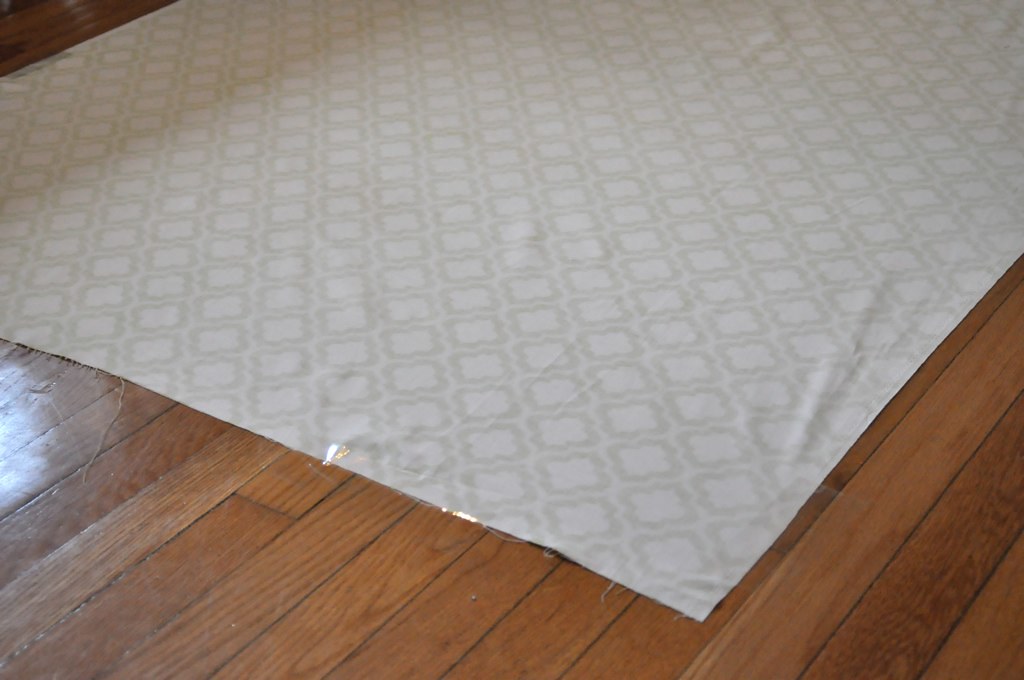
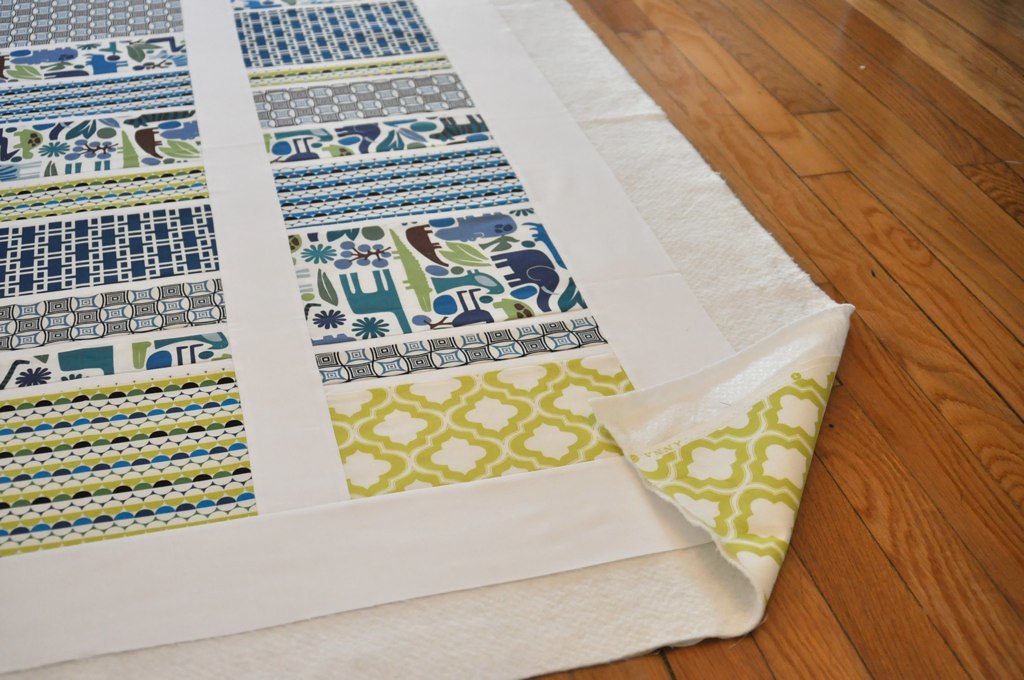
edited to add: I've gotten some great feedback already! I do usually open my windows when I spray. And I also don't use a ton of the spray because a little goes a long way and the fumes ARE stinky!Step 1. Tape the quilt back wrong side up to the floor.
Depending on the size of the quilt I use several large pieces of packing tape to secure each corner and several spots on each side. Work from one side and smooth the fabric out as you tape.
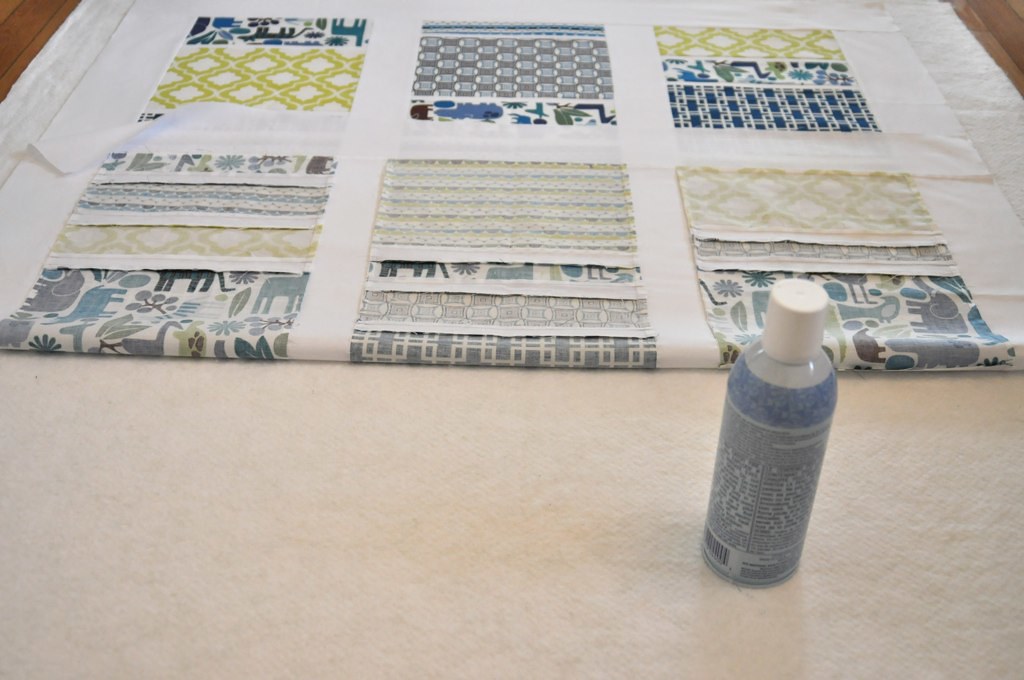
Step 2. Lay and smooth out a similar sized piece of batting on top of the back.
Step 3. Center quilt top to complete the quilt sandwich.
Make sure everything is smoothed out. And that you have backing and batting under every part of your quilt top.
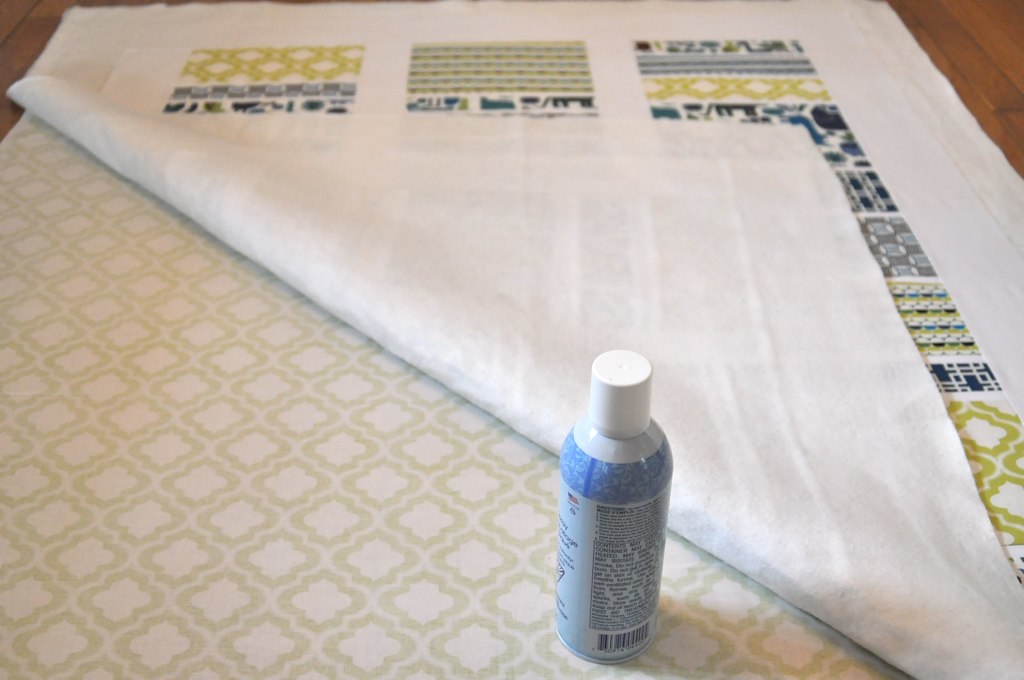
Step 4a. Fold back one side of the quilt top only. Lightly spray the wrong side of the quilt top and exposed batting with the spray in a back and forth motion.
4b. Unfold that section back over the batting, smoothing it as you go.
4c. Repeat as necessary to baste the whole quilt top to the batting.
You may get some overspray on the floor but it clean ups easily.
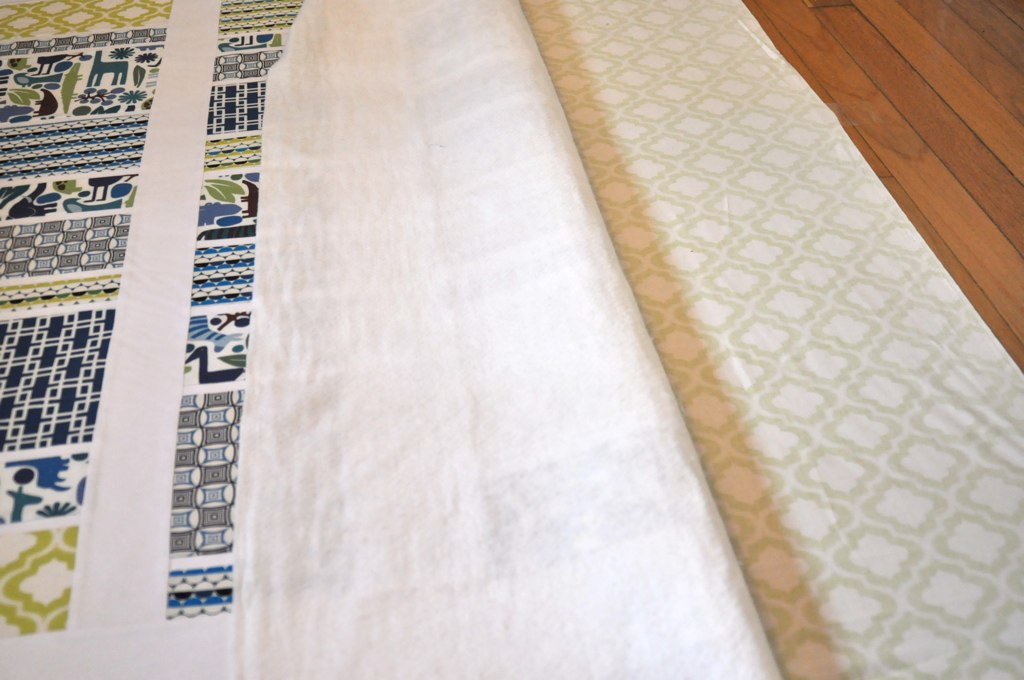
Step 5. Fold back the batting AND the top and lightly spray batting and backing.
Keep folding back batting and quilt top together until everything is sticking together.
Repeat.
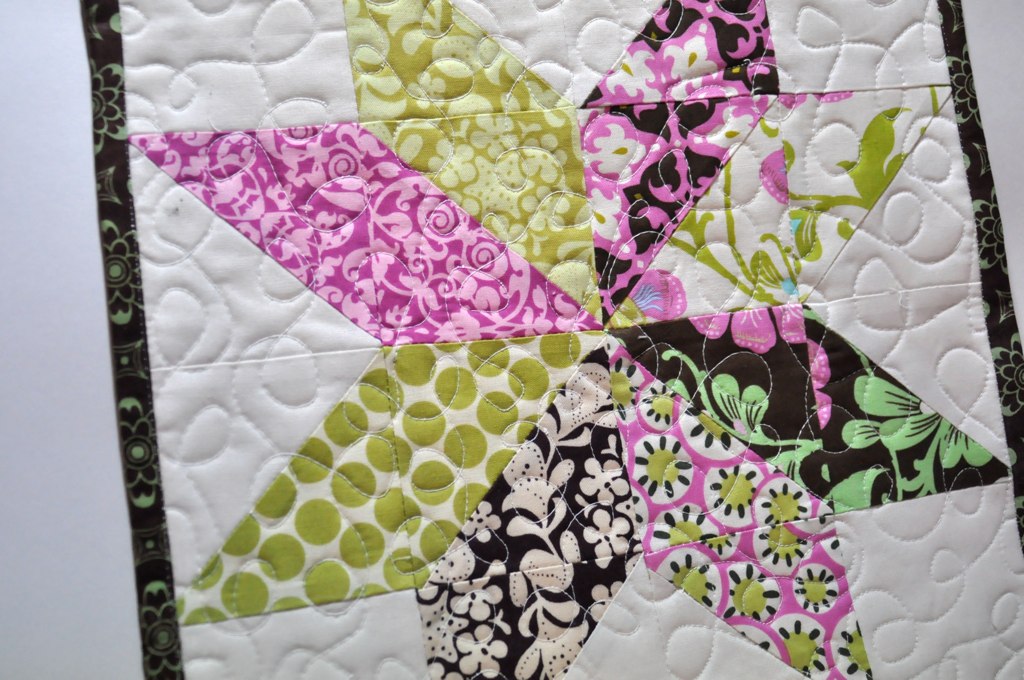
6. Smooth everything out.
7. Get quilting!!
Have you tried spray basting before? Do you pin? Which do you prefer? Let me know if you try this!
(I'll be blogging more about this quilt soon!)


