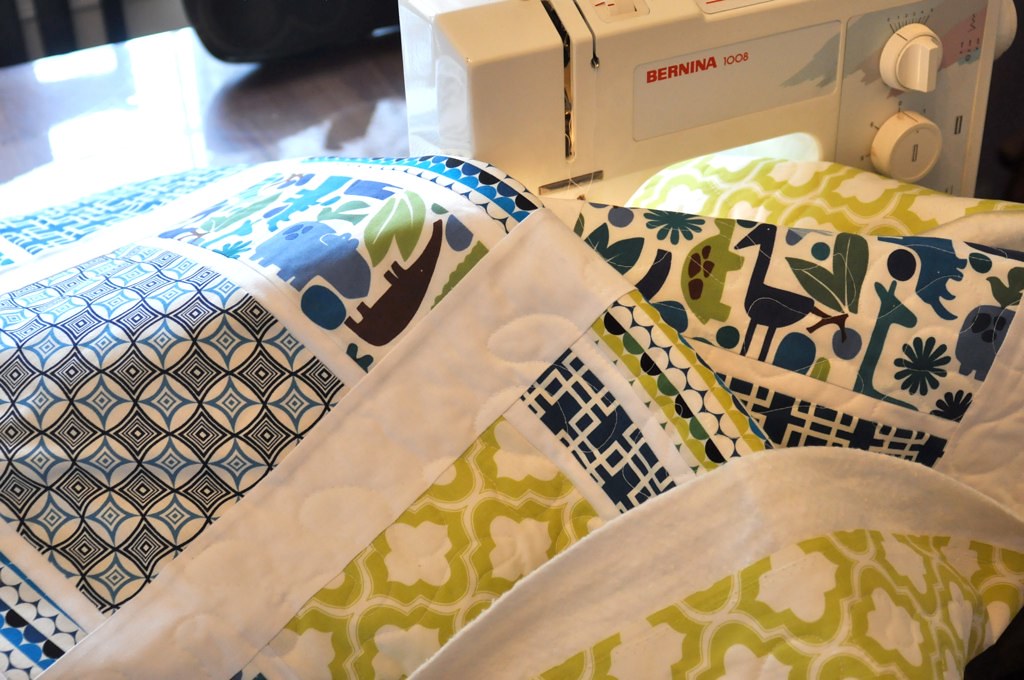
Showing posts with label not a tutorial. Show all posts

Monday, June 3, 2013

{not a tutorial} chevron skirts - V. and Co. style

Or should I say Simply Style! Because that is what line this awesome fabric comes from!

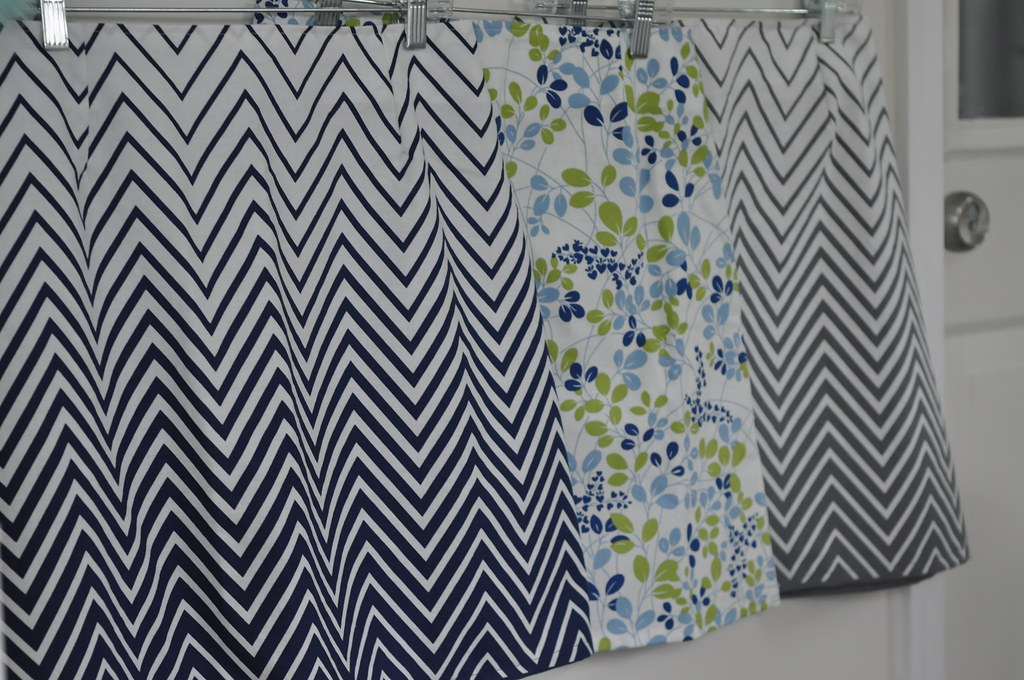
Vanessa of V. and Co. asked me to do a bit of sewing for her again for her new fabric that debuted a few weeks ago at Spring Market.  I had made her an a-line skirt when her first collection Simply Color came out last year.  So we reprised the same pattern in gray and navy ombre chevron.
twins!
 This picture is more fun though (Thanks for sharing V!) Her new collection and patterns are too awesome.  Love that quilt behind her.  If you go to her market recap there's a video of the Moda Schoolhouse and she talks a little about the quilt!
 
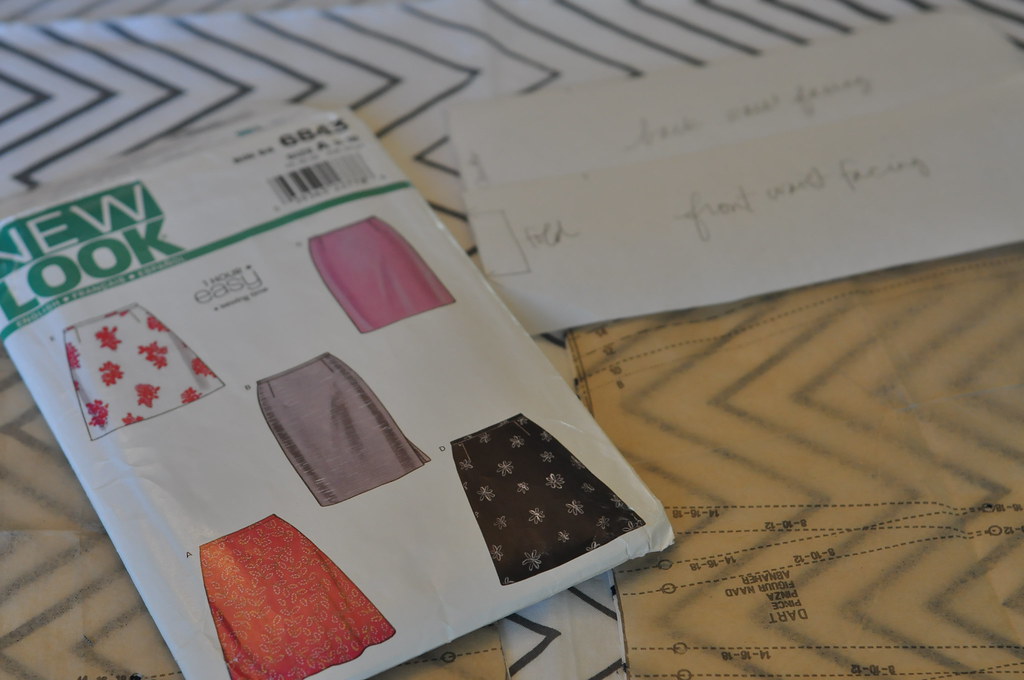
I used this new look pattern 6843, which is a basic a-line. Of course I had to make a little change. Instead of a sewn on waistband (which always makes me feel like I'm getting sliced through the middle) I made a facing so the skirt sits just below the waist without any bulk of an extra seam.  I know there is a newer pattern out the with a facing but I can't remember where I saw it.  This isn't the only a-line skirt out there.
new look - 6843


A-line skirts are pretty simple.  It's important to measure around the hips to select your size.  And remember that pattern sizes have not been subject to size inflation.  You will probably wear at least 3 sizes "larger" than you would buy in the store. And it's okay.  Don't let it freak you out!

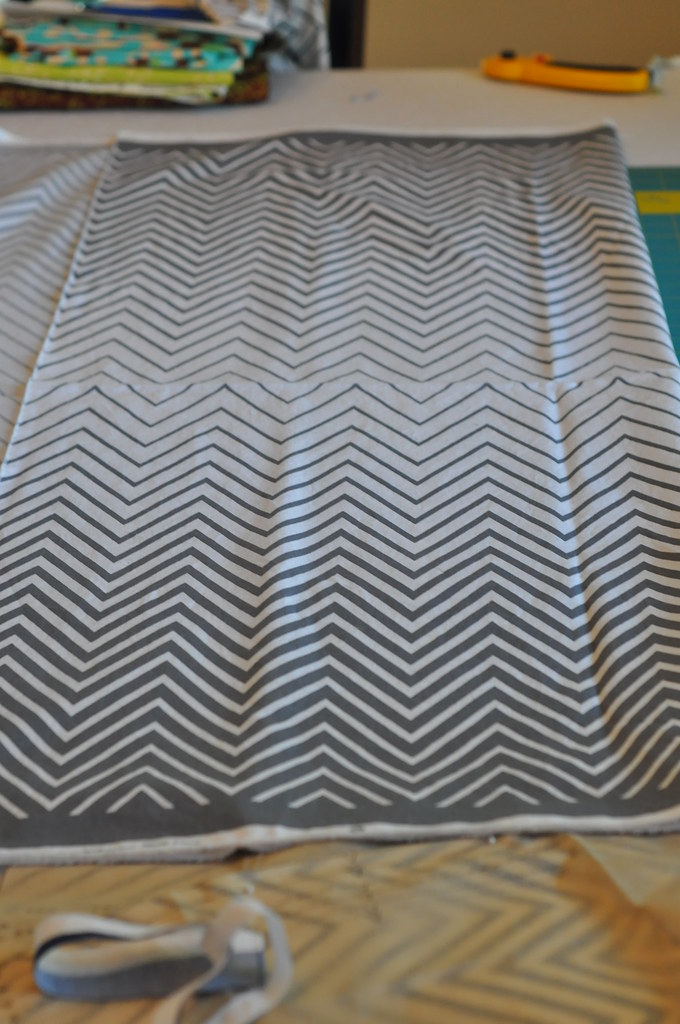
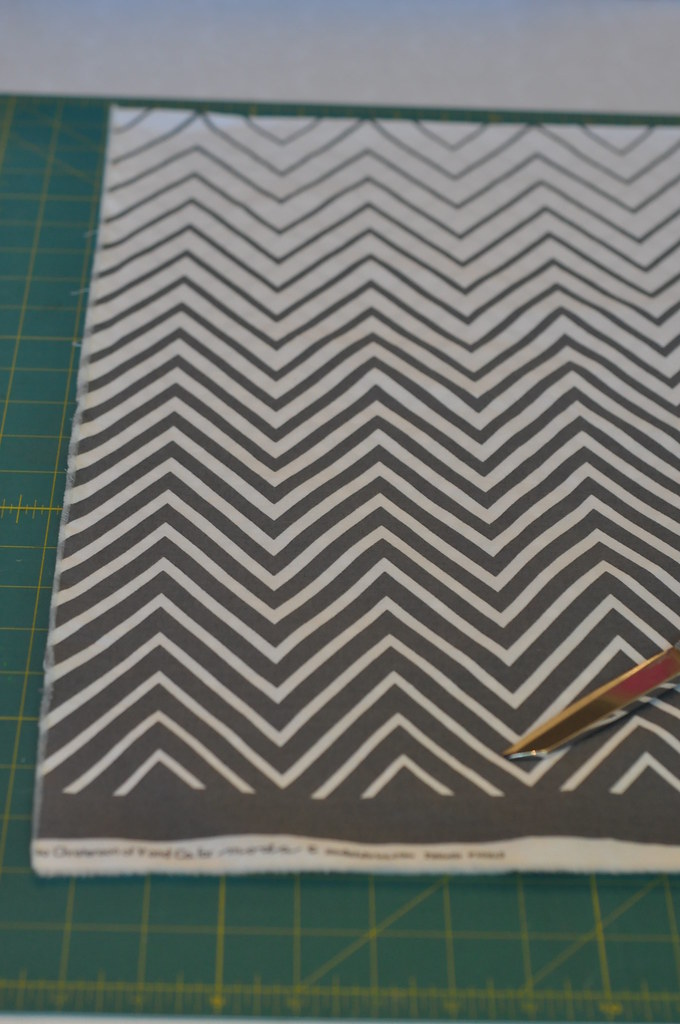
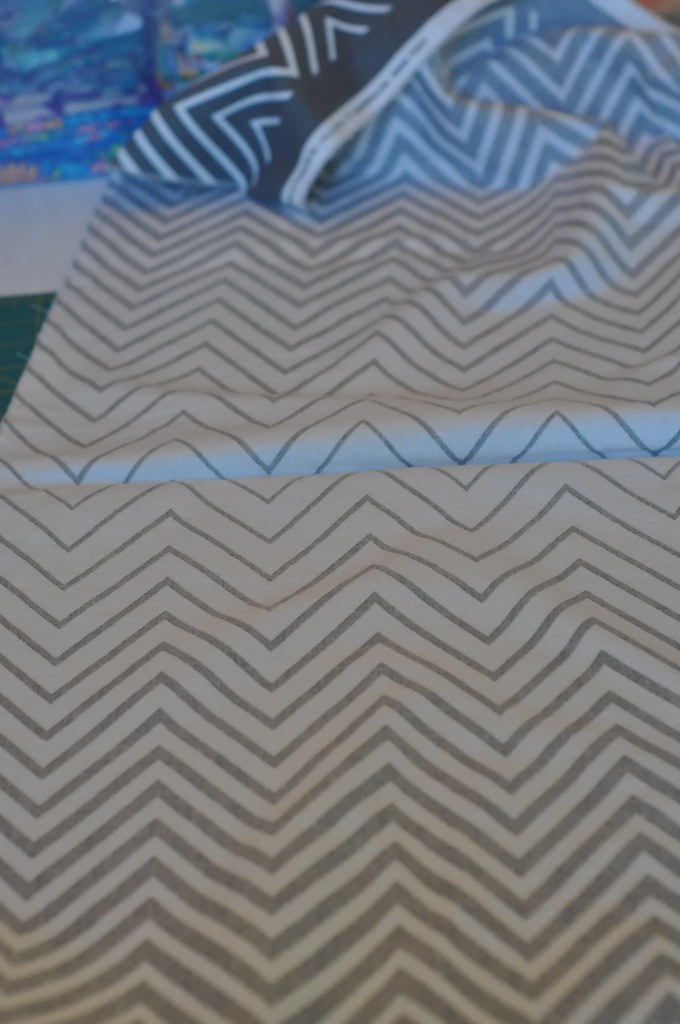
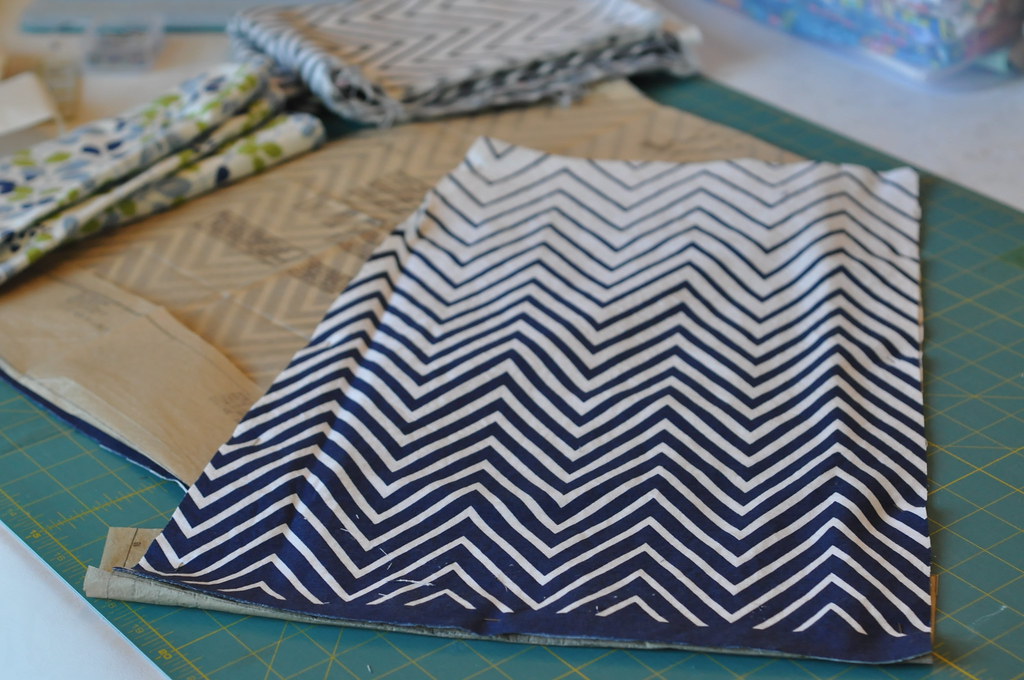
The chevron off the bolt is printed selvedge to selvedge, so it's important to know that you should NOT follow the cutting diagrams in the pattern.  Otherwise your chevron stripes will run vertical.  So you will need to refold your fabric.
refolding 3refolding 1refolding 2

(L-R)
Photo 1 This is how the fabric comes off the bolt.
Photo 2 Open your fabric up and lay in a single layer
Photo 3 Take your cut edge and fold it over so you have selvedges on both edges.  This will make sense when you lay out your pattern pieces.

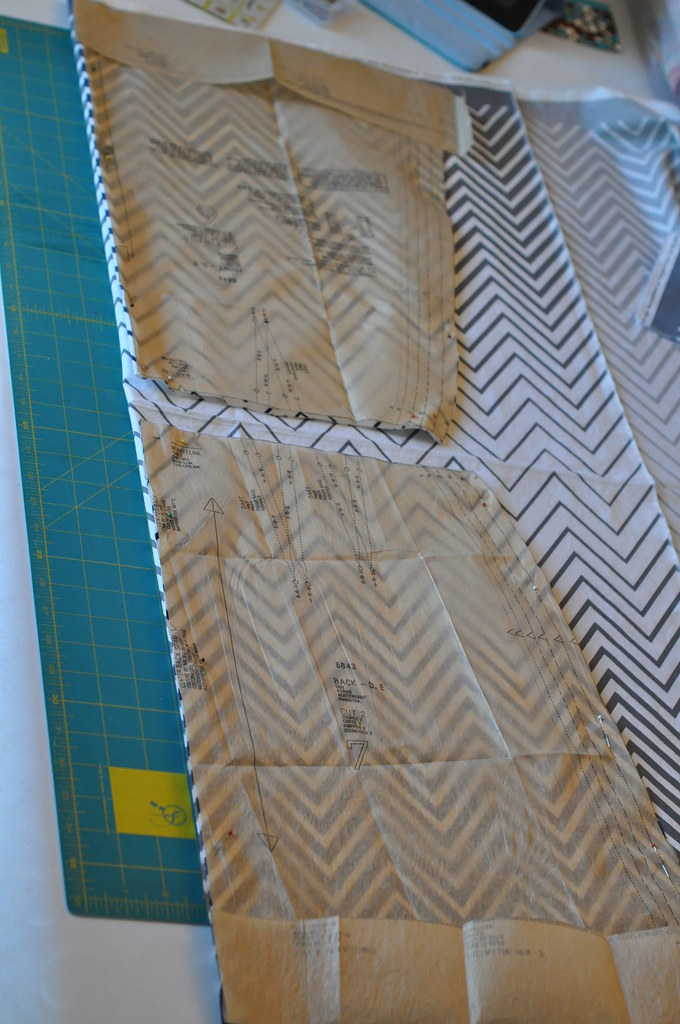
placing the pattern pieces
It's also important to note that if you are tall or want a skirt that is longer than 20" or so, you will need more fabric.  Those of us on the petite side can use less because of the width of fabric and will be able to fit two pieces along one fold (as shown above - much longer though and you'll run out of room for both pieces).

For instance, I knew I wanted a finished length of 20" (adding a 1/2" for the hem and a 1/2" for a seam allowance for attaching the facing).  So I measured along the fold (center of pattern front and back) 21". And I placed the hem of the pattern along the selvedge where I wouldn't lose too much of the design once hemmed.  If you have made skirts before you know you can sometimes fudge the length and just cut it up or hem it more once put together, but I would suggest knowing going into it, so you don't lose any of the bottom for the ombre effect.
cut skirt panels
So there's one of the panels cut!  This fabric is so pretty!!

Now the rest of these instructions are if you use this pattern or have to create a facing for the pattern you have.  If you even want to do that!  I won't be offended if you scroll down to the bottom to just look at the pictures!

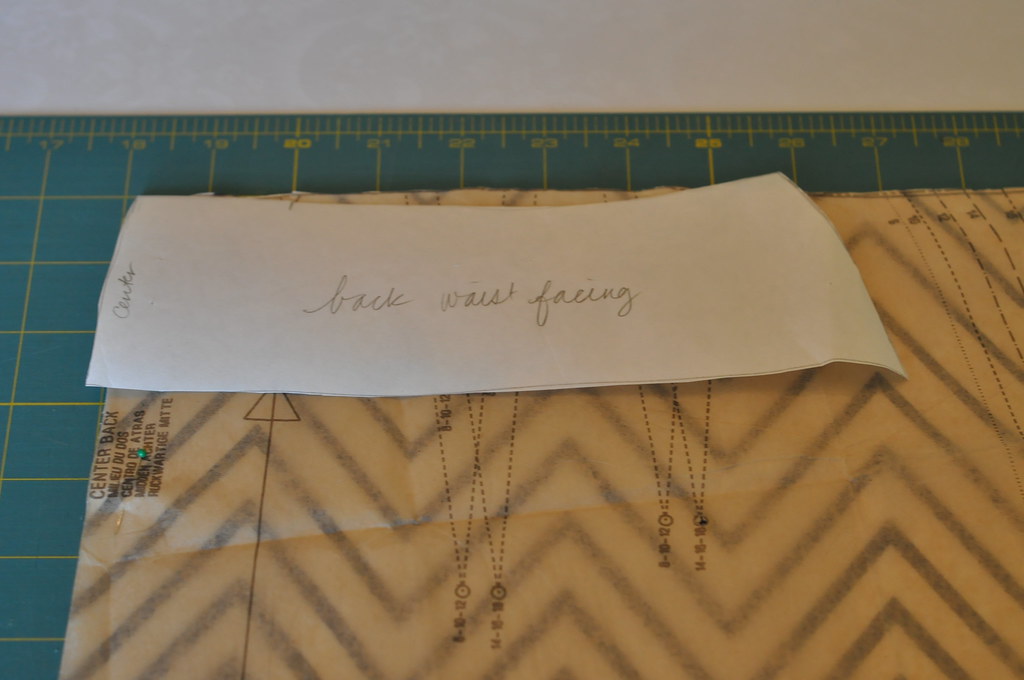
To make a facing pattern, you pin the darts in and then trace the pattern piece from center to side seam and about 4 " long. I also used a light weight interfacing to stabilize the facing.
facings
You can see in the above photo that the facing piece doesn't reach the side seams.  Once you put the darts in, it will.  (I know this isn't the best explanation and I probably should have taken more photos.  I made this pattern last year when I made the first skirt...)

Be sure to cut the facings like the skirt: one long piece for the front cut on the fold, and two pieces for the back.  Attach interfacing and the sew them up at the side seams.

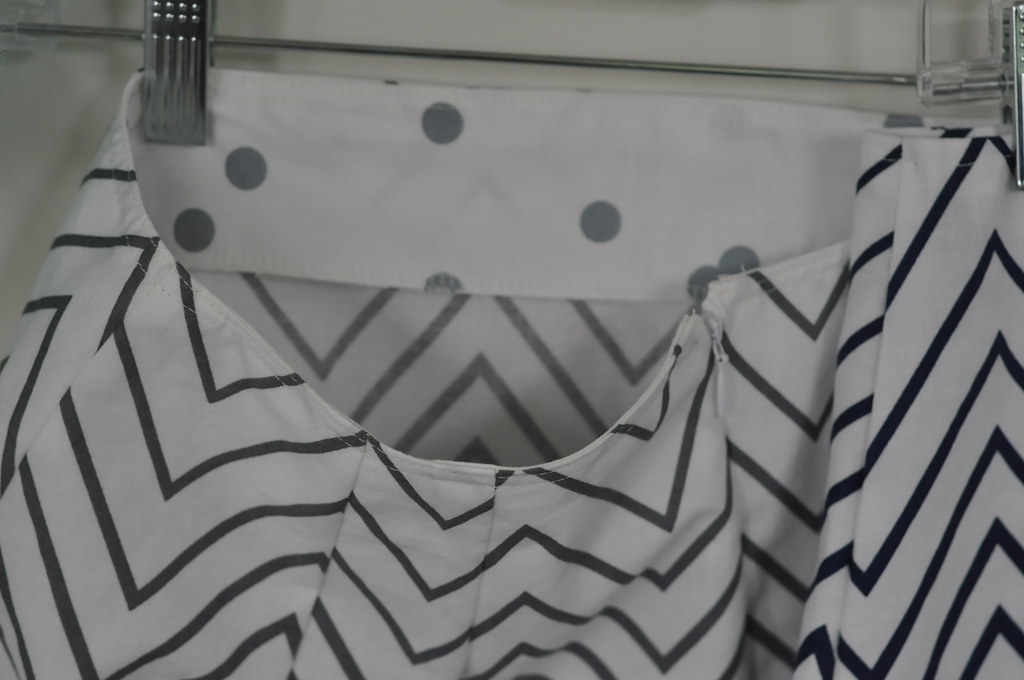
So once you have your skirt put together, instead of putting on a waistband you can just pin this, right sides together and matching side seams to the top of the skirt and stitch around.  I chose to finish the edges with the serger and then top stitch it down at the top so it wouldn't roll.
facing
I had some fun using the ombre dots from Simply Color for the facing on the gray skirt.  :)

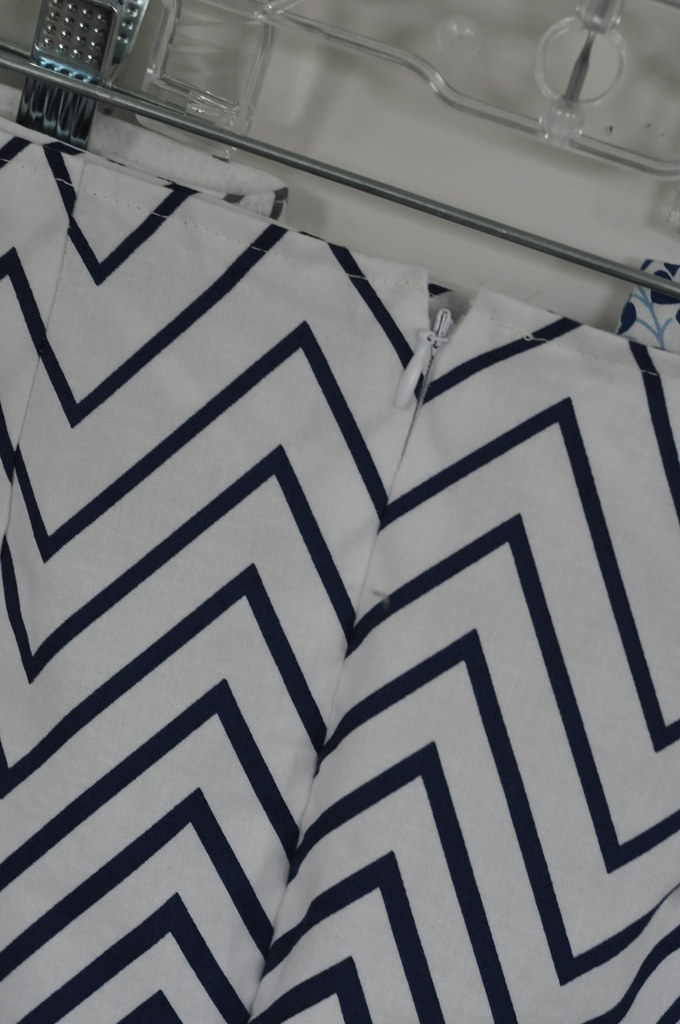
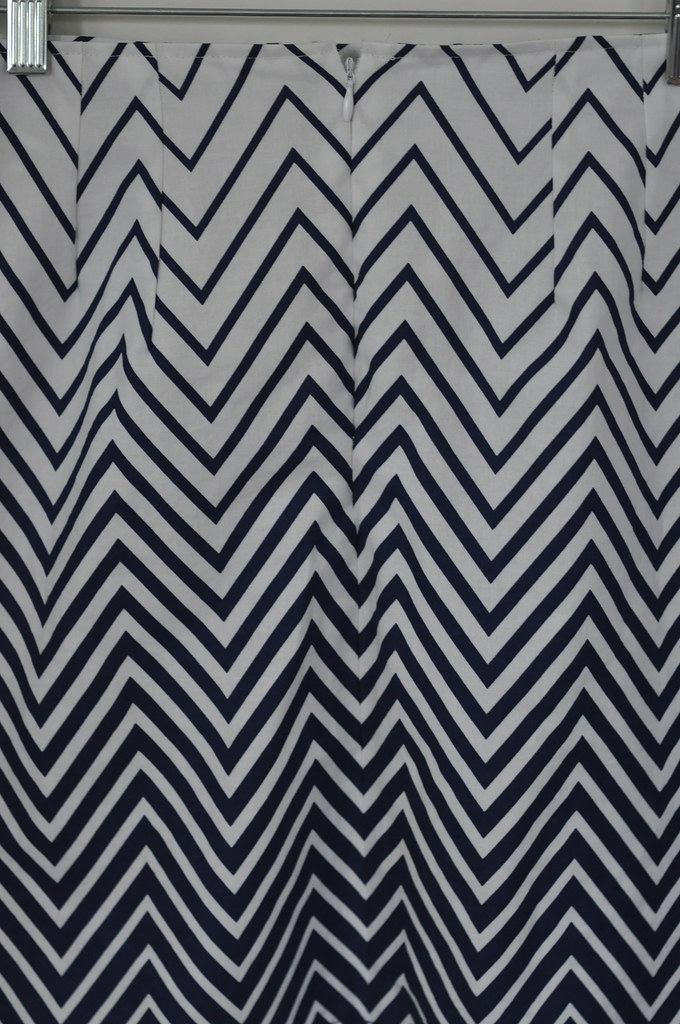
Two other things I did on this skirt was put in an invisible zipper withOUT (!!) an invisible zipper foot using this tutorial. AND I managed to match up the chevrons on the back side seam pretty darn well!!  I had to pat myself on the back for that one.  Just make sure you have your fabric folded matching the lines and you should be able to do that too!
invisible zipmatching pattern down the back seam

Here are the lovely ladies joining their older sister from last year.  Luckily I had Vanessa send me the first skirt so I would know what size to make it!  I get super nervous sewing for people when they aren't here to try things on in person!
adding to the a-line collection

I really loved making these and think I might add a couple to my wardrobe next!  Thanks Vanessa for helping me send a little piece of myself to market. Maybe one day I'll get there myself!


Monday, April 30, 2012

new york beauty quilt along: block 2

Hey Everyone! Welcome to my week for this fun quilt along!


Sew Sweetness
I'm not going to lie. I've never done paper piecing before. I was intimidated. And so I did what any good self-proclaimed procrastinator does when faced with something they're not sure about. I procrastinated! Hence, the pictures are dark because I worked on this last night. I'm glad I didn't mess up too bad or this post may not have gotten up today!

So that should be a good indicator that if I can do this under pressure and have it turn out okay, so can you!  And since we are so far along in the bee, you probably will see the same steps here that everyone else has done, just for this slightly different block.  I love the skinny points on this one.

*And a quick disclaimer - because I've never done this before I may do things in an unconventional way, but we can just add this to my {not a tutorial} list and remember that it's just the way I did it.  :) And I'm afraid maybe I didn't take the right pictures...but for me this is sort of one of those things that you just have to start doing and then it makes sense!

I started by printing off my pattern pieces for block 2 (all of the blocks in the quilt along can be found HERE) and cutting some rectangles of my two fabrics.  8 blue  and 9 white for the points.  When I printed out my pattern the 1 inch mark was slightly shy of an inch, but I couldn't figure out how to scale it, so I just left it alone. The finished block ends up being around 7 inches for my print out.

The rectangles I cut were about about 1/2" bigger on each side than the widest point of the point.  I figured a little more waste than I was used to was better than having to redo it because my pieces weren't big enough.

Since I was working at night I couldn't use my window to see my layers I decided my iPad would work.  You could also use a lit up computer monitor ~ just to make sure you were placing your fabrics in the right place.  To start out I placed one white and one blue piece, right sides together, underneath the pattern making sure there was enough seam allowance on the line right of the number 1.  In this picture I don't have it over far enough, but the fabrics are at a good angle.

I liked to open the fabrics before I sewed the together to make sure I had them in the right order and in the right position.

Here the fabrics have plenty of left over for a seam allowance. So I moved it over farther to the right and made the first seam along the line to the right of number 1. Use a small stitch length as this will make pulling the paper off easier.
Then I flipped the fabrics open, trimmed the seam allowance to approximately 1/4" and pressed the seam.
Here you can see how it was flipped open as I added a strip of white to create the point.
After stitching along line 2:
And opening and pressing it.

Here's what it looks like after I trimmed the seam allowance and pressed it open. And can you see how the shadow of the white doesn't fill in all of space 3?  Yep! Major goof! 

I had to take it out and redo it.  The piece of white was long enough I just didn't angle it properly. So as you alternate back and forth you have to angle your pieces parallel to the stitching line so that when you fold them open you have enough to fill in the space.  Like this.

So then to finish the fan I kept adding blue then white then blue, in the manner above,
Until I reached the end of my template!


After the first 3 or 4 points, it really starts to make sense.  This is what your paper will look like when you are done stitching.
I didn't take a picture of this next step, but you can now trim on the outside line and pull the paper off.


Next, cut out the inner circle pieces.

Fold them in half and press to find the midline.

Pin the sections together starting in the middle and then on each end and then as much as you feel you need to keep the edges together.  This is what this side looks like:
And the reverse:
Sew with the smaller section (the corner piece) on the top.  Your pieces will cup like a bowl (sort of) as you sew a 1/4" seam.

Clip the seam allowance (there is a picture below) and press.

Next, find the centers of each piece and start pinning together. Line up the edges next and just work to get the edges all lined up.

And then pin the dickens out of it!  See how it curves up?  That's the side you will sew on.
Again, clip the seam allowance and press.

Next you will cut out the two pieces which you will sew to the top of the fan and complete the square.  I used one pattern piece and folded my fabric to cut two pieces at once.

Sew these two pieces together at the fattest part to form the curve. Press.  (I press to the side, but you can do what works for you.)
Next we will sew the last seam!

Again, find the middle of each section and pin.  The pin the edges together lining up the sides.


And then pin it some more.  The curve allows the fabric to stretch and have a little more movement with the bias.  This seam is actually easier because the pieces are bigger.  I like saving it for last!
Sew a 1/4" seam with the fan piece on top and in the direction that will keep the seam allowances laying flat.
And if you don't have an overabundance of machine needles - you should probably take the pins out as you go.  Ignore the evidence to the contrary in my picture above!

And here is what a clipped seam allowance looks like!  It just helps the curve lay flat for pressing. So clip your seam allowance...


And then press it open!

I really do love how this turned out!  The  sides look a little wonky because I haven't squared it up yet.  But that is something that you can totally do to make up for that.  I just love love love how crisp those skinny little points are!

Fabric is Amy Butler Lark (the dark blue) and Sunspots from LOVE (dots).

Maybe one day I really will have a quilt like my mom's!

So next week is the last Monday for the Quilt Along!  You can check out all of the other tutorials at the following links:
March 5 - Kim from My Go-Go Life {Week 1 Block 0}
March 12 - Sara from Sew Sweetness {Week 2 Block 5}
March 19 - Megan from Canoe Ridge Creations (Week 3 Block 1}
March 26 - Kati from From the Blue Chair {Week 4 Block 8}
April 2 - Jeni from In Color Order {Week 5 Block 7}
April 9 - Amy from Sukie Don't You Know Who I Am? {Week 6 Block 6}
April 16 - Katy from The Littlest Thistle {Week 7 Block 3}
April 23 - Lee from Freshly Pieced {Week 8 Block 4}

Happy Sewing!!

Friday, March 16, 2012

sew & tell v3.23 a bee block and another {not a tutorial}

Hey friends!  I had a lot of fun feeling like a normal blogger this week and got some great feedback from my last two posts.  Thanks so much! It's so fun to read your comments and get new ideas.  I really do plan on emailing you back.  I'll get to it.  :)

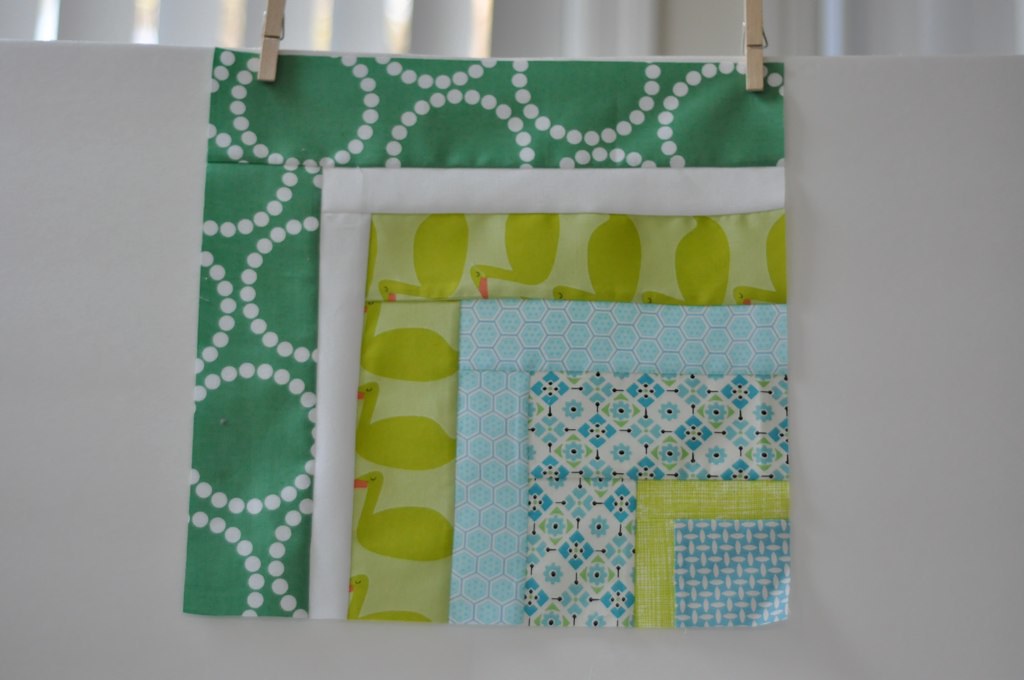
I just have a quick finish for this week.  This lovely bee block for Leigh.  I am in love with every single fabric she sent.  Especially the pearl bracelets!

DSC_0761

{not a tutorial} photo tip - how I take pictures, sometimes.
I don't pretend to be an excellent photographer, but I am trying to get better.  And learn how to use the little bit of light I do have to my advantage.  I wanted to show you something I learned about taking pictures during Vanessa's class at the Sewing Summit.

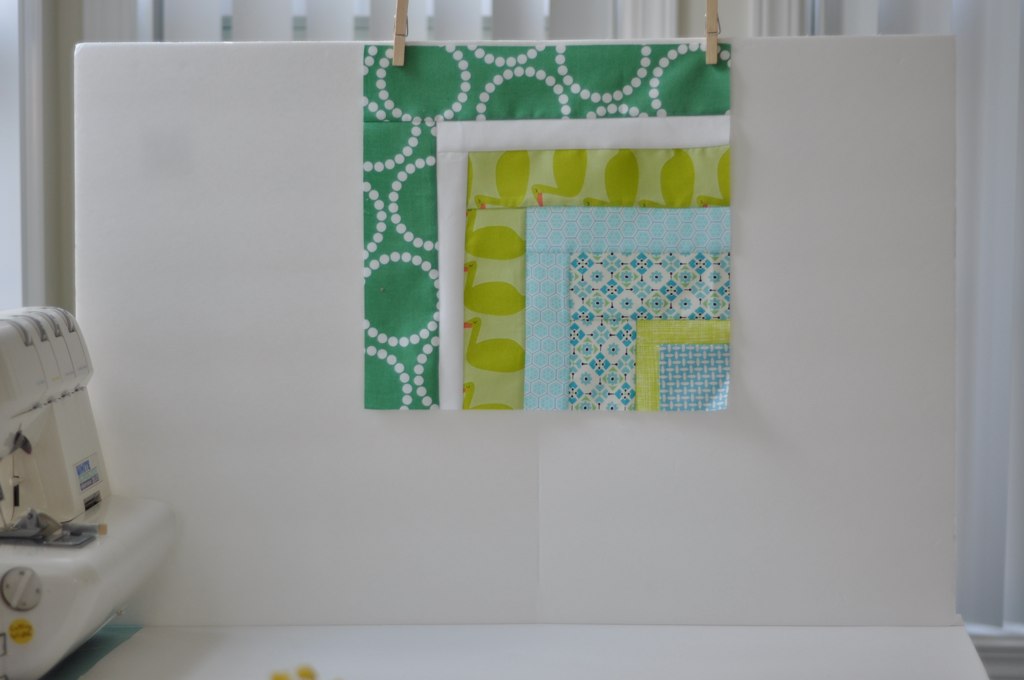
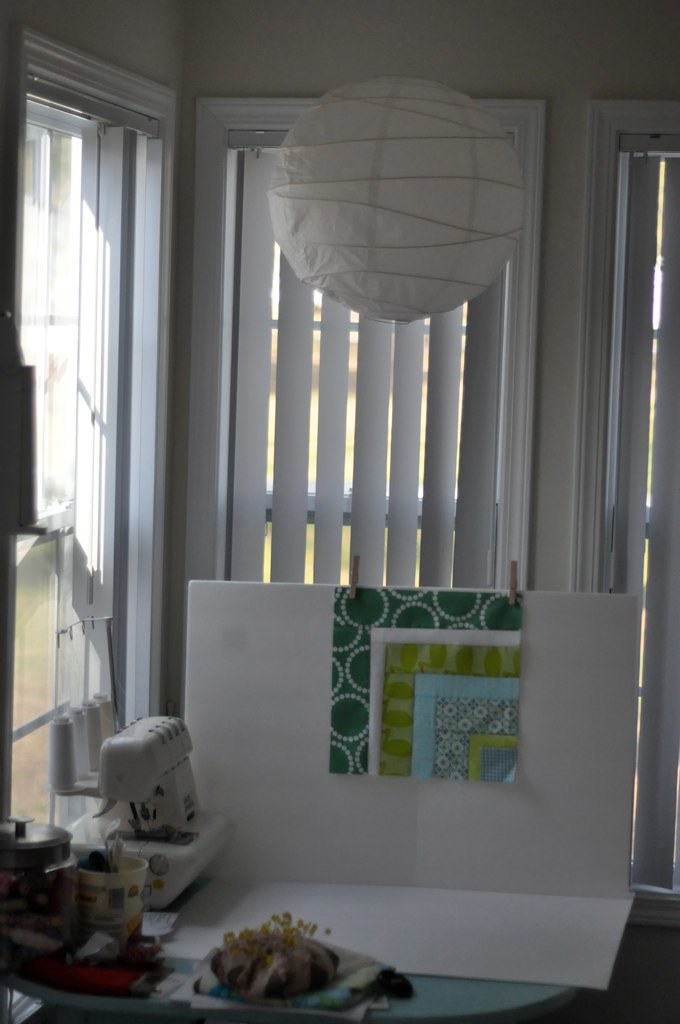
White foam board and poster board can really reflect your natural light well so that you can get a nice bright picture before you process it. So here's a zoom out of that picture up there.
DSC_0758

The block is clothes pinned to the foam board, poster board on the table and light coming from the window to the left.  I took this picture in the late afternoon yesterday.  Zoom out again...
DSC_0765

The room was actually kind of dark, but with that light reflecting on the white and getting up close and personal I was able to get a relatively bright picture. I didn't edit these at all post photo-taking. And didn't use a flash.  In retrospect, I probably would have lightened them up a bit more, but I wanted to just show you how a some cheap white poster board can help you take advantage of some natural light. I haven't gotten around to making an actual light box yet...


Your turn to share ~ Show us what you've got finished!
Linky Rules.  Please follow along for a fun party!

1. Please write the post for sew & tell - or add a blurb mentioning sew & tell to a post written since the last sew & tell.  If you are linking to a post with your own tutorial, please make sure it was a finish from this week and that the completed project is shown first.
2. One linky per person. (please put multiple projects in one post.)
3. Link to your specific post.  (See here for permalink instructions - or email me.)
4. Link back here with a link or a button (HTML on my sidebar).
5. Be sure to visit and leave comments on other's posts!

Please put your (blog)name instead of your project name, it helps us get to know each other better!

Wednesday, March 14, 2012

{not a tutorial} spray basting or i don't know what a safety pin is

I've decided to start sharing some methods or tips here on my blog. I hesitate to call them tutorials, because that makes me nervous.

So I thought I'd call them {not a tutorial}s, just {the way I do it}.

There are so many talented sewers out there and tons of tutorials, so I don't profess to be the authority on anything, but wanted to share my process.

I've talked to a lot of quilters who have never used a basting spray. When I was getting ready to quilt my bird quilt - the first thing I ever quilted on my little machine - I bought a bunch of safety pins to baste it with.

But I'm going to be honest. The thought of pinning that whole thing and then trying to quilt around the pins~well, UGH!! It just seemed a little daunting. I mean, I'm horrible about taking out straight pins!! So I decided to just use a basting spray. And I have to say I LOVE IT!!

I can't give you an honest comparison vs. pin basting but it works for me and gives me a nice clean surface to quilt on without having to worry about running into a pin every 3" or so. So here you go.

Quilt Basting {the way I do it}.

Supplies:
1 Quilt Sandwich
Packing tape
Basting Spray
* a note on basting spray.  I just bought a can at Joann's (or Hancock's) using my 40% coupon.  I know there are different brands but this is just what was easily available to me.
edited to add:  I've gotten some great feedback already!  I do usually open my windows when I spray. And I also don't use a ton of the spray because a little goes a long way and the fumes ARE stinky!

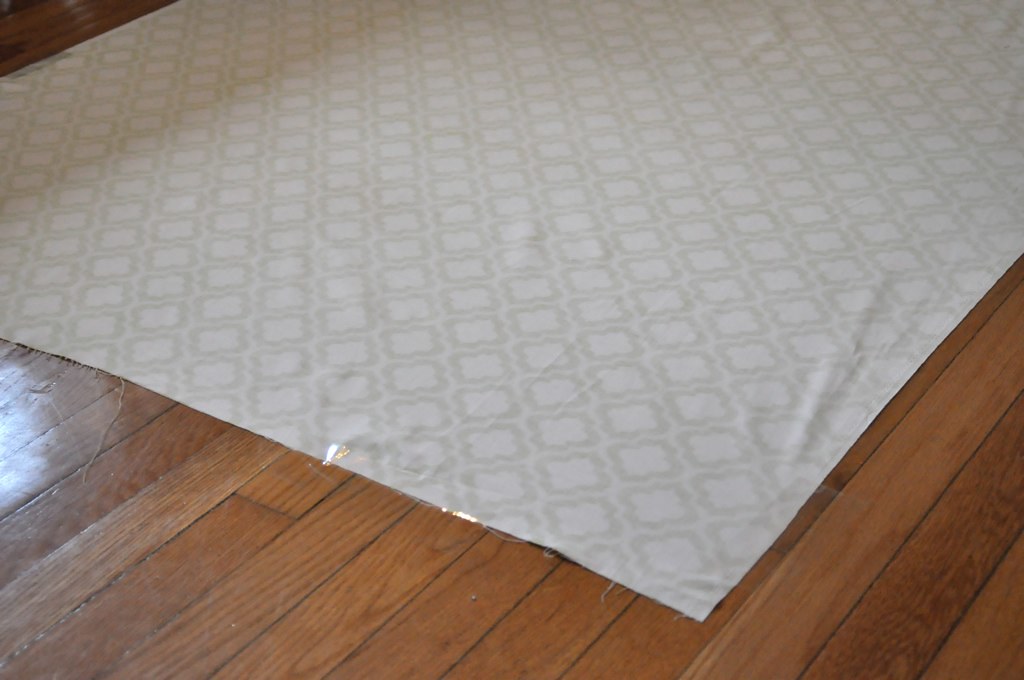
Step 1. Tape the quilt back wrong side up to the floor.
spray basting 1
Depending on the size of the quilt I use several large pieces of packing tape to secure each corner and several spots on each side.  Work from one side and smooth the fabric out as you tape.

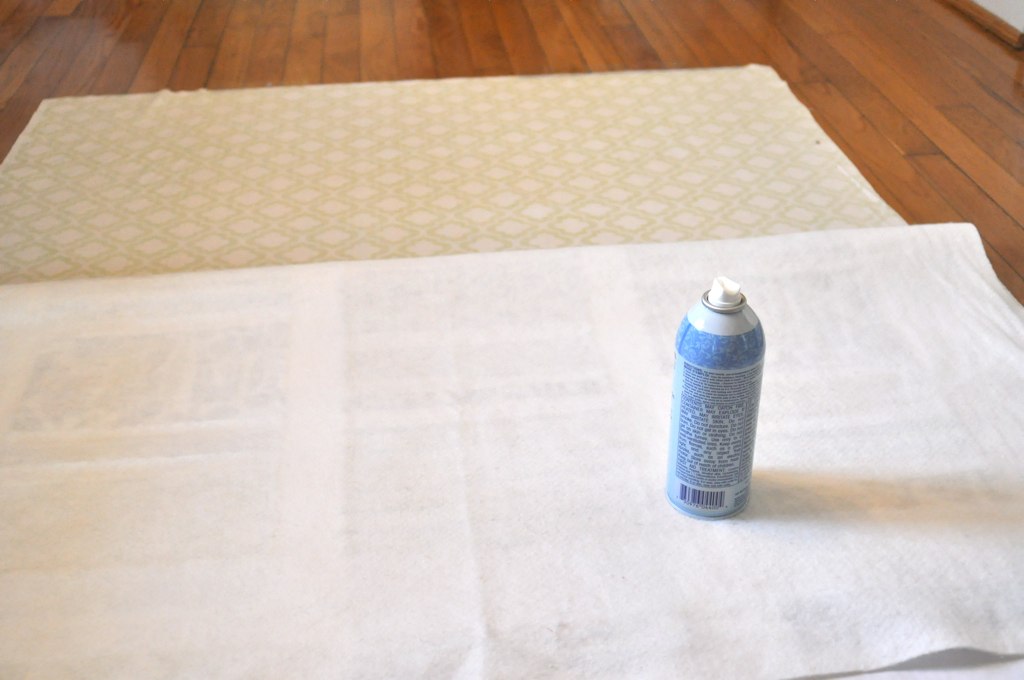
Step 2. Lay and smooth out a similar sized piece of batting on top of the back.
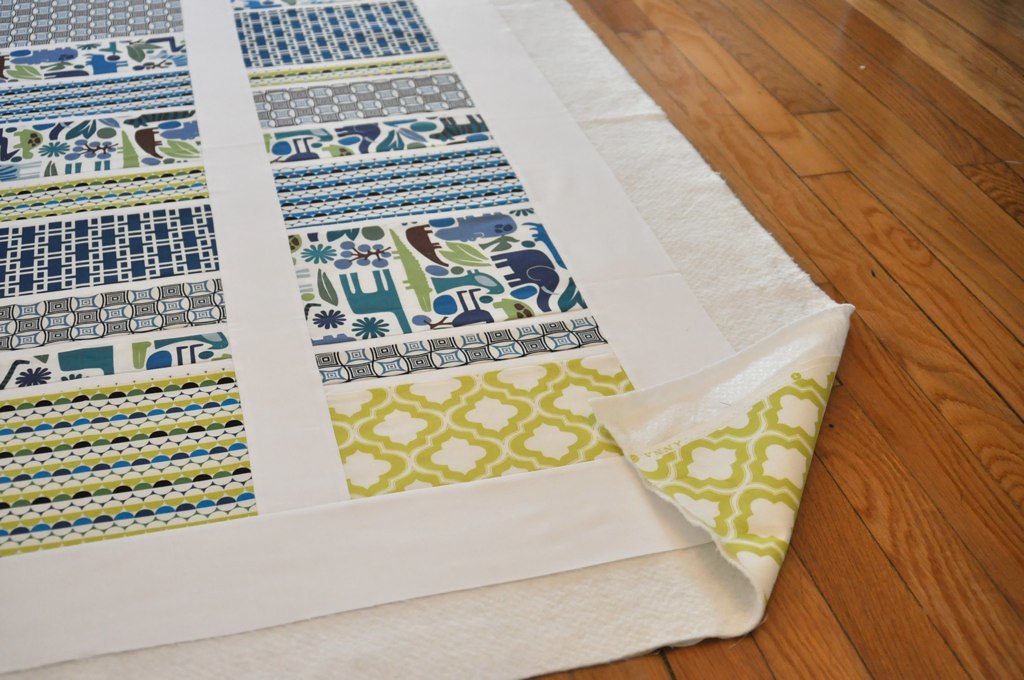
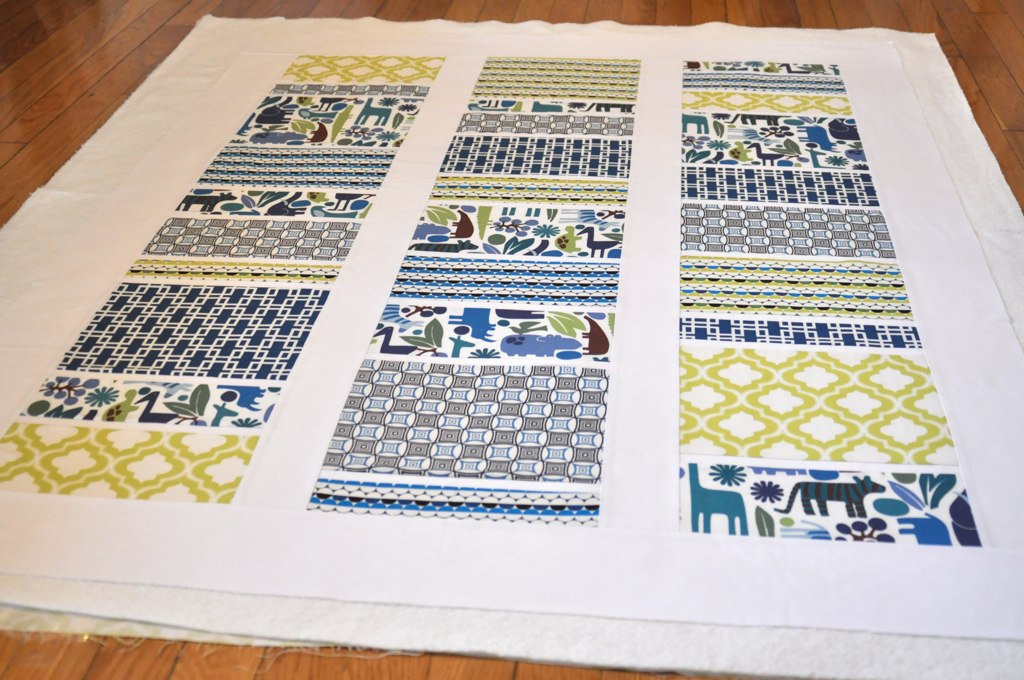
Step 3. Center quilt top to complete the quilt sandwich.
spray basting 2
Make sure everything is smoothed out. And that you have backing and batting under every part of your quilt top.

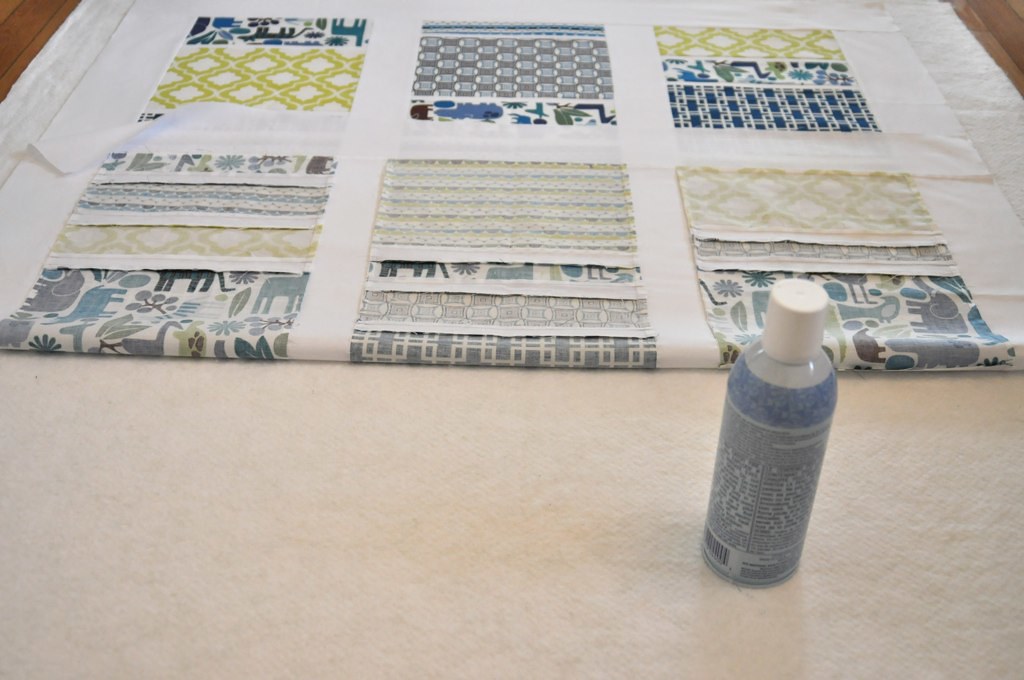
Step 4a.  Fold back one side of the quilt top only.  Lightly spray the wrong side of the quilt top and exposed batting with the spray in a back and forth motion.
4b. Unfold that section back over the batting, smoothing it as you go.
4c. Repeat as necessary to baste the whole quilt top to the batting.
spray basting 3
You may get some overspray on the floor but it clean ups easily.

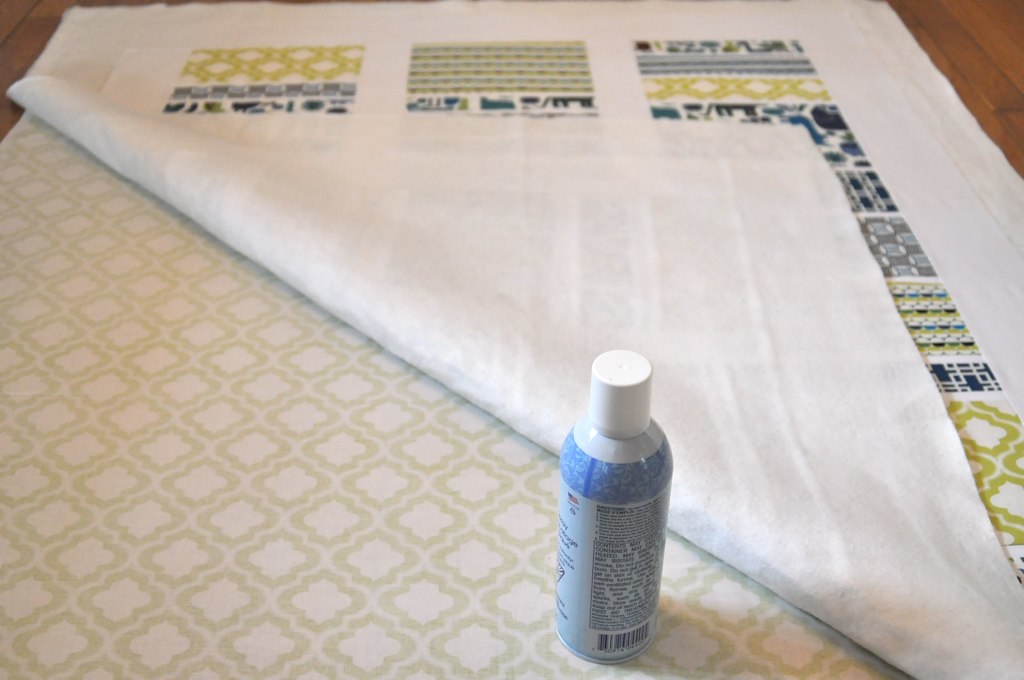
Step 5. Fold back the batting AND the top and lightly spray batting and backing.
spray basting 4
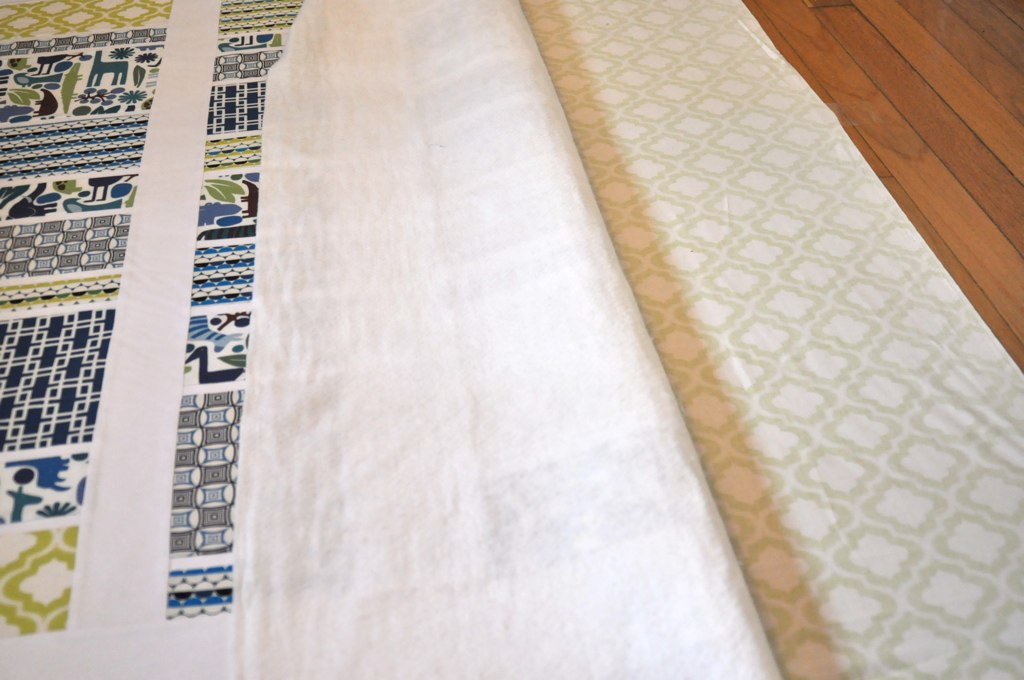
Keep folding back batting and quilt top together until everything is sticking together.
spray basting 5
Repeat.
spray basting 6

6. Smooth everything out.
spray basting 7
7. Get quilting!!
spray basting 8

 Have you tried spray basting before? Do you pin? Which do you prefer? Let me know if you try this!

(I'll be blogging more about this quilt soon!)