Showing posts with label Love baby quilt. Show all posts

Friday, October 29, 2010

LOVE-ing the blogger's quilt festival!

Amy's Creative Side - Blogger's Quilt Festival

I really wish I had been able to finish the quilt I had planned to share today, buuuuuut, it wasn't in the cards.  Too many sick people and too little sleep do not a happy sewer make.  So here's my latest quilt finish.
requisite folded pic
I love the Blogger's Quilt Festival and so I thought I only appropriate to share my recently completed LOVE baby quilt for my sweet new little girl.
LOVE, the quilt
This is the first quilt that I really did all by myself.  I feel like I finally have enough (even though it's still limited) experience to have made all the decisions and do all the work on this beauty.  Like doing the window pane quilting.
favorite shot
I fell more and more in love (pun sort of intended) with this line the more I worked with it.  I have a rather large stack of leftovers that I'm excited to use - I may or may not have bought more of some of my favorites.  And then used them to complete her bedding.
Love's friends take 3+quilt
And I've learned to really enjoy hand stitching down a pretty binding. Polka dots in the case. When has Amy Butler NOT made a cute dot print? Never. That's right.
Binding
I loved working on this quilt. It was my major project during my last few months of pregnancy, and I was able to finish it up shortly after I had the baby and moved. It was really nice to work on it while dreaming of what my new little one would be like. And again, I love that the LOVE line was used for my newest love.

Friday, September 17, 2010

sew & tell - on a roll

If you are new or need a refresher for Sew & Tell guidelines you can click on the tab above for details on linking up!

I don't know what's happened the last few weeks!  I feel like a sewing maniac!  You might be surprised to see two things that I have never made before.  And only one diaper clutch.  :)

I owe all of you a big thanks for keeping me going.  Part of getting these things finished is so that I have something to post each week too!  Otherwise, I'd have a ton of UFOs laying around. (Like the bumpers that I have cut out for my almost 5 year old daughter when she was a baby...)  I wasn't feeling too great yesterday (darn pollen) and I wasn't feeling like finishing up the big thing for today - but I went ahead and kept plugging away and it really only took about 15 minutes.  And I'm so glad I did!  So thank YOU!

Alright, first up.
I totally get the bunting thing now!  I keep seeing people make them and I've wanted to make on too.  I  just hadn't had a reason to until I helped my gorgeously talented (and gorgeous) friend throw a baby shower last weekend.  Here it is hanging up in my sunroom/sewing room/home office/workout room (I told you I was a multi-tasker!).

And here it is after the party had been staged.  I LOVE it so much and now I want to make one for every room in my house.  And I hope you noticed the Amy Butler Wallflower in there!
I just made a template out of a cereal box and used it as a guide to cut with my rotary cutter.  Then I sewed it to some hem tape, because that's what I had.  These aren't lined and may fray a bit, but then they'll be *vintage*.  Right? 

If you like gratuitous food and decor shots go here to see more of Heidi's magic!
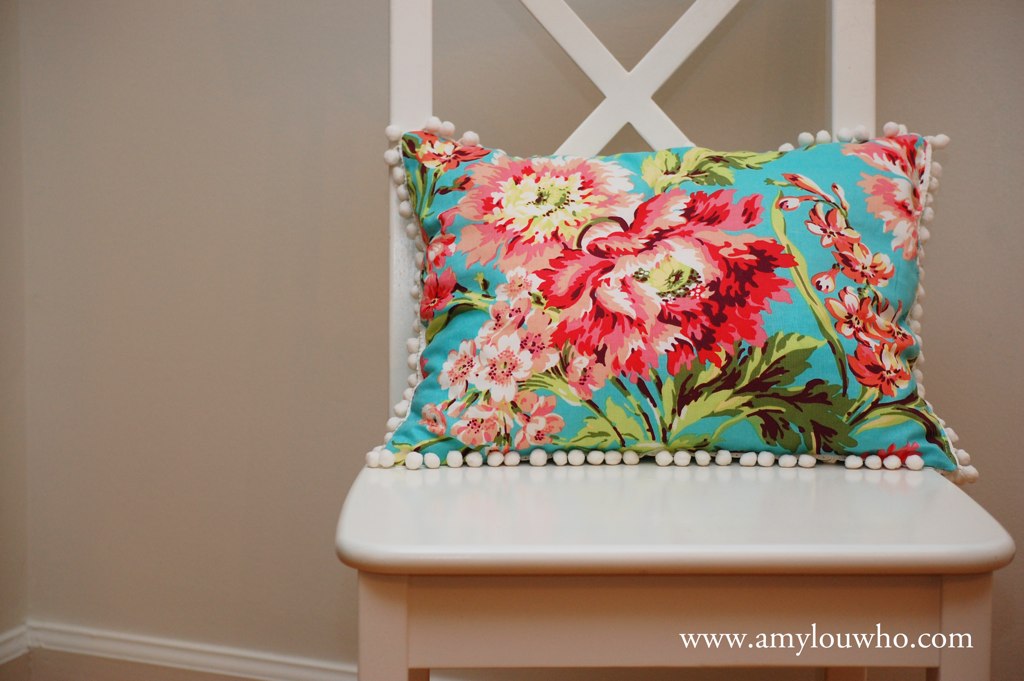
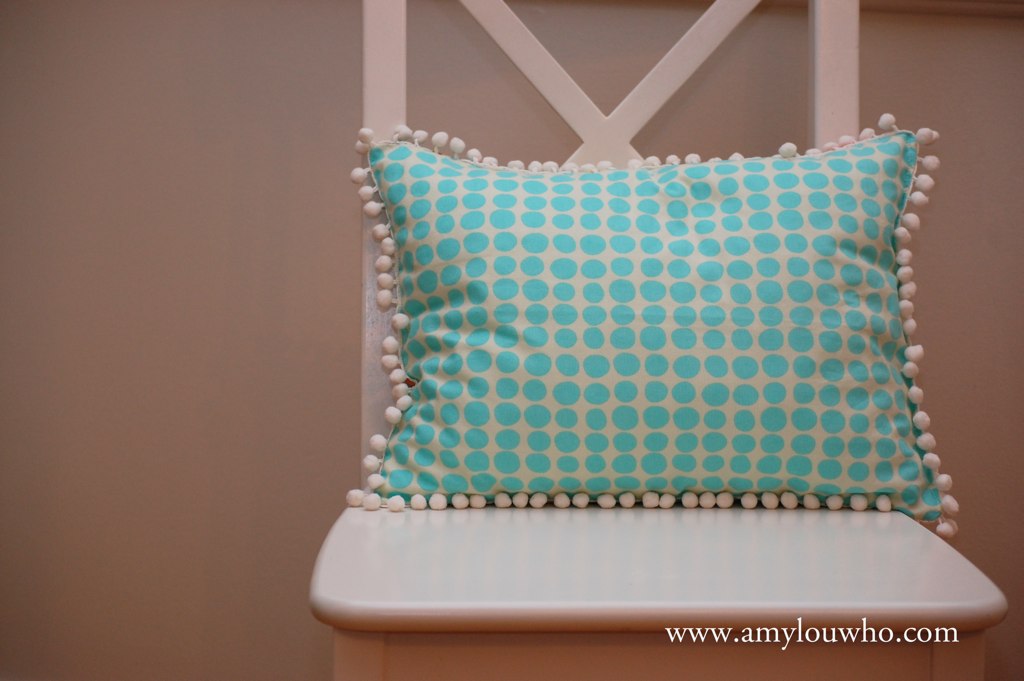
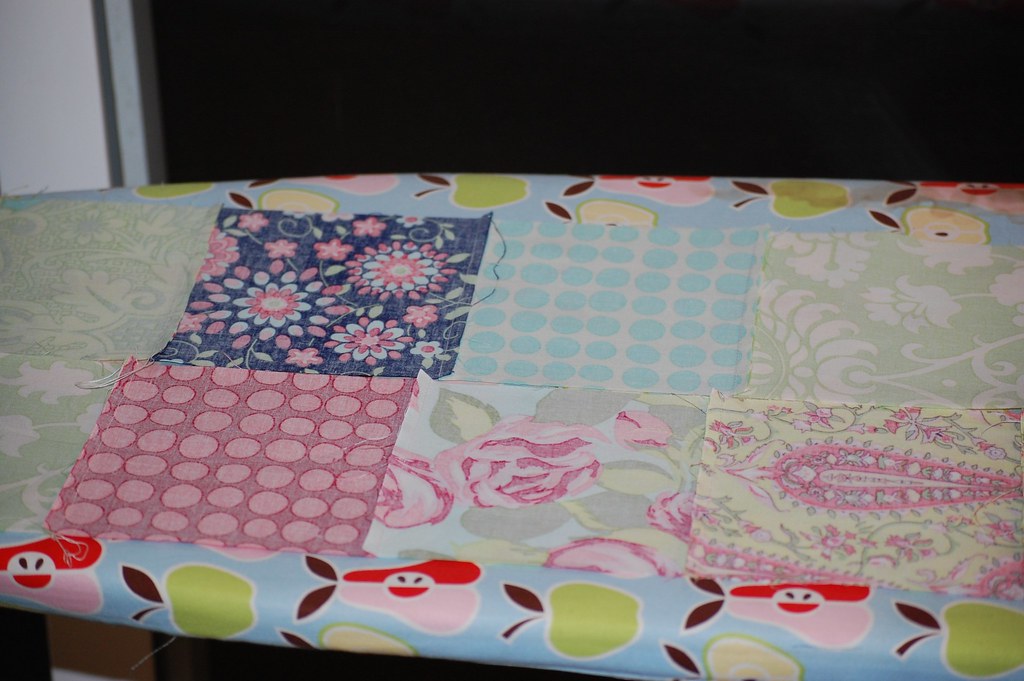
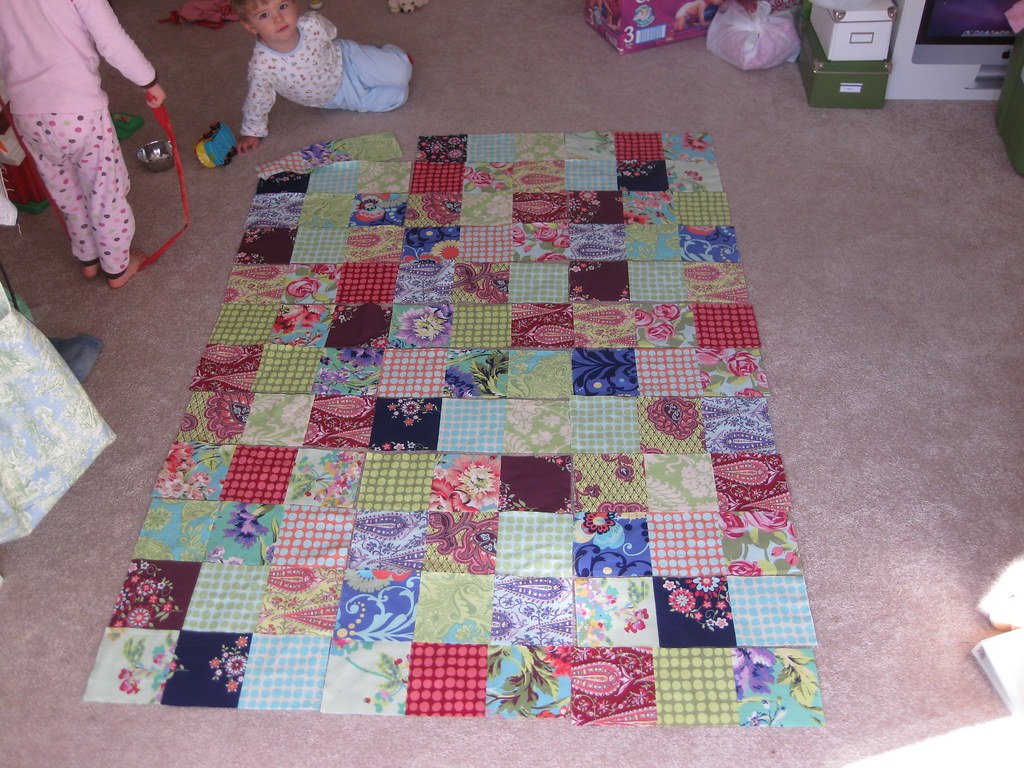
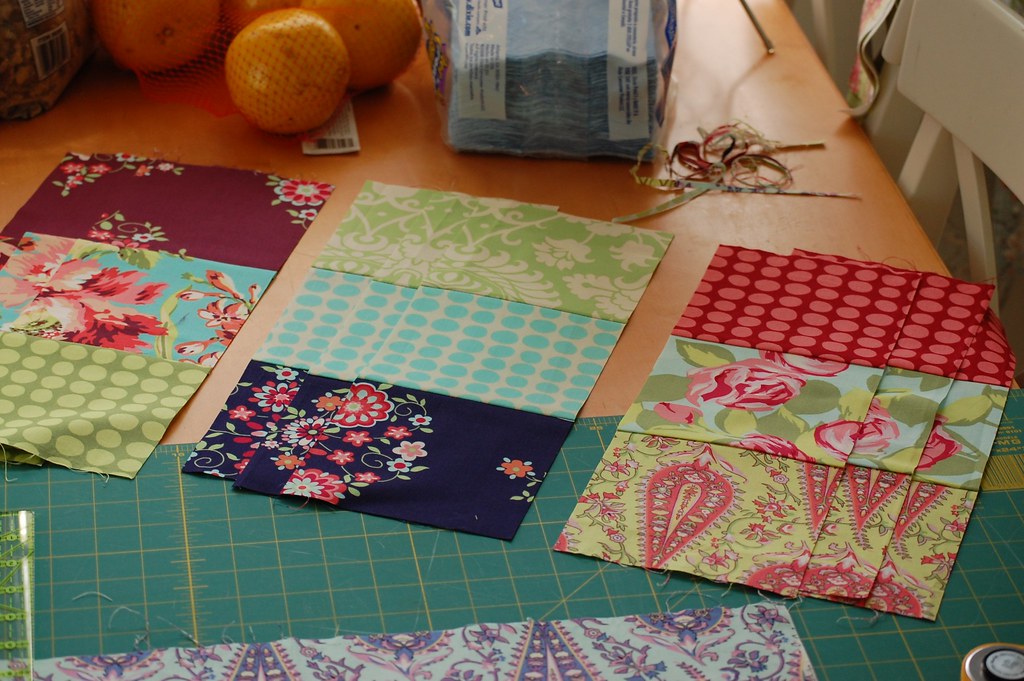
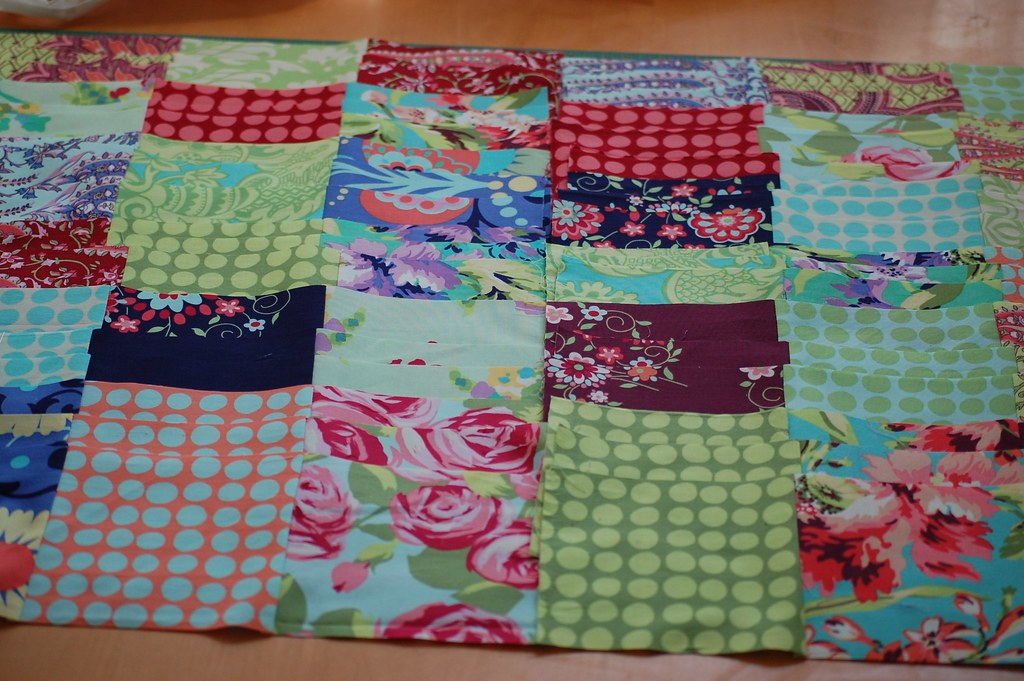
Next up.
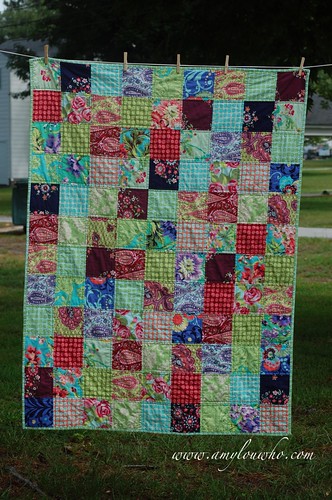
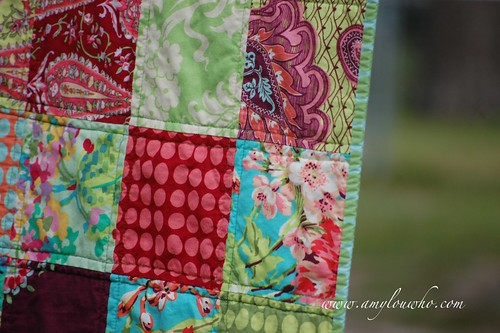
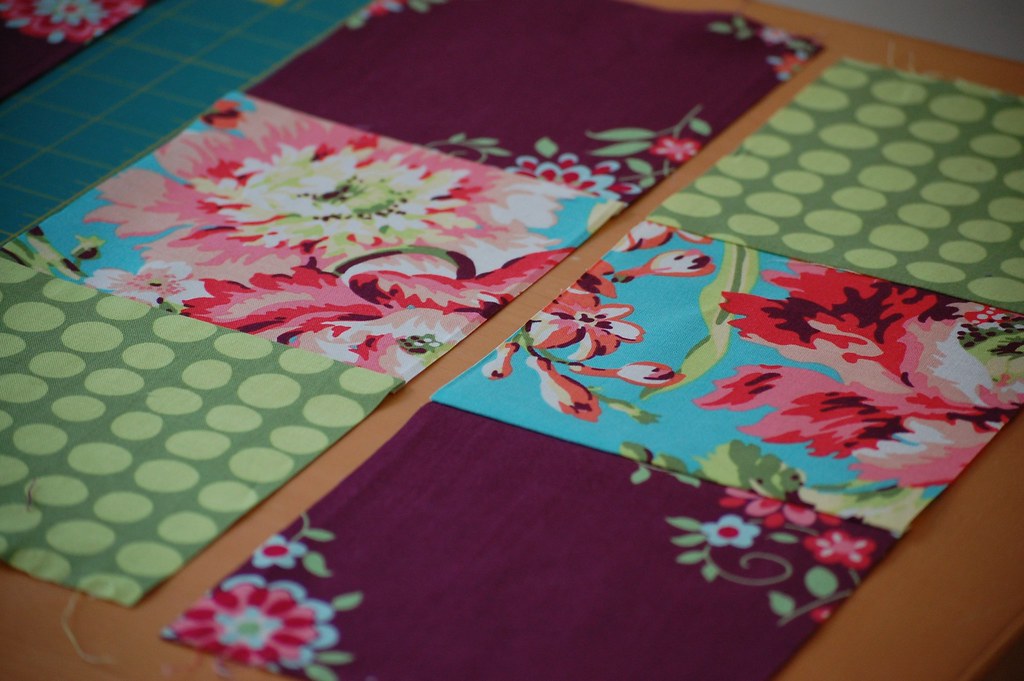
The gift for that shower.
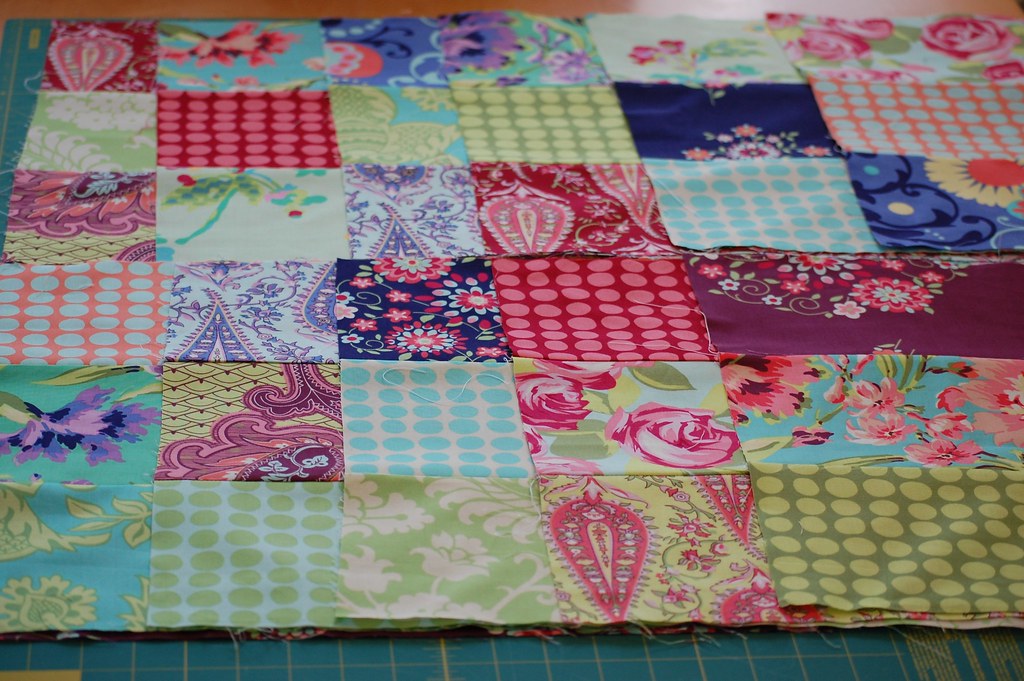
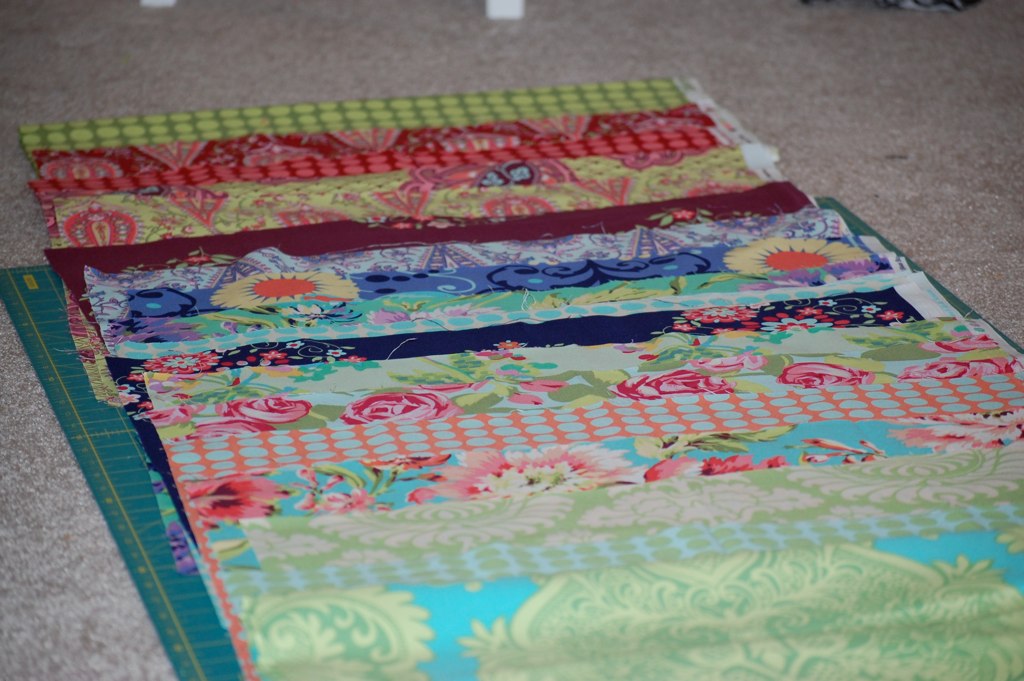
Shocker, I know. I can't get enough of these!  And Amy Butler in Daisy Chain is always nice.

Lastly. (But not leastly.)
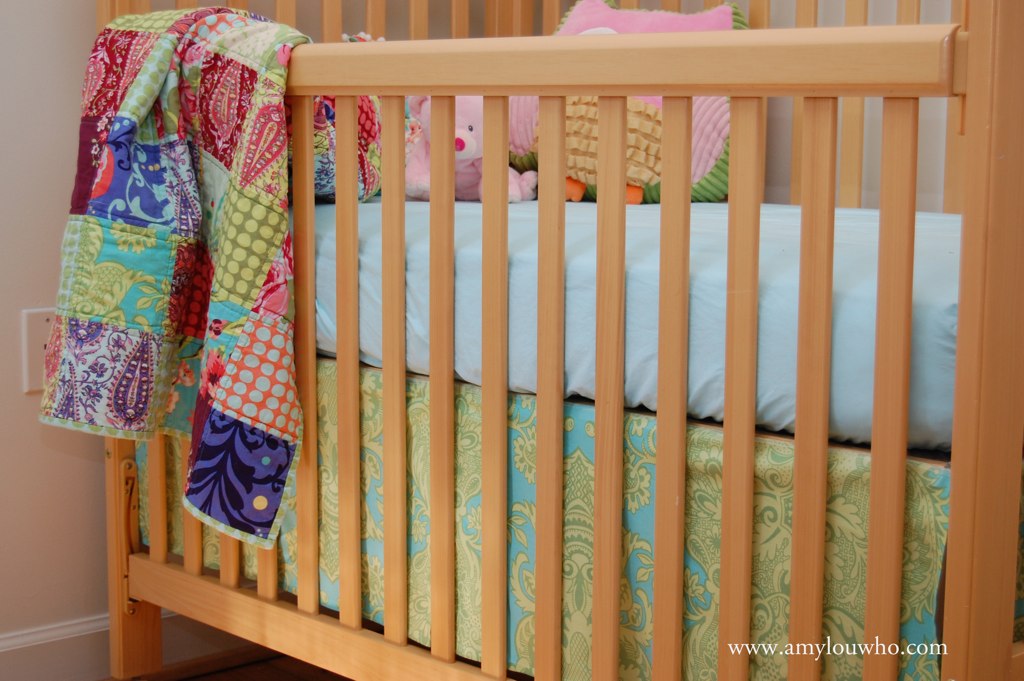
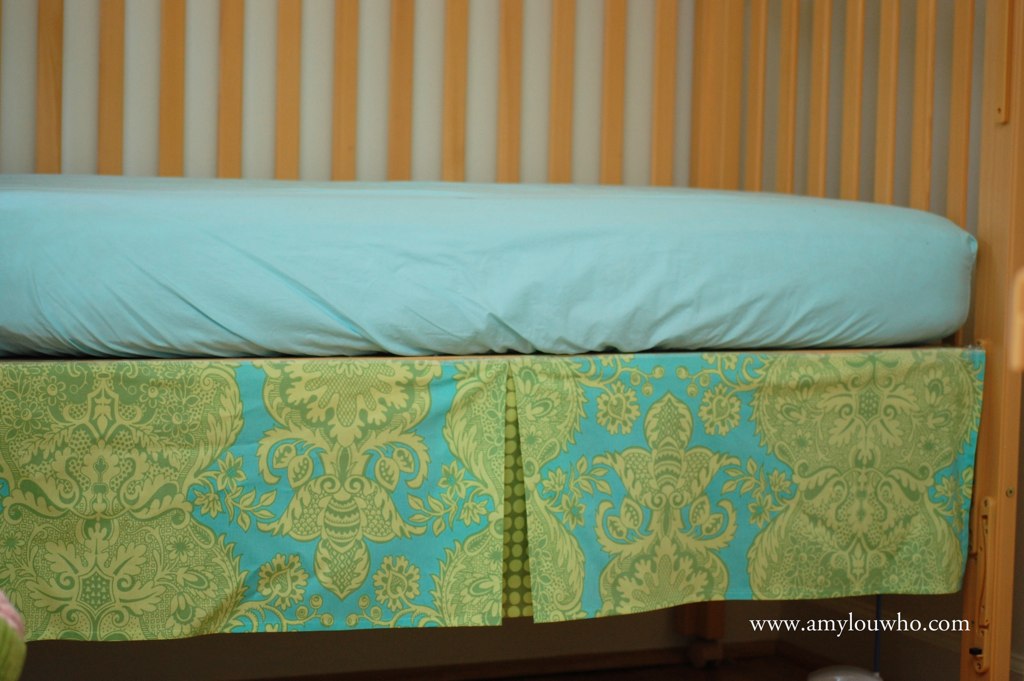
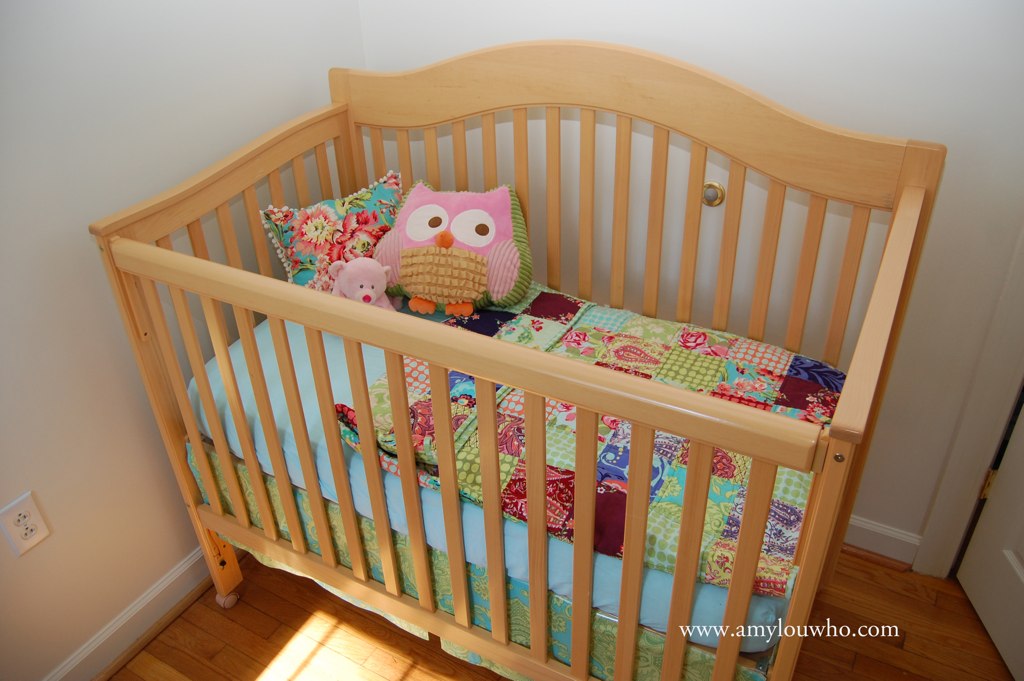
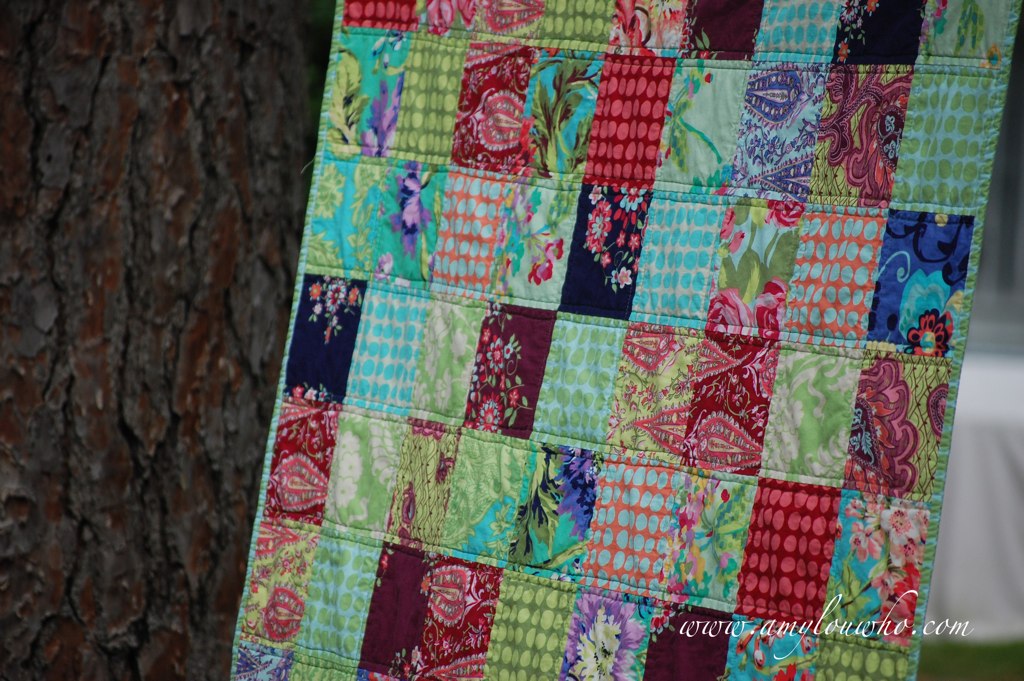
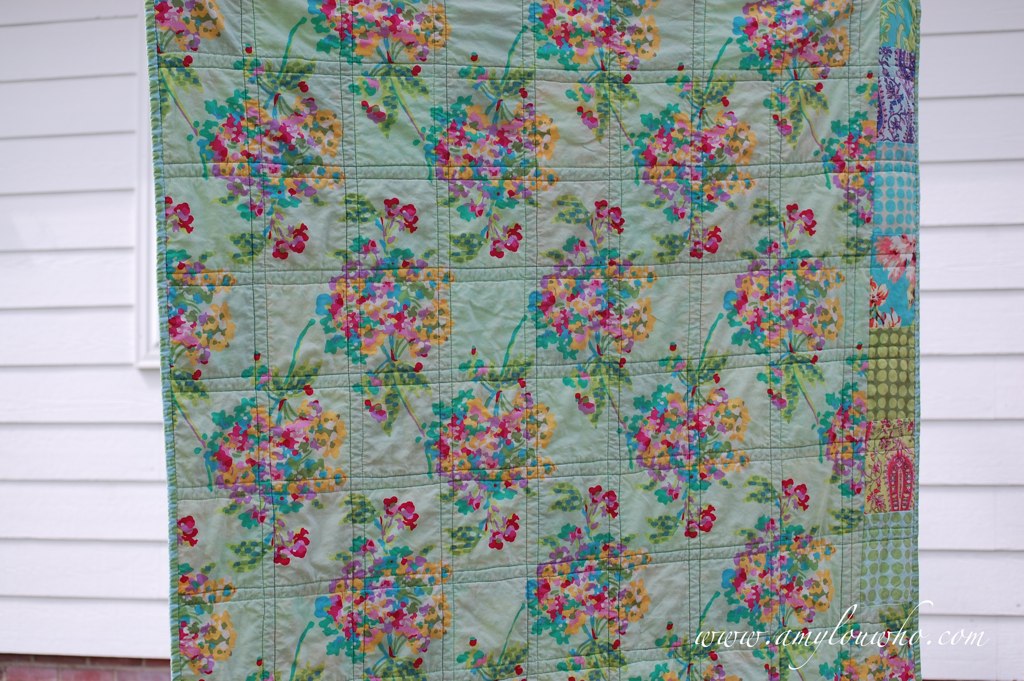
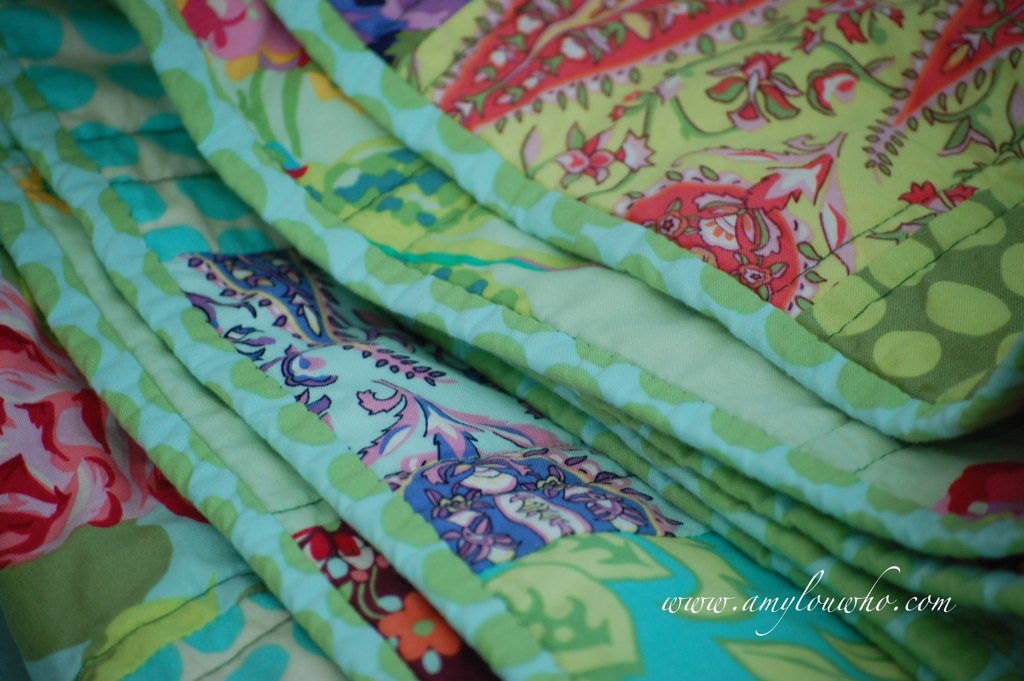
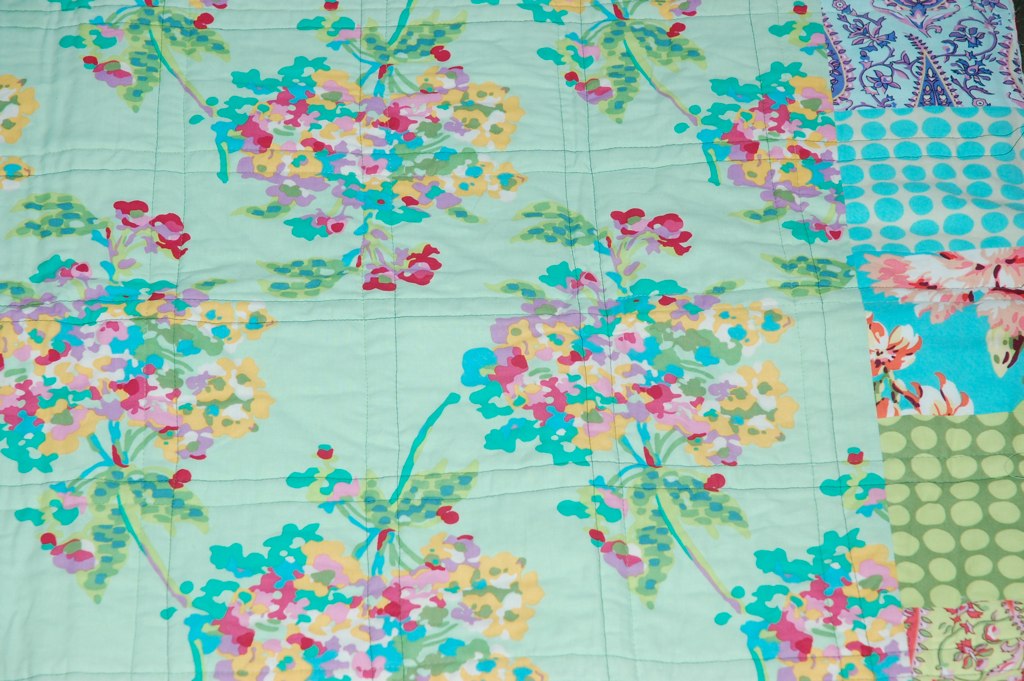
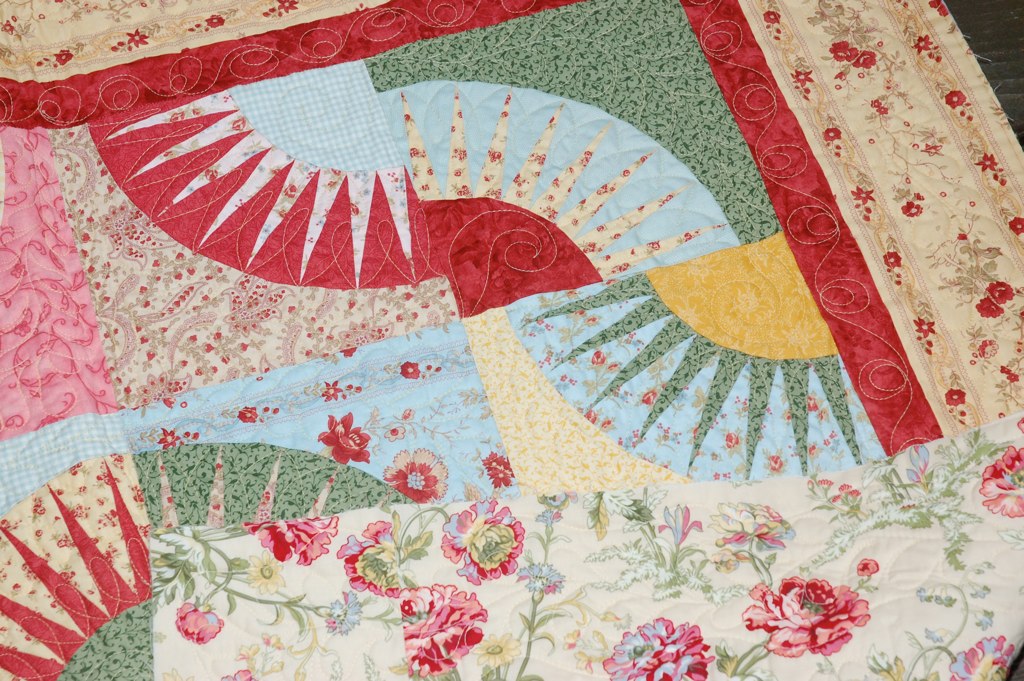
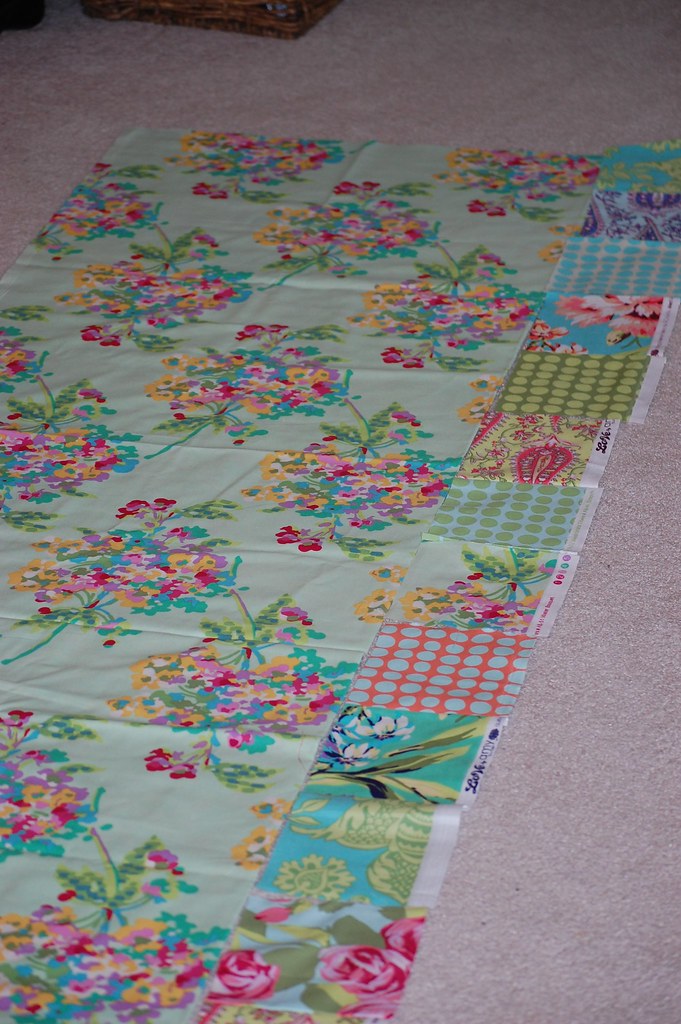
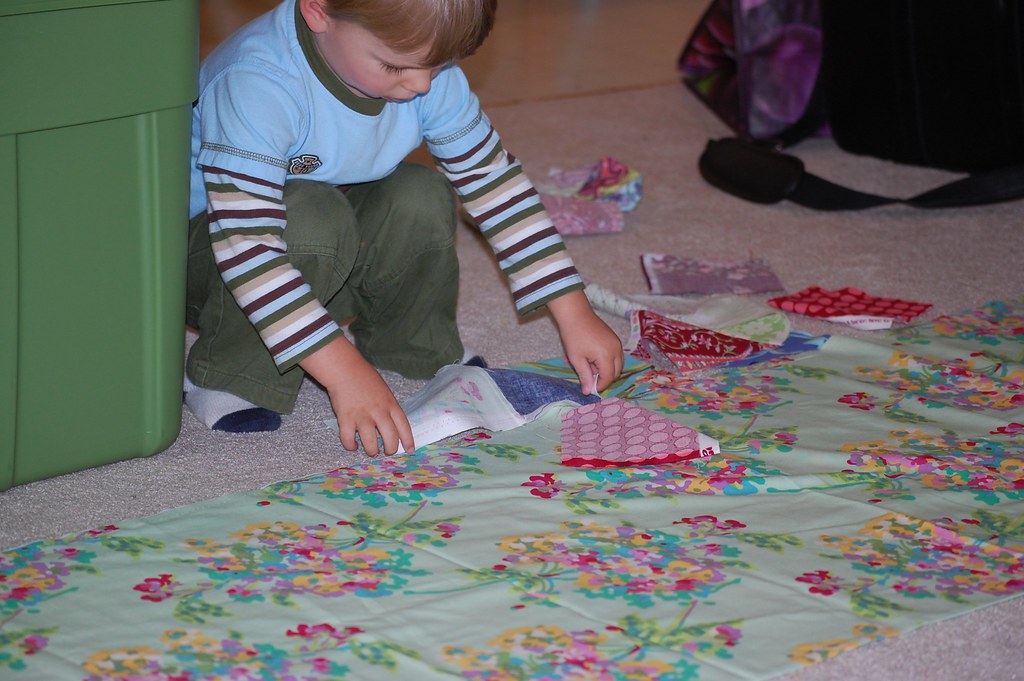
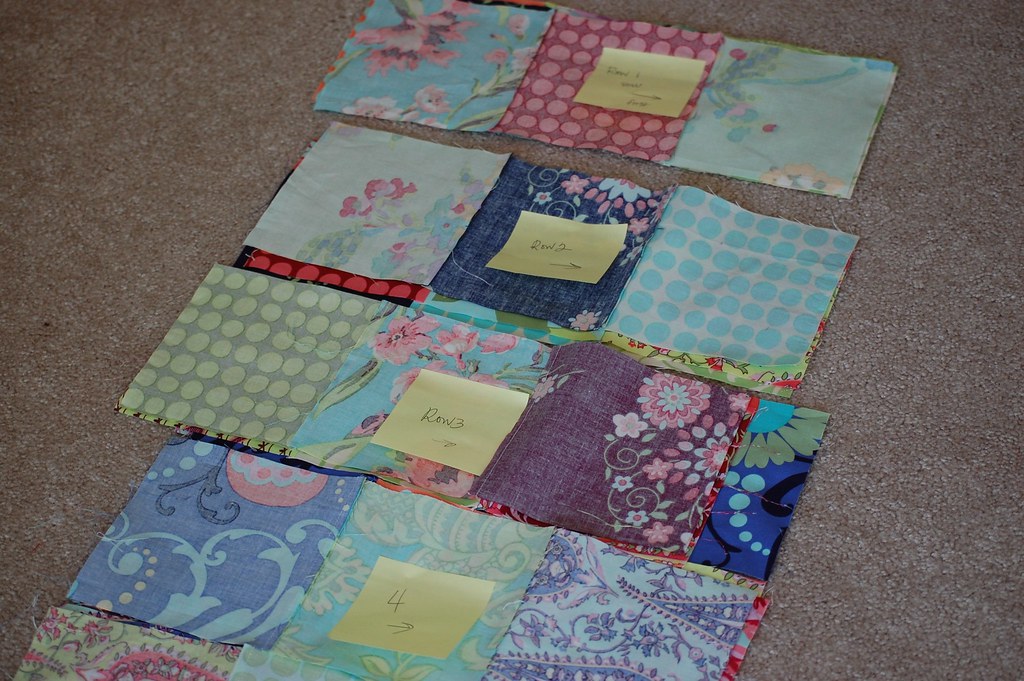
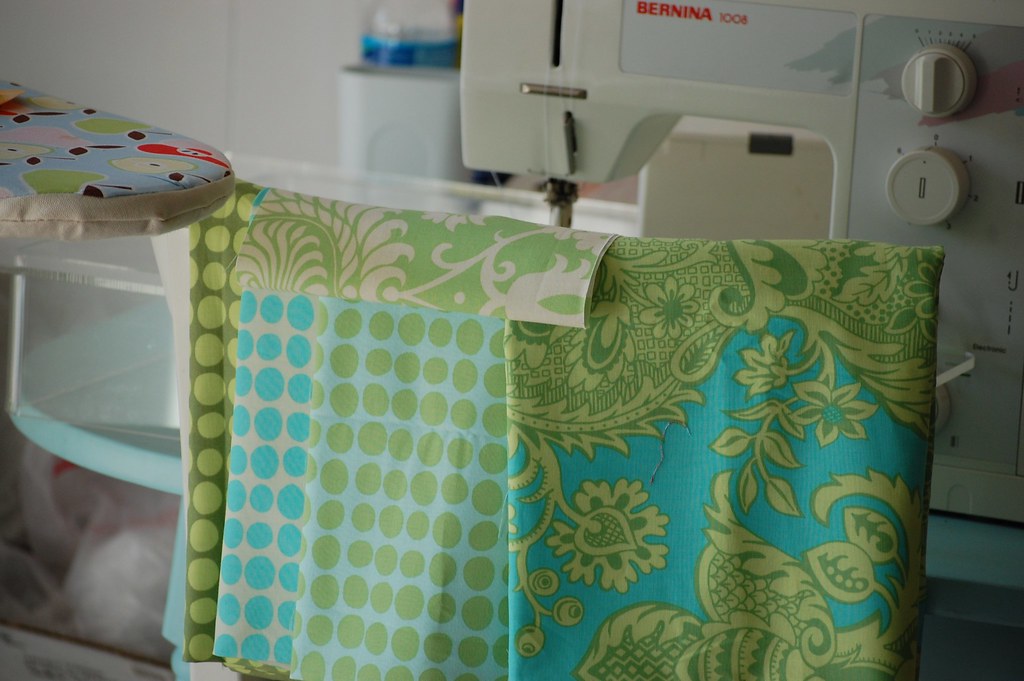
Are you ready?  Are you sure?  I finally got to the bedskirt with my newest fabric crush in my favorite colors.
And I love the way it turned out!  I'll admit, it was a little bit of a bugger to figure out.  I wanted to match up the large print and make sure it wouldn't look totally ridiculous.  I needed more than one width of fabric to make the long section, so I had to work that into the equation.  I really did do some algebra to figure some stuff out!  (My teachers were right after all... you may just need it some day!)
I ended up using a different dot for the inset pleat, but I thought it matched better.  And after all was said and done, I still screwed it up, but I'm not saying where and I don't want to know if you can figure it out.

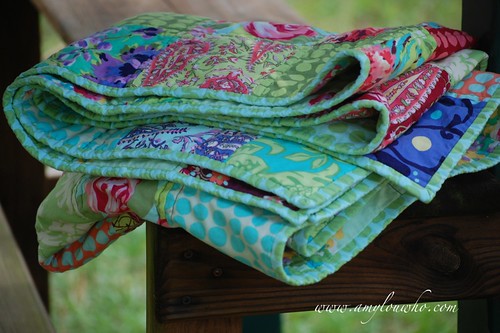
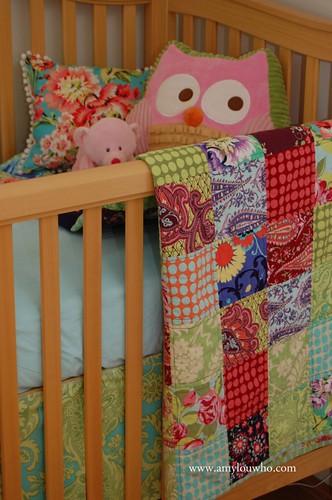
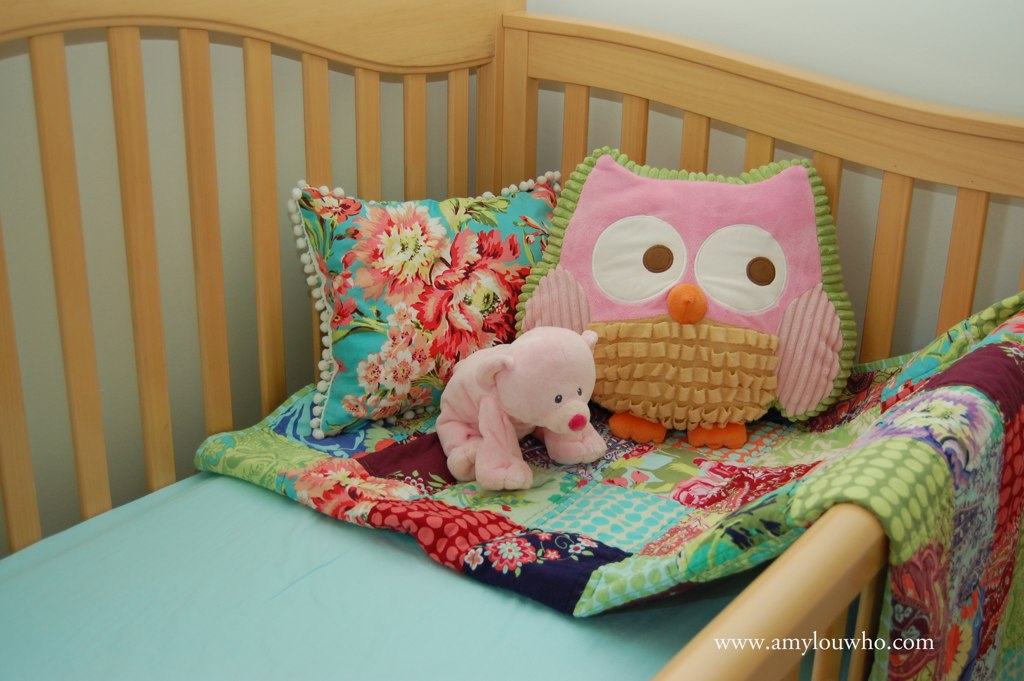
I also have the mattress high right now, since she's still pretty little, so it will look a lot nicer when it's hanging to the floor.  And even better when this becomes her toddler bed.  The quilt is doubled up here, so it should get a lot of good use too!
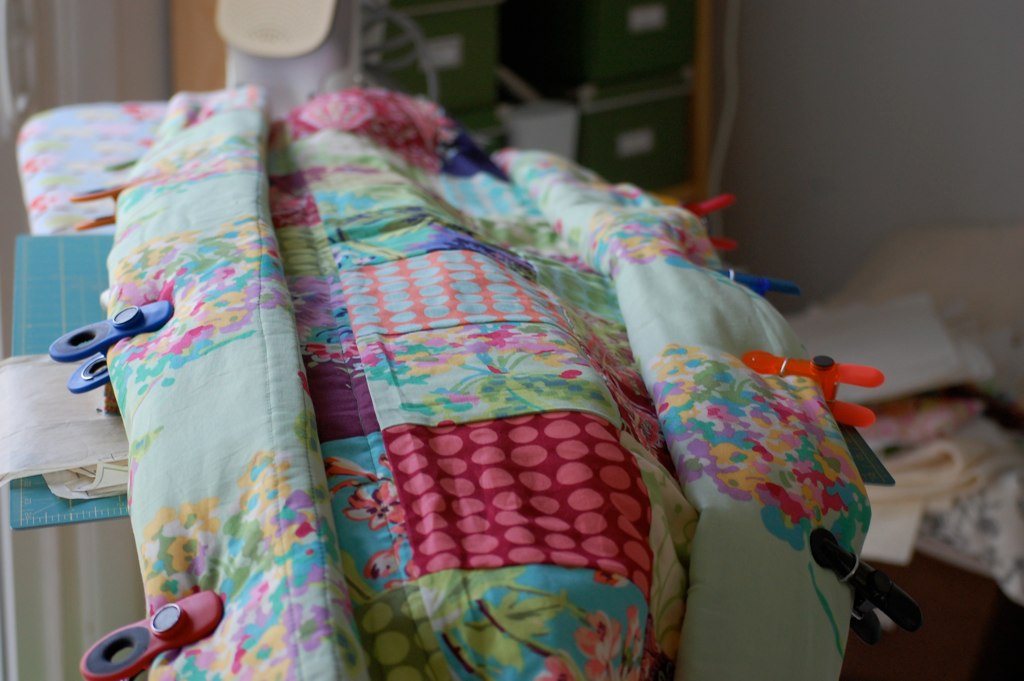
The best part is I just used an old crib skirt for measurements and THEN instead of sewing it to a big piece of fabric, I JUST TAPED IT TO THE PLATFORM.  YEAH!  I felt like such a rebel/cheater!  I think it will actually work better and not get all wonky all the time.  I had read of several other people doing this too.  I may have to go back and tweak it a bit, but I'm happy with the tape method.
And thank you Target, for making awesome matching sheets (I bought 2) and cute-as-all-get-out Owl pillows!

oh, and can I tell you again how much I love my serger?  Especially for hems?

So if you made it all the way down here, THANKS! This was a long one.  Remember, next Friday is the big day!  I can't wait to see what you guys have been working on and I'm super excited about the giveaways!  I'm adding a few handmade things to the pot as well!    Leave me a comment today and tell me what you are working on for the Amy Butler Challenge (or for you over-achievers what you have already finished!)!


P.S. I'm not going to be around much this weekend - so if there are any questions or problems I will get back to you - it just might take a little longer.

What sewing project did you finish this week?
Please show good bloggy manners and follow the linky rules.  Refer to the sew & tell page   if you have any questions or wonder why your link may have been  deleted.
1. Link to your specific post about a sewing related finish you had THIS week.
2. Please mention sew & tell in your post and link back to this  post (link or button) so everyone can join in.
3.  Pat each other on the backs in the comments! Please, don't just link up and leave, we all want to hear from you!

Friday, September 3, 2010

sew & tell - pillows + pom pom fringe

 *****Sorry!  I goofed on the linky, but it's up now!*****

If you are new or need a refresher for Sew & Tell guidelines you can click on the tab above for details on linking up!
Just a few quick items before we get to the good stuff!
I got some great feedback from a lot of you on the sew & tell survey I posted last week.  Go check it out and give me your 2 cents if you haven't yet!
*****
You can find us all here on Facebook now too.  Go to the Facebook tab at the top to click over if you feel so inclined.
*****
Please show good bloggy manners and only link up if you can adhere to these guidelines.  One of the best parts of sew & tell is the encouragement we get from one another.  Try and visit others and not just link up and leave!  I know it's not possible every week, but that's part of the fun, right?
*****
So you do you want to see what I made this week?  Actually yesterday?  While I was waiting to see if Hurricane Earl was going to pay us a visit?  I was working on another project that needed a little more time than I wanted to spend on it.  Plus it wasn't made out of Amy Butler fabric.  I knew I wanted to get this little number done to go with the LOVE quilt.  So I put the other one aside (for next week) and I whipped this up!

Seriously, I love making pillows.  They are so fast and satisfying!  You will probably be seeing some more of them in the next few weeks.

And I can't stress enough how much I. LOVE. POM-POM. FRINGE.  Doesn't it just make it look so happy?

And the dots?  Oh how I love Amy's dots.  All of them.  Every time she comes up with new ones - I have to have them in all colors.  Or at least I think I do.

I used this awesome filler called Cluster Stuff by Morning Glory.  It's little pellets of stuffing so it's very soft and not lumpy at all!  (I may or may not have found it at a big blue box store that still had its sewing department.)


What sewing project did you finish this week?

Please show good bloggy manners and follow the linky rules.  Refer to the sew & tell page   if you have any questions or wonder why your link may have been  deleted.
1. Link to your specific post about a sewing related finish you had THIS week.
2. Please mention sew & tell in your post and link back to this  post (link or button) so everyone can join in.
3.  Pat each other on the backs in the comments! Please, don't just link up and leave, we all want to hear from you!


Friday, August 20, 2010

sew & tell - all you need is LOVE

**I've had to delete some links today :(. Check with the requirements for linking on that tab up there!  Thanks!!**

Amy Butler LOVE that is.

Speaking of love.  Do you see that little button with those cute faces on it.  Over there? On the right? At the top?  That is my sister-in-law's sister and husband, Rachel and Ryan.  They are wonderful people hoping to start their family.  Most adoption placements are found word of mouth, so keep them in mind if you hear anything.  You can read about their daily life on their blog here. Or click on the button to go to their adoption profile page.

I did finally finish the quilt, and washed it, and hung it up to photograph!  I love it! No pun intended.
I loved the look I've seen on simple square patchwork quilts where the quilting is done in straight lines on either side of the seams.
 It gives a great window pane look.  I used a varigated green Gutermann thread with a walking foot on my little machine.  I probably could have gone with just a light green, but in the end it doesn't really matter.
What is surprising to me is how I obsess over every little stitch and think it's not straight enough or hidden enough or something-enough, and when you step away - you don't really see any of it.  Sewing is so forgiving.
I prefer to hand stitch my bindings down.  I'm getting better and faster and I really love the way it looks.
I really do love it.  My baby looks so sweet sleeping under it.  I'll get pictures of it on the bed when I have the other projects finished...


ARE YOU READY TO HAVE SOME FUN???
The generous folks at Amy Butler's studio sent me a nice stack of patterns to giveaway!  I am giving one away today!  You get one entry for linking up (follow the rules!  Please only finishes from this week!) and one for leaving a comment - tell me what your favorite Amy Butler fabric/pattern/product is and tell me you love my quilt.  So if you link up AND leave a comment you get 2 entries!

The winner will receive this awesome pattern!
Heck, I'll throw in some scraps big enough to make one with too!

As always the linky will expire tomorrow, but comments may be left until Tuesday morning - 24 August!  A winner will be drawn later that day!


And now the challenge!
On September 24, 2010 we will have our first ever Amy Butler exclusive Sew & Tell!  There will be more patterns, fabric, and handmade items to giveaway and you will earn entries similar to today!  Along with Amy's studio, Fabricworm and the Material Girls Quilt are sponsoring the event by donating the prizes!

Get out your Amy Butler patterns and fabrics - only linkies featuring her fabric or patterns for projects completed in the next month will be accepted that day!  It will be loads of fun!  I have lots of her fabric tucked away for different projects.  I'm hoping to get one finished each week until then!

Let's have fun with this!  I'm so excited! Can you tell?!  I've only used 100 exclamation points this post.


What sewing project did you finish this week?

Please refer to the sew & tell page   if you have any questions or wonder why your link may have been  deleted.
1. Link to your specific  post  about a sewing related finish you had THIS week.
2. Please mention sew   & tell in your post and link back to this  post (link or button) so  everyone can join in.
3.  Pat each other on the backs in the comments!

Friday, May 14, 2010

sew & tell - I'm baaaa-aaack! with a little quilting to share.

If you are new or need a refresher for Sew & Tell guidelines you can click on the tab above for details on linking up!
 

Hello there dear friends!  Thought I'd pop in for this week's sew & tell and show you not one, but TWO projects!  Are you impressed?  Well, don't be.  I only had a few lines to finish up on the quilting for the baby quilt.  And I'm kind of digging it.  And the second project isn't mine.  But it's a beauty!
I decided to go for a straight line look that I've seen around.  I stitched about a quarter inch on either side of each seam and I like how the squares got a framed effect doing this.  Plus it's quite a bit easier for a beginner quilter like me than stippling.  I decided not to show you the front until it's really finished.  Oh the suspense!!

I've learned a few things too.  I bought these handy clips (and then found some others too) to use to keep my quilt rolled up while I feed it through the machine.

This is what it looks like, all clipped up!

Second project:  Remember my mom's New York Beauty?  Well, my aunt Mary quilted it!  My mother (my patron saint of saving my butt) is here (to save me from being alone with 2 toddlers and a newborn and an impending move) and brought it with her.  We are having a binding party this week.
I still can't get over the colors in this quilt. And I love the backing.  And the wide stripe she used for the border. And that my Aunt can freehand quilt and make it look like she uses a pattern AND a stitch regulator.  I can't wait to show this to you all finished!!

So onto you guys!!

Oh wait, what?  You wanted to see more pictures of the baby?  Oh.  Okay.  I guess, if you insist.


Can't wait to see what you've been doing this week!

Your turn!

Please refer to the sew & tell page if you have any questions or wonder why your link may have been deleted.
1. Link to your specific post about a sewing related finish you had THIS week.
2. Please mention sew & tell in  your post and link back to this post (link or button) so everyone can join in.
3. Pat each other on the backs in the comments!

Monday, April 26, 2010

the baby quilt, what's next?

I should be in bed right now resting, not staying up too late. (Like I have been, reading this book - which you should read if you haven't.  Amazing true story.  It really deserves a post of it's own.)  But I wanted to show you a few more things I've done for the baby quilt.

As I mentioned last week, I found out that my backing fabric wasn't quite wide enough to give me an extra inch or two that you need in comparison to the quilt top.  (Does that make sense?)  I was getting ready to do my quilt sandwich with my new BFF spray baste when I found this out.  I was immensely discouraged.  I'd gained so much momentum and I just wanted to get it finished!

So like with any problem I have with sewing, I consulted my sewing tips hotline 1-800-CALL-MOM.  I had a plan but wanted to run it by her.  Make sure I added enough fabric to the back, etc, etc.  She approved.

So I took the leftover block sets, that weren't 5.5" - more like 4", and I set to making a row down one long side of the backing fabric.  After messing around with them I got something that looked a little like this:

It's now sewn in place and pressed.  I'm making a large sandwich tomorrow!  Part of me now wishes I'd just use these prints in the quilts and ditched the darker ones, but I know I'm going to love it once it's all said and done.

My little helper came to my rescue again and took the discarded scraps and started arranging them down the other side of the quilt.  I couldn't help but think I might have future Quilt Dad on my hands!
and my last part of this little WIP:
I'm trying to ignore how tired and old I look in this picture and instead remind myself that it's almost over and soon those two little sets of lips will be attacking their new baby sister!  And I'll be at least 8 pounds thinner purely by birthing this big "little" girl.

Thanks everyone for your well wishes on Friday's post. I'm sorry I haven't been able to visit all of you yet!  See you on the other side!

Monday, April 19, 2010

getting the quilt top put together - yay!

Wow!!! You guys are awesome!  That's the biggest group of sew & tellers that we've had since we started last fall!  Thanks to all of you who come each week and for those newbies among you, we are so glad to have you!  I love seeing what everyone is up to! (even though I can't always leave comments as my time is limited these days. boooo.)

I also wanted to clarify one thing about all the bags I make.  Only about half of them are gifts (mostly for family).  I do sell a lot of them (mostly to people I do know).  Some of the comments made me feel like maybe you all thought I was way more generous than I really am - and that made me feel funny.  As well as writing this last paragraph....anywhooooo....
*****
So I've been working away on the baby quilt! I finished sewing the top together on Saturday!

Here's what I did, once I decided on a layout I liked.  I know, I'm nutty.  I did end up changing a few things around to anchor those dark prints a bit better.  Thanks for all of your input!!

First, I stacked up each row and labeled them so I could just pick them up and start sewing.

Then, once I had the rows sewn up I pressed the seam allowances as I sewed each row together.  When doing a squares quilt, I like to press the seam allowances to the side, alternating the direction with each row.
That way, when you sew the rows together, the corners 'lock' into place.
And you end up with some pretty straight corners that match up!
 I can't take credit for this technique.  My mom taught me how to do this.  Thanks, Mom! (How's that New York Beauty coming along?)

I'm really going to try and get this quilted this week.  We'll see how that goes.  I'll show you the whole thing once it's finished.  Oooooooh!  The suspense!!
*****
In other news:
I took this picture in San Diego while we were there in January.  (I kind of feel like that big fat seal sea lion there on the right.)
It was picked up (from Flickr) for inclusion in an online tourist guide!  I'm totally flattered! It's not a huge picture - but it's up there in the right hand corner with my name on it!

Monday, April 12, 2010

i'm a control freak. it's true. and I need your help!

I really am!  It comes into play especially when I'm working with a quilt layout that is supposed to be scrappy and random.  It's part of the reason it's good for me to work with these 3 block sets.  I think if I had to lay out every single square and decide where they all go it would never get anything finished!

So the other morning I decided to let my kids walk all over and mess up help me lay out my quilt top.  Partly because I'm too tired at the end of the day to do it when they are sleeping - plus it's easier for them to move around on the floor than me.  (Did I mention we're just two weeks away from d-day?)

That being said... they did pretty well, my 2 year old got a little bored with it but girly-girl got into it.  She was a little too eager, but actually was quite helpful.

The only problem is that I feel like there might be some spots where the same fabrics/colors are a little too clustered together.

What do you think?
Don't mind the messed up corner - I think I'm leaving that one alone.  I think you can see who the little culprit is!

Monday, April 5, 2010

falling in LOVE

The more I work with this fabric the more I LOVE it. No pun intended, for real. It's really out of my comfort zone to just mish mash all of these colorways together. But I'm really liking it.

Here's some of what I did on the baby's quilt this last week.

I took my strip sets (5 1/2" strips sewn in groups of 3), and cut across the seam lines at 5 1/2",
Creating this:
3 sets of blocks (per 1 strip set) 3 blocks across.  And look at all the block sets together!
I haven't worked out an arrangement yet.  I need a large floor space and two sleeping toddlers.  But see how I have two options with each block set?
I can just flip one set upside down and have polka dots on the left OR the right.  Clever, right?  This is why I had to move half my strip sets to get a polka dot on the end instead of all of them being in the middle.  I just increased my design possibilities two-fold.

I'm just going to sew 3 block sets together to create rows of 9 blocks.  And I will have 12 rows.  The finished block size is 5" so the quilt will end up 45" x 60"  Which is perfect, since the crib size battings come in that size already!  And it's big enough that she (who has yet to be named?!?!  hello!  I only have 3 1/2 more weeks!!!!) will be able to use it for a long time!

I just love this technique, because I certainly don't have the patience to cut out 108 - 5" squares and sew them all together. One. By. One.

Basically, I'm a cheater.  Don't tell, okay?

These are some of the pieces of which I had more than just a fat quarter.  They've been draped over the back of my chair for over a week calling to me.  A bag? Crib dust ruffle?  Sheets?  Bumpers (what's the deal with bumpers anyway?  Are we not supposed to use them anymore?)?

Hello, comfort zone!  How are you doing?

*****
Baby update:  I started on my weekly appointments two weeks ago.  Because of my history, I have to start those about 6-7 weeks before my due date.  I get an ultrasound, a non-stress test and a visit with my doctor and/or his midwife (who I adore).  So far everything is looking really great.  She is already 6 pounds and we have an induction scheduled for the 29th of THIS MONTH. It's a Thursday.  Maybe I can swing some pictures for my guest sew and teller that Friday.  :)

So while I probably ought to be cleaning and getting my crap stuff torched thrown out organized, I'm getting a lot of sewing done.  What a fun way to procrastinate!  And it really helps that both of my kids have been sick the last few days.  And that my little guy woke me up a couple hours ago burning up with a horrible sounding cough.  So yes, when you see the post time as 3 am, that's right.  I'm going to be tired tomorrow.

Wednesday, March 31, 2010

some quilting updates - aka, fatal design error

I finally got the backing fabric for my bird quilt.  And thread to quilt it.  I decided I wanted to quilt this myself.  It can't be that hard, right?

Well, straight lines are harder than they look.  Luckily, my mom sent me the plexiglass table the fits my machine arm so I should have better maneuvering of the quilt now.  I think I might have to take some of these out, but that's okay.

I also spray basted it and I LOVE IT!  I've never really safety pinned a quilt (whatever, I've never quilted really quilted a quilt on this machine), but I can imagine not really liking it.  It was bad enough crawling around on the floor with this enormous belly to get the fabric smoothed out.  I'm excited to keep going on this and see how it turns out.

*****
I also sewed my strips together for the baby's quilt.  And I thought I was being clever with my strips.  Do you see my fatal error?
I made sure in selecting my sets of 3 that each set had a dot in it (except for 2).  Then I smugly thought it would be great to have all the dots in the middle.

Oooooops.  When I layed them out like this, I realized that meant I would have stripes of polka dots running down my quilt.  Not exactly the scrappy unplanned image I had in mind.

Then I realized I could just take a strip off one end and sew it to the other side. This moved the dots  from the middle to an end.  Does that make sense?  I did this for half of my strip sets.  Crisis averted.

Then when I layed it out to get an idea how it's going to look, I saw this:

Much better.  Don't you think?

Sunday, March 21, 2010

decision made!

I wrote a post a while back that I've referred to many times.  It's all about procrastinating cutting into your fabric.  Do you want to read it?  It's what kept me from doing anything with this fabulous Amy Butler Love that I've had for a while.
I had some quiet alone time with my fabric and a clean kitchen table to use.  So I decided that I really should start this baby quilt if I want to get it done this year.  :)   I won a bunch of these fat quarters, but wasn't sure how they would all look together.  So I ordered some more, mostly blues and greens and several more of the dots.  Side note - how does Amy B. keep making such fabulous polka dots!?  I mean, they are just dots - but so cute, as always.

I ironed them all up and laid them out on the floor (as seen above).  It was a really good way to study the colors.  These prints are all very different, as is the color palette.  But it's amazing what you see when you start analyzing them all.  There is a speck of turquoise in the red prints, some red in the blues, some green in the purples.  I really think this is going to look so fun!

When deciding on a pattern to use, I decided I was just going to do a basic scrappy squares quilt.  Initially I thought I would separate each print with a cream square.  Then when I realized I had enough fabric, I decided to throw all caution to the wind and just smash all of these delicious prints and colors right next to each other!  I know, I'm so adventurous.

I'm going to strip piece this quilt.  Have you done that before?  The quilt will be 9 squares across and 12 rows down, the finished squares being 5" wide (finished quilt size 45x60).  I've cut these fat quarters into 5.5" strips and grouped them into 3s - I couldn't be totally random, so I tried to put a lot of contrast in each set and almost every set has one of the dots in it.
Next up, sewing these strip sets together.   If you are interested, I'll continue to show the process as I work on this.

*****
In other good news - I have had such a response on taking a break from sew & tell this summer that I am going to work something out where we can still do it.  I have many friends who have volunteered to guest post while I am recuperating/recovering/getting settled in to our new life with baby and move.  So it looks like we'll still be here every Friday!  :)
Thanks everyone!