Showing posts with label skirts. Show all posts

Monday, June 3, 2013

{not a tutorial} chevron skirts - V. and Co. style

Or should I say Simply Style! Because that is what line this awesome fabric comes from!

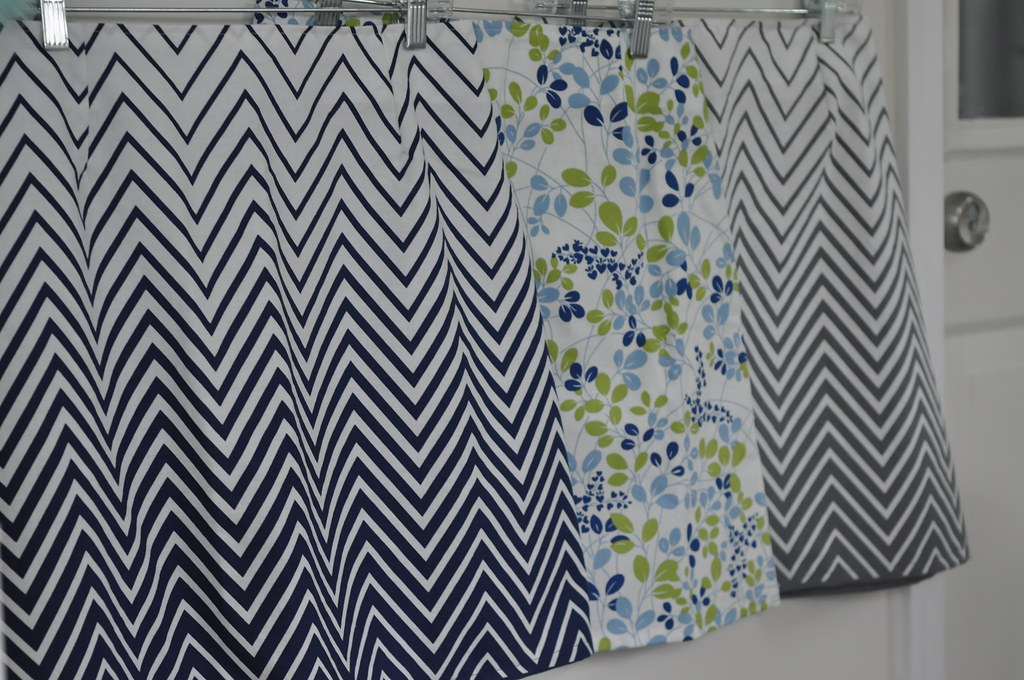
Vanessa of V. and Co. asked me to do a bit of sewing for her again for her new fabric that debuted a few weeks ago at Spring Market.  I had made her an a-line skirt when her first collection Simply Color came out last year.  So we reprised the same pattern in gray and navy ombre chevron.
twins!
 This picture is more fun though (Thanks for sharing V!) Her new collection and patterns are too awesome.  Love that quilt behind her.  If you go to her market recap there's a video of the Moda Schoolhouse and she talks a little about the quilt!
 
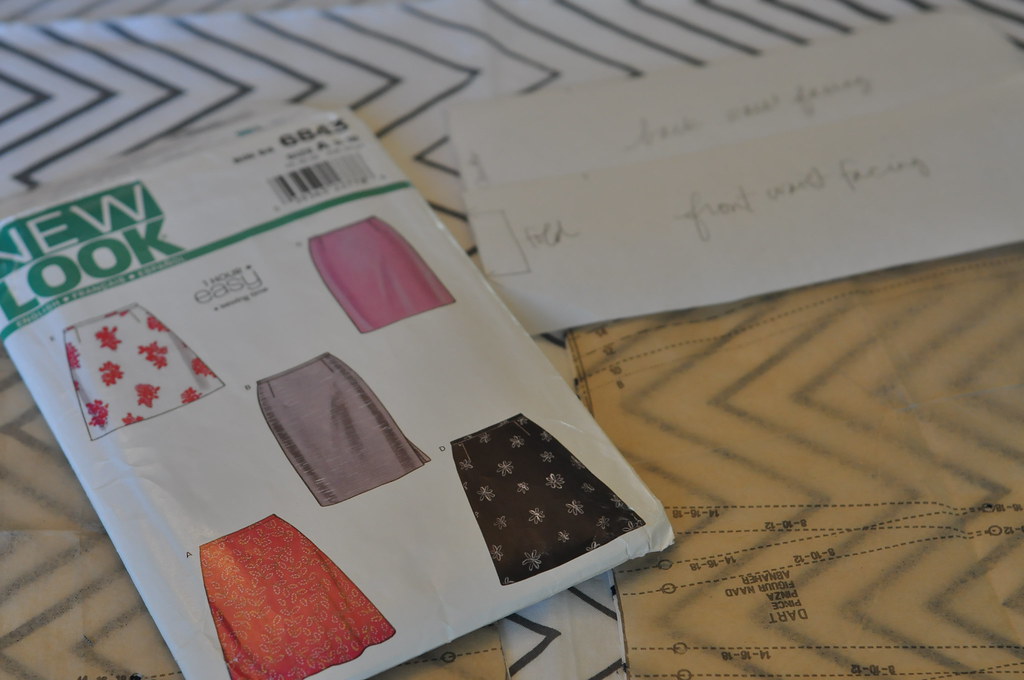
I used this new look pattern 6843, which is a basic a-line. Of course I had to make a little change. Instead of a sewn on waistband (which always makes me feel like I'm getting sliced through the middle) I made a facing so the skirt sits just below the waist without any bulk of an extra seam.  I know there is a newer pattern out the with a facing but I can't remember where I saw it.  This isn't the only a-line skirt out there.
new look - 6843


A-line skirts are pretty simple.  It's important to measure around the hips to select your size.  And remember that pattern sizes have not been subject to size inflation.  You will probably wear at least 3 sizes "larger" than you would buy in the store. And it's okay.  Don't let it freak you out!

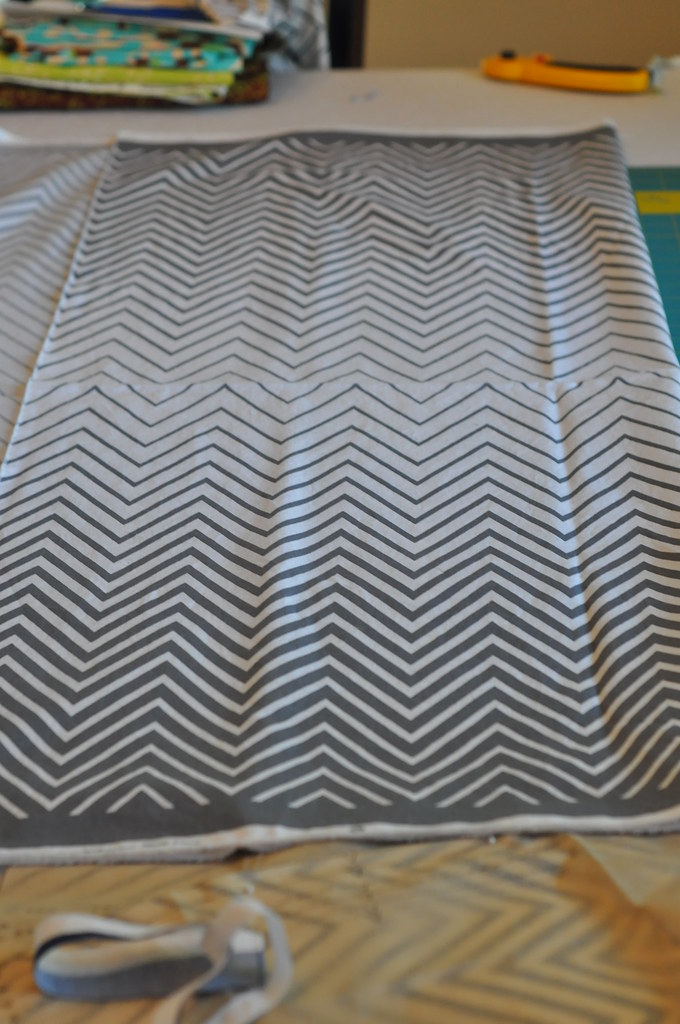
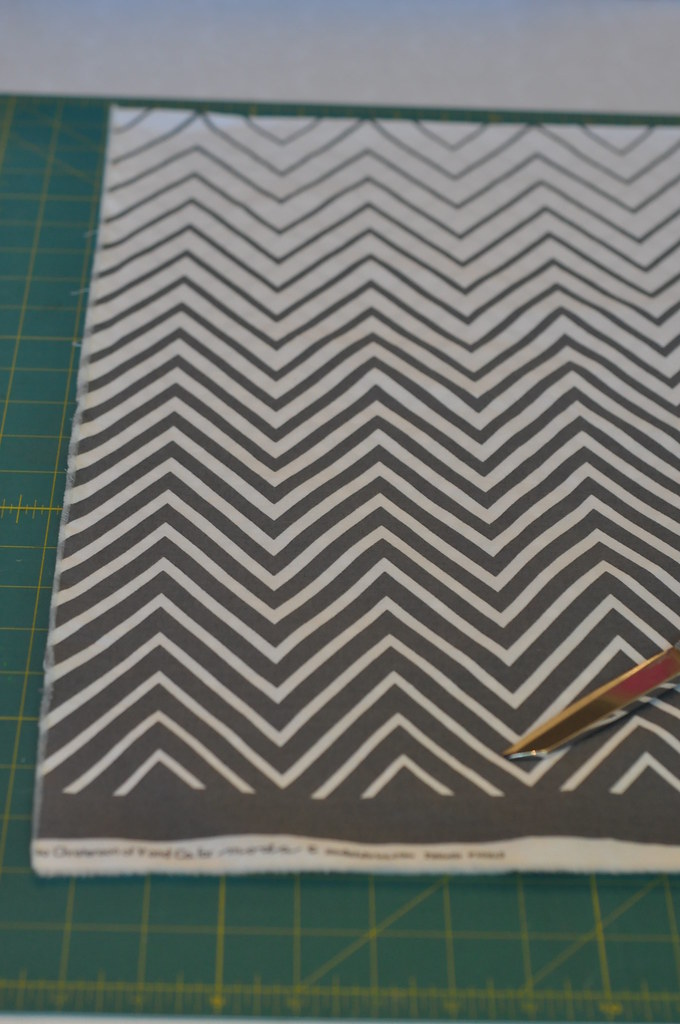
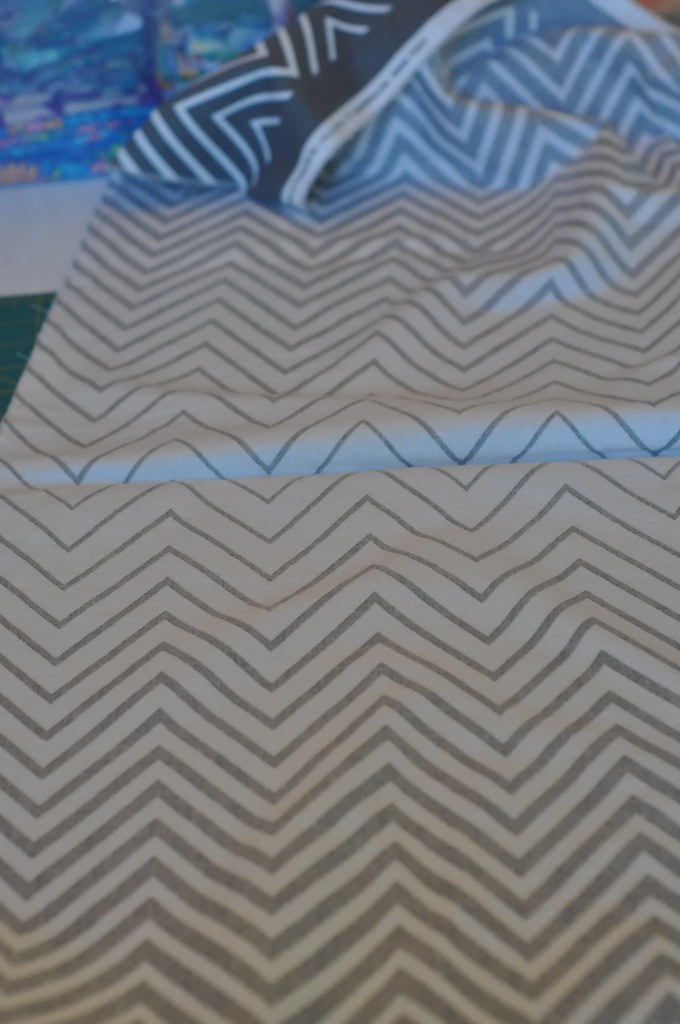
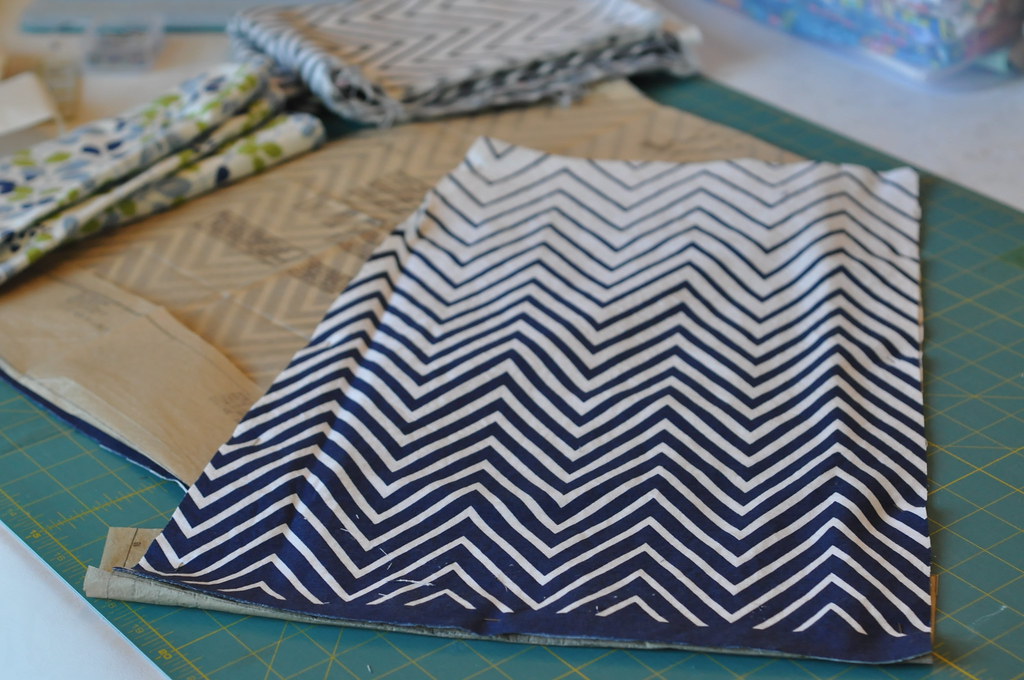
The chevron off the bolt is printed selvedge to selvedge, so it's important to know that you should NOT follow the cutting diagrams in the pattern.  Otherwise your chevron stripes will run vertical.  So you will need to refold your fabric.
refolding 3refolding 1refolding 2

(L-R)
Photo 1 This is how the fabric comes off the bolt.
Photo 2 Open your fabric up and lay in a single layer
Photo 3 Take your cut edge and fold it over so you have selvedges on both edges.  This will make sense when you lay out your pattern pieces.

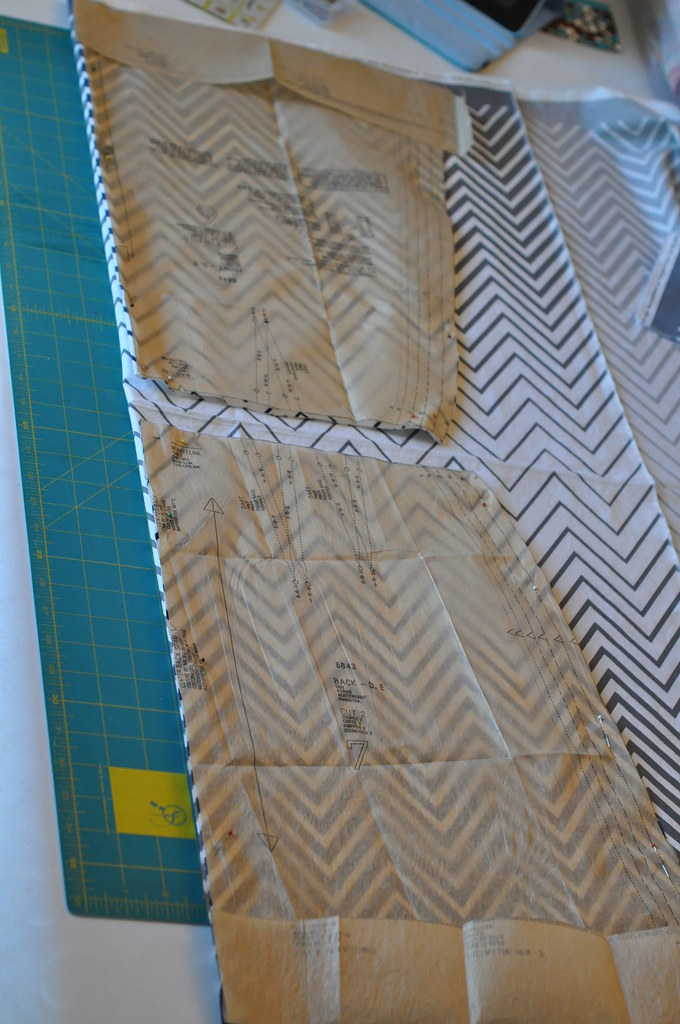
placing the pattern pieces
It's also important to note that if you are tall or want a skirt that is longer than 20" or so, you will need more fabric.  Those of us on the petite side can use less because of the width of fabric and will be able to fit two pieces along one fold (as shown above - much longer though and you'll run out of room for both pieces).

For instance, I knew I wanted a finished length of 20" (adding a 1/2" for the hem and a 1/2" for a seam allowance for attaching the facing).  So I measured along the fold (center of pattern front and back) 21". And I placed the hem of the pattern along the selvedge where I wouldn't lose too much of the design once hemmed.  If you have made skirts before you know you can sometimes fudge the length and just cut it up or hem it more once put together, but I would suggest knowing going into it, so you don't lose any of the bottom for the ombre effect.
cut skirt panels
So there's one of the panels cut!  This fabric is so pretty!!

Now the rest of these instructions are if you use this pattern or have to create a facing for the pattern you have.  If you even want to do that!  I won't be offended if you scroll down to the bottom to just look at the pictures!

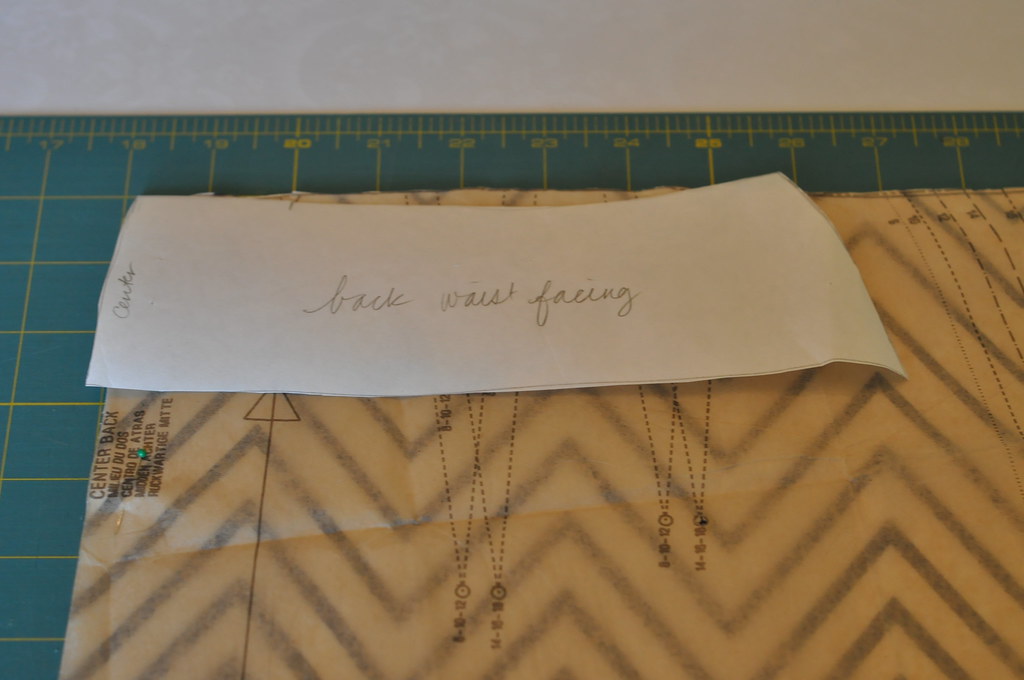
To make a facing pattern, you pin the darts in and then trace the pattern piece from center to side seam and about 4 " long. I also used a light weight interfacing to stabilize the facing.
facings
You can see in the above photo that the facing piece doesn't reach the side seams.  Once you put the darts in, it will.  (I know this isn't the best explanation and I probably should have taken more photos.  I made this pattern last year when I made the first skirt...)

Be sure to cut the facings like the skirt: one long piece for the front cut on the fold, and two pieces for the back.  Attach interfacing and the sew them up at the side seams.

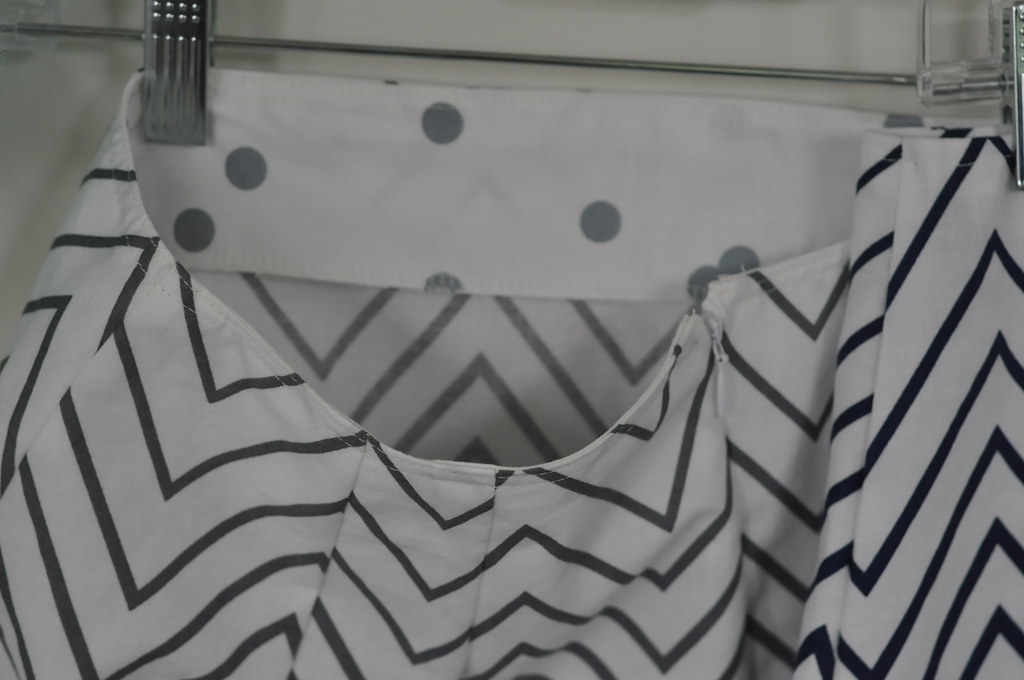
So once you have your skirt put together, instead of putting on a waistband you can just pin this, right sides together and matching side seams to the top of the skirt and stitch around.  I chose to finish the edges with the serger and then top stitch it down at the top so it wouldn't roll.
facing
I had some fun using the ombre dots from Simply Color for the facing on the gray skirt.  :)

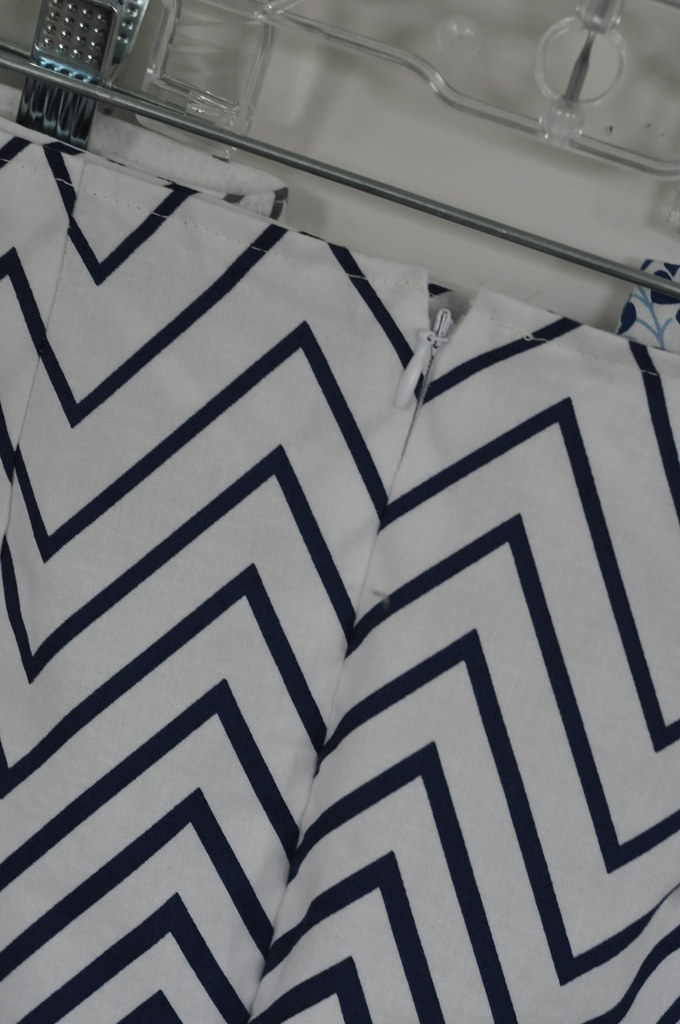
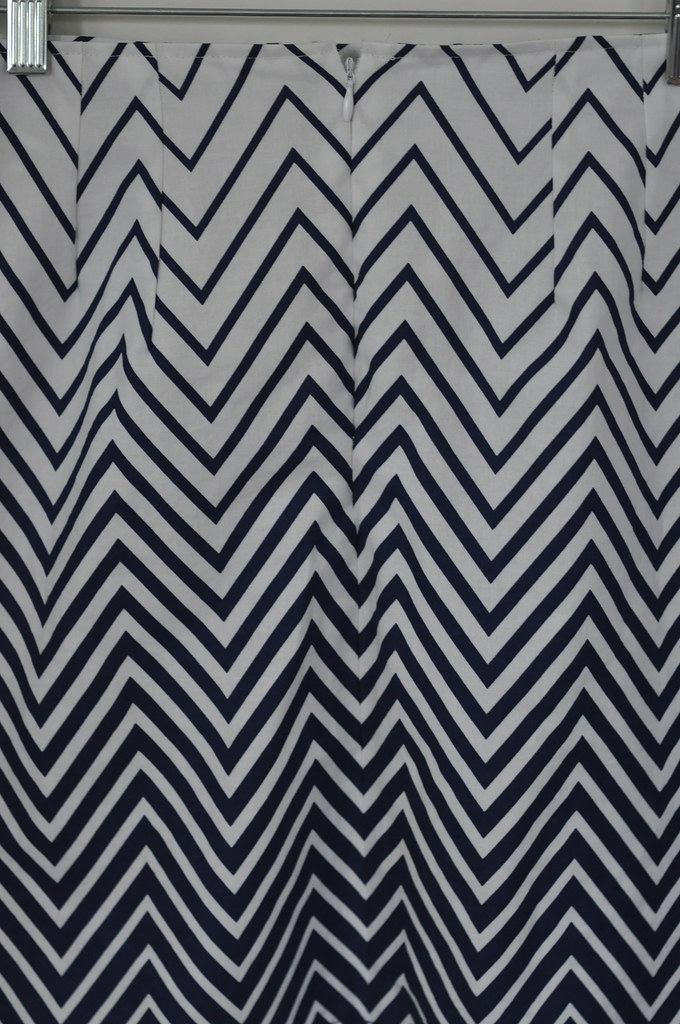
Two other things I did on this skirt was put in an invisible zipper withOUT (!!) an invisible zipper foot using this tutorial. AND I managed to match up the chevrons on the back side seam pretty darn well!!  I had to pat myself on the back for that one.  Just make sure you have your fabric folded matching the lines and you should be able to do that too!
invisible zipmatching pattern down the back seam

Here are the lovely ladies joining their older sister from last year.  Luckily I had Vanessa send me the first skirt so I would know what size to make it!  I get super nervous sewing for people when they aren't here to try things on in person!
adding to the a-line collection

I really loved making these and think I might add a couple to my wardrobe next!  Thanks Vanessa for helping me send a little piece of myself to market. Maybe one day I'll get there myself!


Monday, April 22, 2013

yes you can! Sew Knits with Confidence! aka Nancy Zieman's new book/blog tour + giveaway
 *****GIVEAWAY CLOSED - WINNER HAS BEEN NOTIFIED*****

Wow! Was that the longest title for a blog post ever?! Well, now you know what we're talking about today!

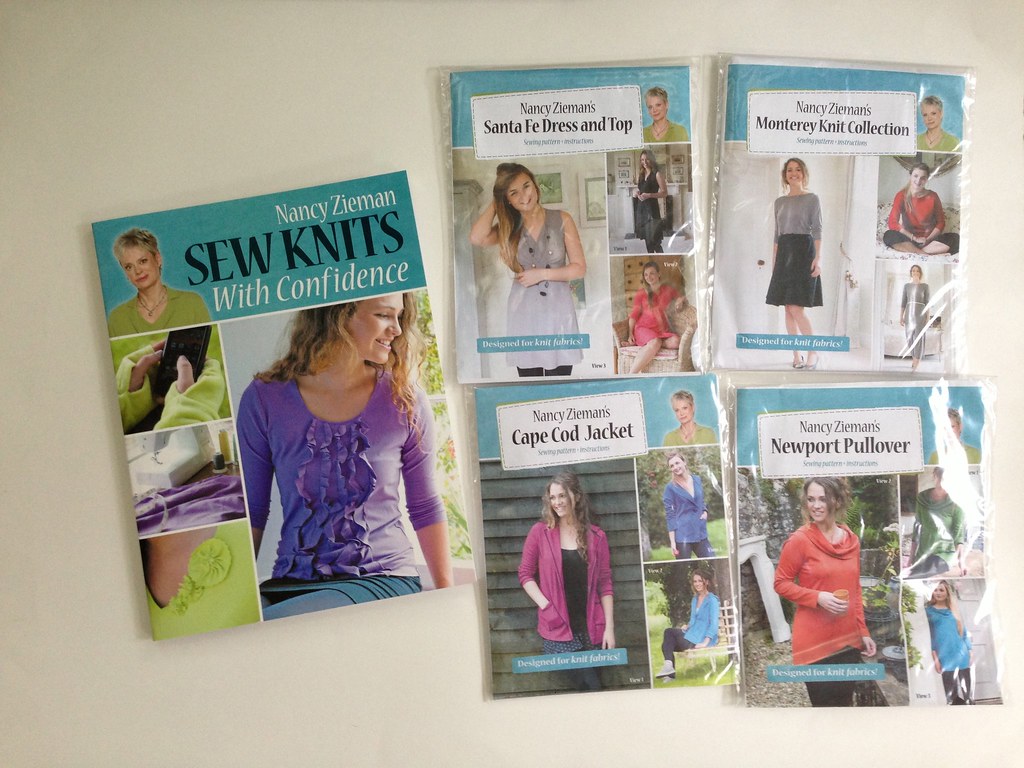
I was so happy to be asked to participate in the blog tour for Nancy Zieman's new book, Sew Knit With Confidence + her 4 new knit patterns.  She sent me a copy of her book and each of the four patterns to review and choose one of the garments to make.  She also sent me a book and pattern set to give away (see end of post)!

Untitled


I'm not going to lie.  I was reeeeeally nervous about making something out of knit.  I have a serger which is great for sewing knits, but I mostly use it for finishing of the seams on nice non-stretchy cotton.

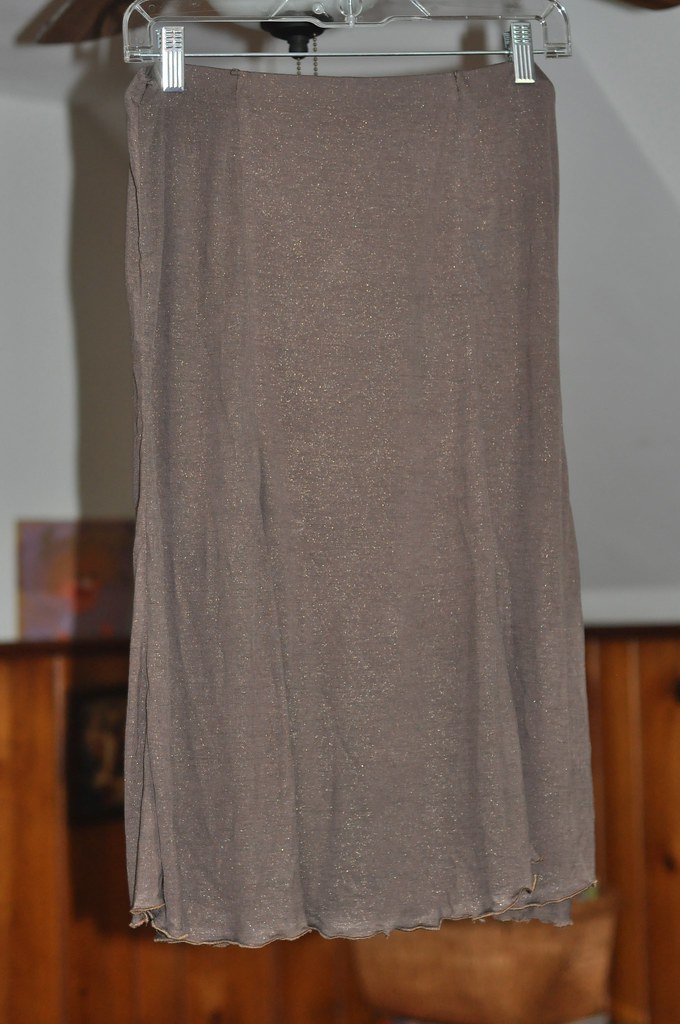
After reading through the book and all of her great tips in there I decided I could try it, and if it didn't work out then, oh well, at least I gave it a go. I decided to make the 6 panel skirt from the Monterey Collection. It ended up being super fast!  The actual sewing time was easily less than an hour.

Looking back on the whole project I think the two hardest things were unrelated to the pattern!
1. It is really hard to find nice knits in good colors at local fabric shops.  I need help sourcing good knits!
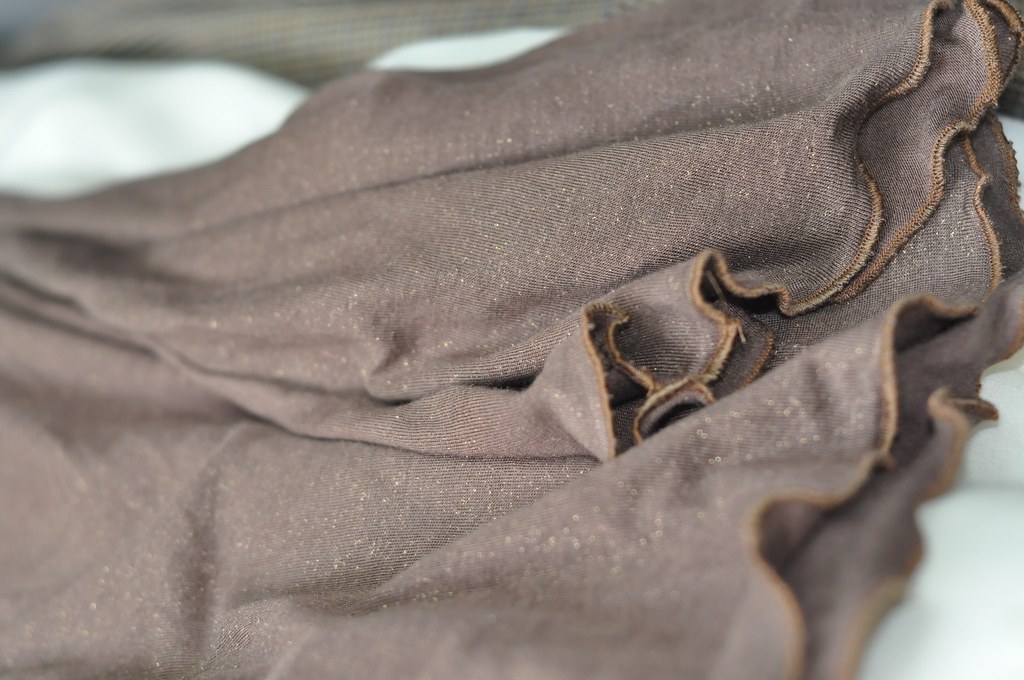
2. The knit I chose - while pretty (milk chocolate brown with gold flecks on it) and drapey - it was VERY hard to lay flat on the floor to cut out my pieces!!

After a call for help on Instagram I tried taping it to the floor to get it flat and keep it in place while I pinned.

I ended up using my fun new tool - the tracing wheel and chalk paper - to just trace the size I wanted onto the fabric.  I made a size medium skirt with a s XS length as I am not super tall and wanted it to hit just past the knee.

Plus I had plans to try out a rolled hem since the knit was pretty thin, I wasn't sure a traditional hem would turn out so well.  And I wanted to learn how to do a rolled hem!


The skirt panels went together very easily! I was pleased with the cut of the pieces that give the skirt a nice flare and flounce just above the knee.


I then decided to try out the hem after being encouraged by several friends at the retreat I went to last weekend.  I got out my manual, got a bagel for some sustenance, and opened up the machine and started changing the settings.
And what do you know!!!??  It was so easy.  All I had to do was follow 3 simple instructions! I really should read the manual more often.

As a side note: I did use a serger for this skirt - but the pattern has excellent instructions for using a regular machine too.  So a serger is NOT necessary for sewing knits.

I love the way it turned out on the skirt!

Untitled

The last step in the pattern was to put in the elastic in a way I had never tried.  You sew the elastic to the wrong side, stretching as you go.  Then you fold it over and anchor in the seams so it doesn't fold back up!  I tried to take a photo here.
I love the nice clean look of the waistband with this method.

Untitled


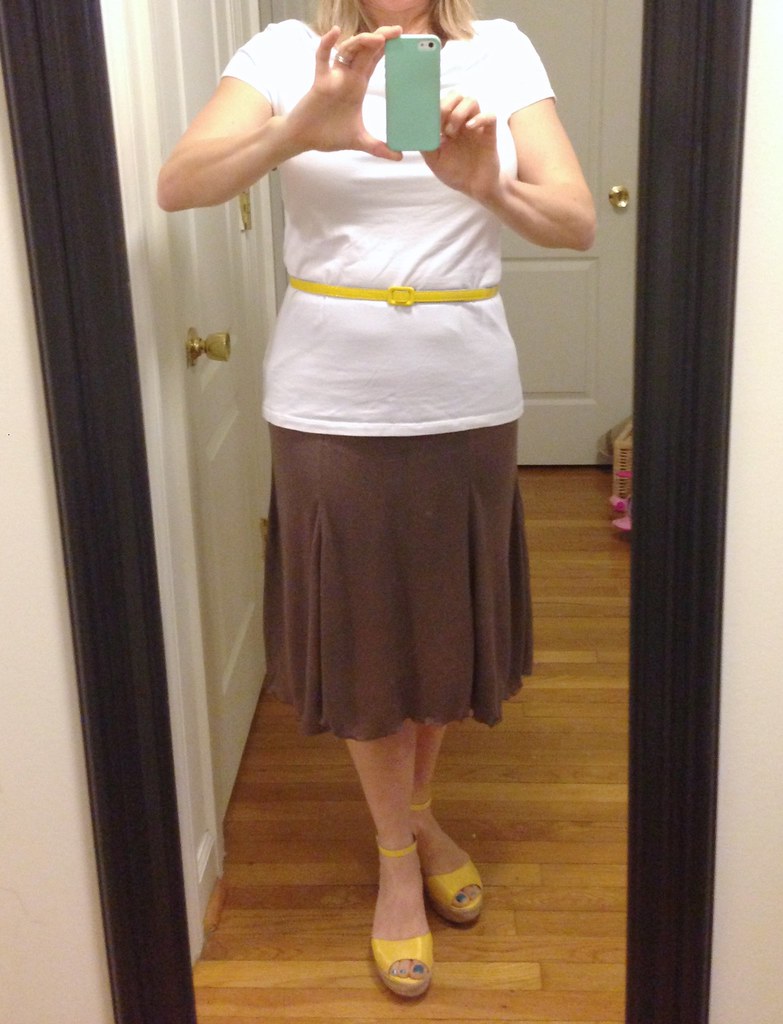
The bottom line is, I learned so many things from this one simple pattern! I was just thinking today how the title really is appropriate, I do have more confidence sewing knits.  And not just knits, but with the new techniques I learned for using my serger! Win-win! Plus I have an easy comfy new skirt to wear.

Untitled

Pardon the selfie on my phone!  I didn't have a chance to get some better photos taken.  But this gives you a good idea.  The fit is perfect and the knit is so comfortable.  I see myself making more of these in the near future!!

Check out the rest of the posts in the tour with many more chances to win!
April 16, 2013 Nancy Zieman the Blog
April 17, 2013 Gertie’s New Blog for Better Sewing
April 18, 2013 Totally Stitchin 
April 19, 2013 Sew Beautiful Magazine 
April 20, 2013 Marie Madeline Studio 
April 21, 2013 Stitchin Jenny’s
April 22, 2013 Amy Lou Who Sews 
April 23, 2013 Sew News
April 24, 2013 Designs in Machine Embroidery  
April 25, 2013 Riley Blake Designs 
April 26, 2013 The Sewing Loft Blog 
April 27, 2013 Nancy Zieman the Blog 

Now it's your turn to win, just leave me a comment and tell me what the scariest sewing project is that you've ever tackled.  I will choose a winner of a Sew Knits With Confidence Book and Knit Pattern Set! I'll announce winners at the end of the week! 

Don't forget - if you are a no-reply blogger leave your email in the comments.  Or just go click on the little button over there on the side and remedy the problem! :)


Wednesday, June 6, 2012

to market, but not really

I know it's been a few weeks since Quilt Market.  I've wanted to go ever since I heard there was even such a thing.  Fabric heaven where fabric designers go and hang out with the mortals!  Every six months I drool over post market recaps and twitter and Instagram feeds from people who are there!  This year a part of me went to market. Sort of.  I should have sent a flat Amy with Kim and Sara (their links go to all of their market recaps! excellent posts!), but I'm not that organized.

Instead, I was very lucky to have been able to help Vanessa with her booth.  I made several samples to help display her new fabric line Simply Color.  I just love the simplicity of her designs and the bright vibrant colors!

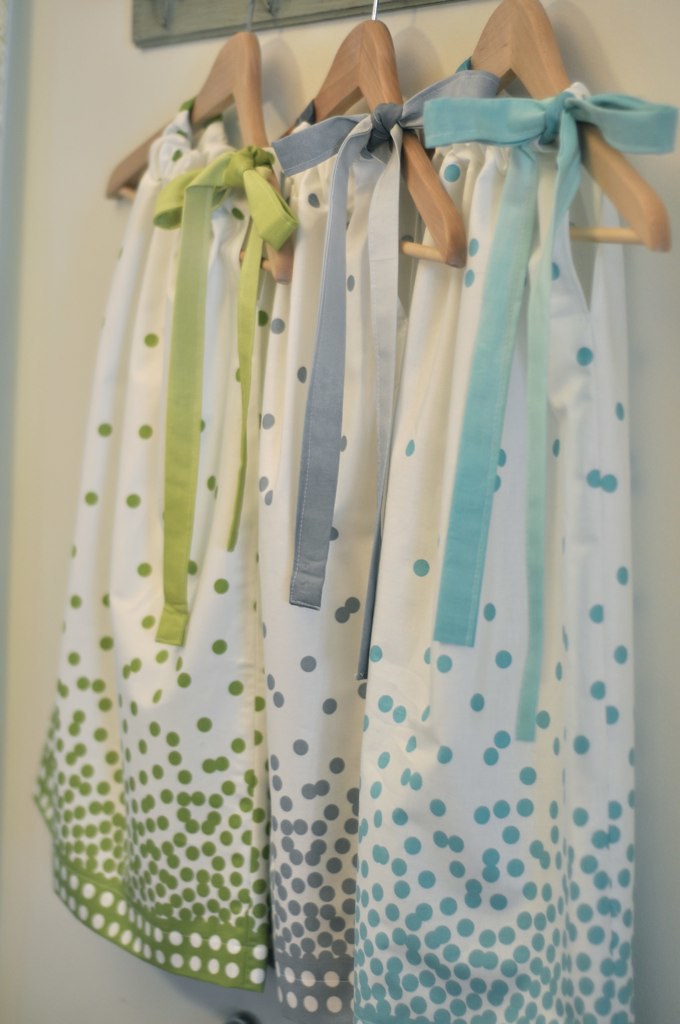
This polka dot border print is adorable! And her request for pillowcase dresses was a perfect way to showcase them!
Pillowcase dresses

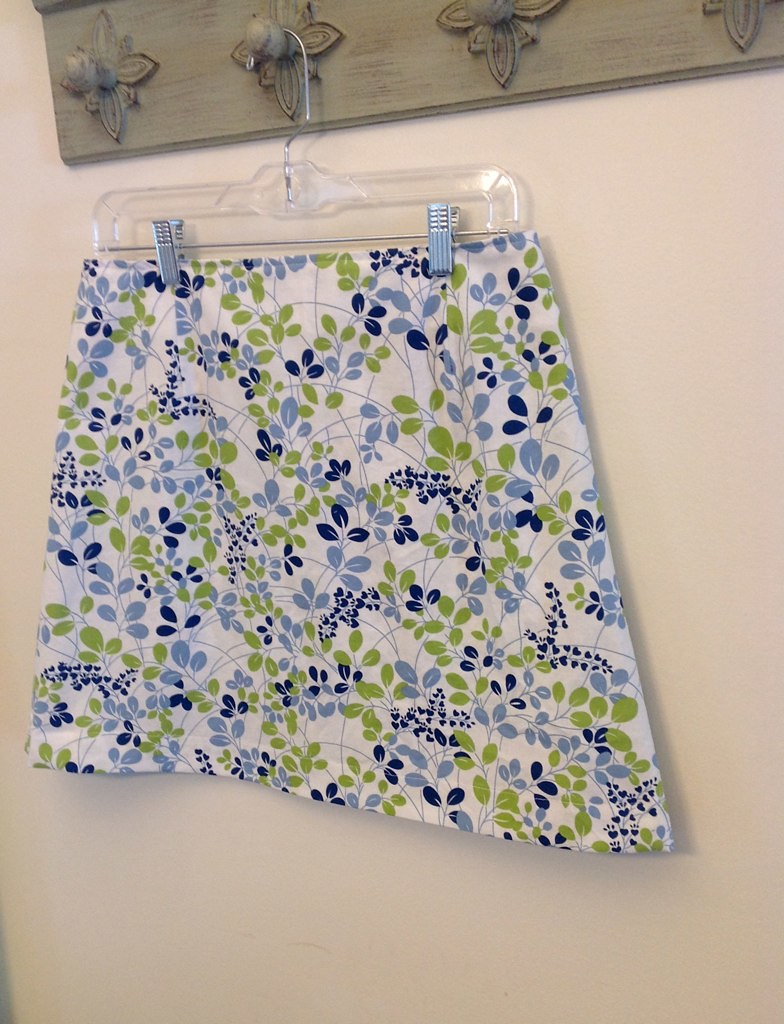
She also asked me to make a skirt for her to wear and I was so nervous that it wouldn't fit right, since we don't live close enough for me to have her try it on while I was making it! And the angle of this picture is terrible, but it was the only one I took!
A-line skirt

I was happy to see a picture of her wearing it - so it must have not have been a completely horrible fit!  And loved seeing her whole happy booth!  And her being her usual funny self -  I love her 'sassy' face! haha!!
photo courtesy V. and Co.  Check out her post HERE.
And it was a little surreal to see the pillowcase dresses hanging up there too!
thanks for the photo Kim!

I'm planning a {not a} tutorial post for the dresses and skirt soon.  Stay tuned!


Friday, June 1, 2012

sew & tell v3.33 - a little bit of tweaking

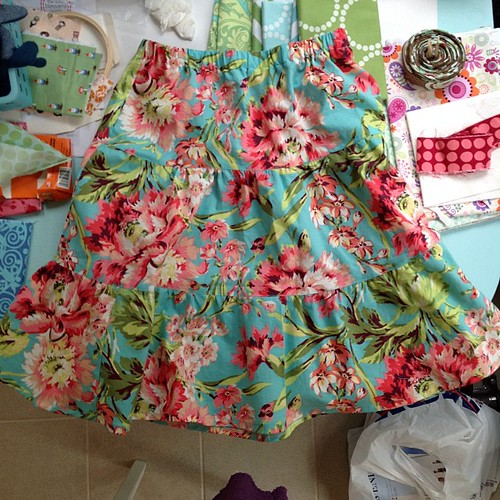
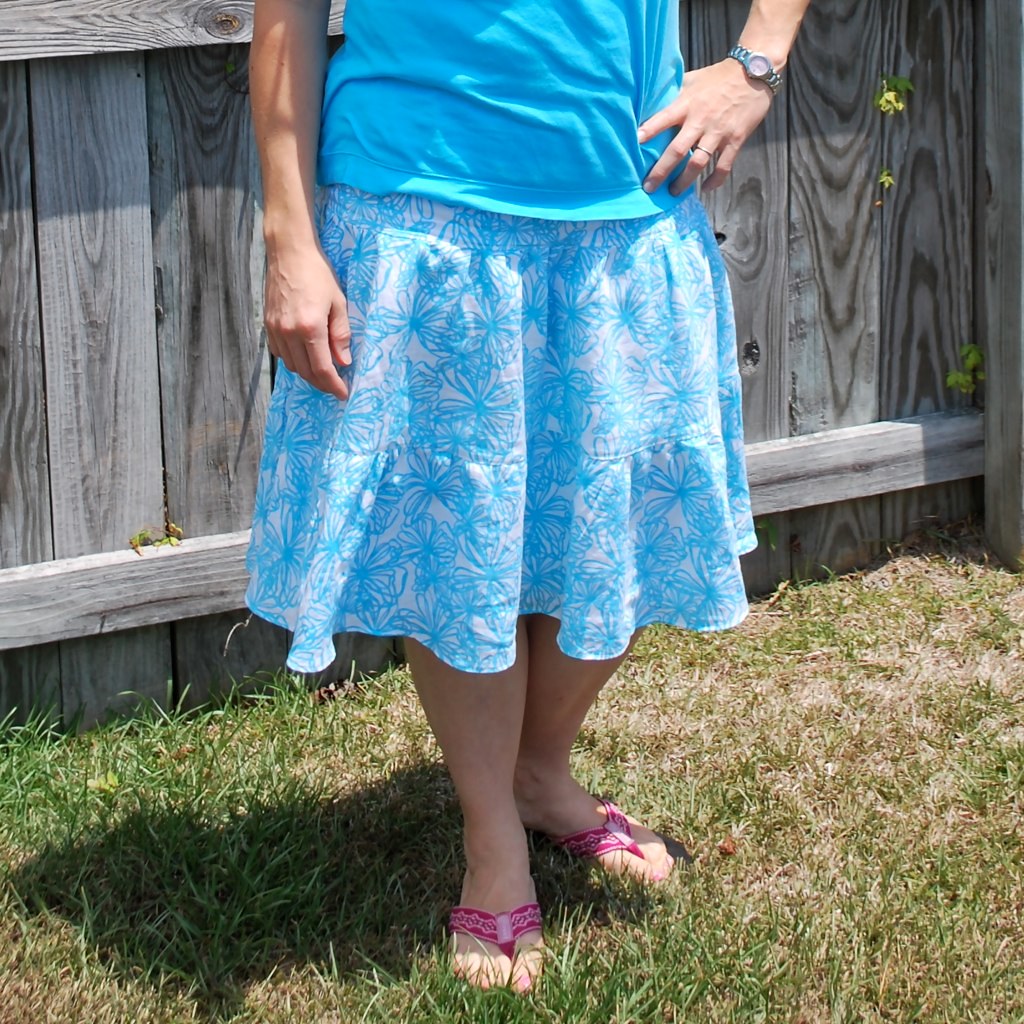
I'm in love with skirts in the summer. I love wearing them like shorts with t-shirts (that may or may not match) and flip flops. I blogged about this skirt pattern last year and have been converting friends to it as well A friend came over this last week to sew and I helped her make this beauty!


My friend just finished this amazing skirt! I don't think there's a fabric in that LOVE line that doesn't look good as a skirt.

I've been stewing over some Joel Dewberry fabric since I bought it last fall. I bought it initially thinking I would make a skirt. Then I thought maybe it would make a cool tunic. Then it didn't get made for the fall. I pulled it out the other day and after a few consults with some friends I went back to the initial plan! The other problem is that the print is so big and lovely that I didn't want to cut it up into two tiers.

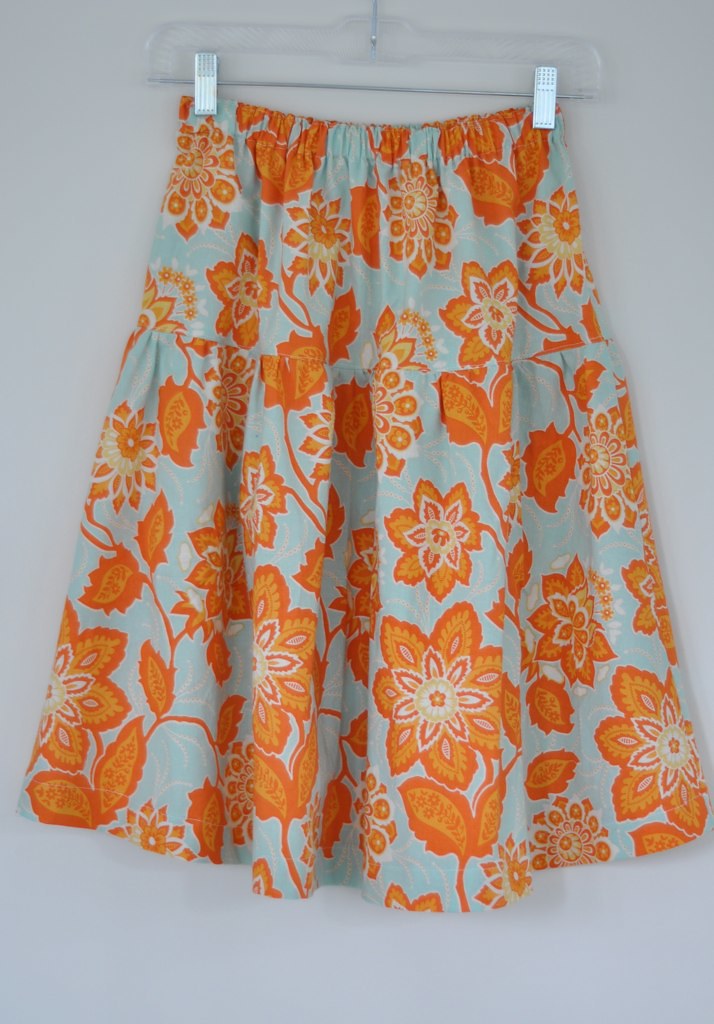
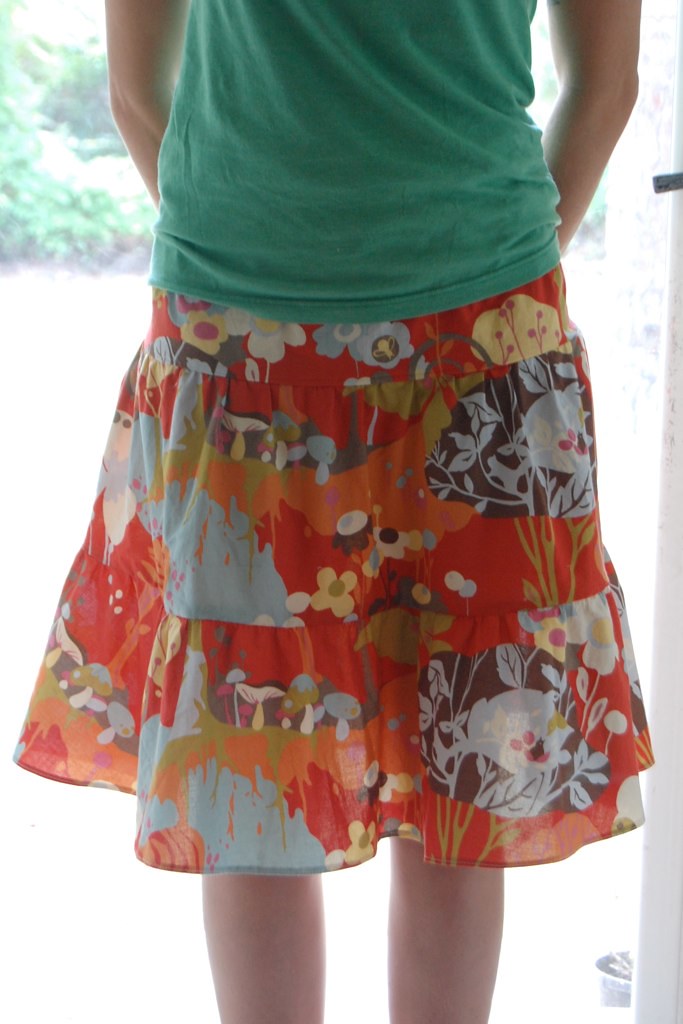
I tweaked that original pattern into a simple dropped waist skirt and I love it!!
a new skirt for me!
Now I am going to make like 18,000 more.

I'm planning a {not a} tutorial on this skirt soon!

What did you do this week? Can't wait to see!
Linky Rules.  Please follow along for a fun party!
1. Please write the post for sew & tell - or add a blurb mentioning sew & tell to a post written since the last sew & tell.  If you are linking to a post with your own tutorial, please make sure it was a finish from this week and that the completed project is shown first.
2. One linky per person. (please put multiple projects in one post.)
3. Link to your specific post.  (See here for permalink instructions - or email me.)
4. Link back here with a link or a button (HTML on my sidebar).
5. Be sure to visit and leave comments on other's posts!

Please put your (blog)name instead of your project name, it helps us get to know each other better!

Thursday, May 31, 2012

WIP wednesday (thursday report!)


I actually worked on a few projects yesterday while we had a bunch of rain from a little tropical storm.  No big deal.  Something about a rainy day and no committments makes me want to make a mess with my fabric!

First up, I've been working on some New York Beauty blocks for a little swap I'm in.  I'm afraid I'm liking it so much I'm not going to want to send it off. I guess I'll just have to make my own.  I just LOVE it!  Can I say that or does it sound lame?


I've been hemming and hawing about this fabric forever.  At one point I decided I'd do a tunic.  Then I decided to make another skirt.  But then my trusty tiered skirt would cut up that big gorgeous floral more than I wanted to. So I've been concocting yet another alteration to that pattern.  It's actually working and I'm rather tickled. 

Come back on Friday for sew & tell and the finishes!

Friday, May 11, 2012

sew & tell v3.31 - summer clothing love

Happy Friday friends! And welcome to Sew & Tell!


My friend and 'sewing student' Jessica came over a couple of times in the last few weeks so she could finish up her skirts before she moves.  She finished the one she has on the first time she came over and got the one she's holding up almost finished on her last visit!  I posted about these skirts last spring - it's an adaptation that pattern.
 I have the same fabric that she's holding up and I want to go buy the green Bali Gates (from Amy Butler's LOVE collection) to make one like that too.  I just love these skirts.  Way better than shorts in the hot and humid summers we have here.

While she was making her skirt, I had a project I needed to work on involving pillow case dresses, which I have never actually made.  So before I screwed up the ones I was making for my friend, I tried one out with some Sandi Henderson Secret Garden fabric. 
I ended up using this tutorial, with several modifications.  I'll try and blog about it!

I love the way it turned out!  This fabric is perfect for it! I think sisterlouwho likes it too.
The only problem was that babylouwho thought it was for her.  So I put it on her to appease her. 

So it's a maxi-dress, no big deal. She was more than happy to keep it on.

I'm itching to make more summer clothes for all of us! Stay tuned.

If you haven't entered my giveaway for an awesome new quilt book, Geared for Guys by Emily Herrick of Crazy Old Ladies Quilts, scroll down to this post and leave a comment!

Your turn to share ~ Show us what you've got finished!
Linky Rules.  Please follow along for a fun party!


1. Please write the post for sew & tell - or add a blurb mentioning sew & tell to a post written since the last sew & tell.  If you are linking to a post with your own tutorial, please make sure it was a finish from this week and that the completed project is shown first.
2. One linky per person. (please put multiple projects in one post.)
3. Link to your specific post.  (See here for permalink instructions - or email me.)
4. Link back here with a link or a button (HTML on my sidebar).
5. Be sure to visit and leave comments on other's posts!

Please put your (blog)name instead of your project name, it helps us get to know each other better!

Friday, October 14, 2011

{amylouwho} sew & tell: v3.4 ~ a skirt!

Welcome to sew & tell! Hope you found us okay, and I'm SO sorry about the mess with last week and my URL. Please note my new address is amylouwhosews.com.

It is especially important today to link back to this page so that everyone can know where to find us! I've updated the HTML for the sew & tell button on the side so you can just swap out your old button. But enough boring stuff...

I'm fresh off the heels of The Sewing Summit! Which I will be talking about some more until you want to run screaming to your nearest quilt shop just to get away from me. But seriously, what a great weekend and I came back SO inspired and motivated to start hacking up my fabric!

It's one thing to read a bunch of blogs and get inspired, it's a completely different and exhilarating thing to meet these bloggers in person and sew with them!

I finished my bee blocks during sewing time last Saturday night and started another dresden table topper/miniquilt. I then came home and cut strips for a table runner I've been meaning to make forever, and a skirt as a going away gift for a friend. So clearly when I say it was inspiring, it was! I wish I had all weekend to just sit around and play with fabric!

I have a dear friend that I've made this year who is moving today. :( It's a long story that maybe I'll blog about another time, but she gave me ...wait for it... HER SURFBOARD! I'm so stoked, dude, to like, start surfing next summer!

But seriously, it's amazing. I don't have a picture of it yet, but I will. I have to! It's my favorite color!! Anyway, that little scarf I made a couple weeks ago was for her, but I also wanted to make her a skirt.
oh yes, another skirt
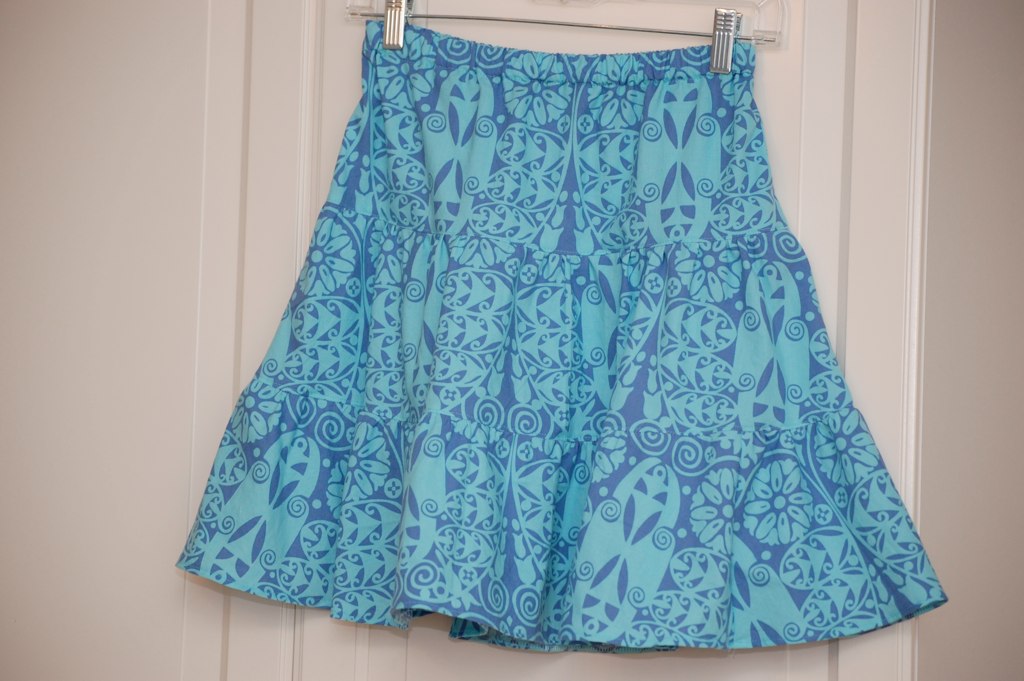
I pulled out my trusty pattern and sized it up for her. I just loved this Amy Butler Bali Gates for her because of the color and it looked beachy to me. The oval in the pattern almost looks like a surfboard.

my new izzy and ivy 'sprinkles' in use
One of the things in our swag bags from The Sewing Summit were these cute little 'sprinkles' (tags) from Izzy and Ivy Designs. I love it! Now we can all find the backs of these skirts without have to check the seams!

So, what have you been up to this week?

Please follow the guidelines as spaces are limited - linky will close after the first 30 entries.


Linky Rules.  Please read carefully.  The delete monster will be eating non-compliant links.
1. Please write the post for sew & tell - or add a blurb mentioning sew & tell to a post written since the last sew & tell.  If you are linking to a post with your own tutorial, please make sure it was a finish from this week and that the completed project is shown first.
2. One linky per person. (please put multiple projects in one post.)
3. Link to your specific post.  (See here for permalink instructions - or email me.)
4. Link back here with a link or a button (HTML on my sidebar).
5. Be sure to visit and leave comments on other's posts!

Friday, July 1, 2011

sew & tell - july 2011

Happy July!  I know it's a long weekend for those celebrating Independance Day!

I've been on a sewing binge lately and realized that if I'm sewing a lot, I'm not blogging very much.  And if I'm blogging a lot, I'm not sewing very much.  This is a tricky balance since I try to blog about what I sew... so I'll spread out some of the projects I've been working on and just share a few of my favorites today.

I blogged about this skirt I made a few weeks ago.  I AM in LOVE and would wear it every day if I could get away with it.  So the next best thing?  Make more!  Here's the finished product of skirt #2.
new skirt #2
And I have another one cut out ready to sew!

And seriously, these skirts are so contagious! SO contagious in fact that the lovely Jessica, from diaper clutch and super sweet homecoming/reunion photo fame begged me to help her make some.  Okay, maybe she didn't beg, more like I insisted she could do it and she did!

I've said this before, one thing I love about sewing with other people is that I learn about fabric choices.  Everyone's vision is different and Jessica picked out some fabric that I never would have thought to use. AND WOW. I LOVE the final result.

We went to our LQS and she picked out some adorable pieces.  One Amy Butler (did you think she would be able to escape my influence?)

and Wonderland, anyone?
Jessica's awesomeness

I worked with this fabric a couple of years ago and made a bag out of it.  I guess I had it pigeonholed into bag or quilt only fabric.  But I love it in a skirt.  In fact, I think we are going to trade skirts for a week or so.  :)

My mom and I get to spend some time together for the next couple of weeks.  I hope to have some more fun stuff to show you!  It's always fun to sew with her.

What did you finish this month? And of course - if you were able to help someone with a project,  do share!

PLEASE READ THIS POST IF YOU ARE NEW TO LINKING UP!  :)
NEW RULES FOR LINKING UP!  Please read carefully.  The delete monster will be eating non-compliant links.
1. Please write the post for sew & tell - or add a blurb mentioning sew & tell to a post written since the last sew & tell.  If you are linking to a post with your own tutorial, please make sure it was a finish from this week and that the completed project is shown first.
2. One linky per person. (please put multiple projects in one post.)
3. Link to your specific post.  (See here for permalink instructions - or email me.)
4. Link back here with a link or a button.
5. Be sure to visit and leave comments on other's posts!