edited: in case the pictures weren't working earlier, they should be now! Thanks!
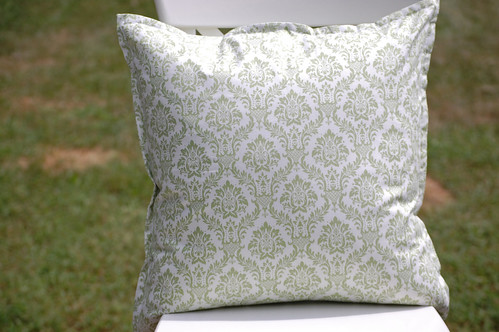
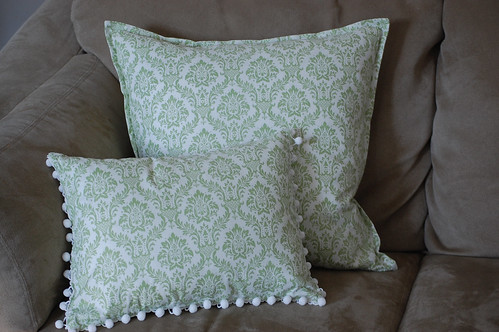
Well, the pillow isn't that little (although it can be any size you want) but this pillow is super easy to make! I'd say if you are an experienced sewer you can whip this up in 30 - 40 minutes! And if you are newer - give yourself an hour!
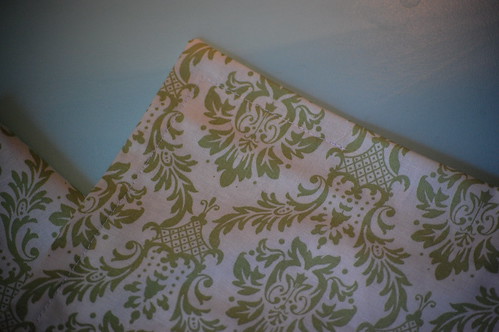
I made theses pillows for a bridal shower gift. I had been scoping out her tastes and furniture so I could do something quick and easy. I didn't have time for the throw quilt I wanted to pull off. So I made 2 pillows and the day after the shower she came over and I taught her how to make another one.
Teach a woman to buy fabric and she'll be buried in it. Teach her to sew and at least she might keep her head above the top of the pile!
I'm not known for my very clever jokes, so pardon me if that was a little silly. :)
I have a little secret (besides the bad joke telling. Oh wait! I don't think that's a secret). I'm sort of lazy. I like shortcuts. I dread cutting things out with regular scissors (thank heaven for rotary cutters) and putting in zippers is tricky (I'll do it if I must), AND if I can avoid hand sewing things closed - I do. (With the exception of quilt binding - which is always finished by hand.)
The pillow I made for this tutorial is 20" x 20". Therefore, your supplies are as follows:
one 20" x 20" pillow form - I prefer feather.
2/3 yard fabric (44/45" width)
matching thread for topstitching
rotary cutter, mat and ruler (scissors and measuring tape will work too)
pins (if you want. If you are lazy like me then, well, then.....)
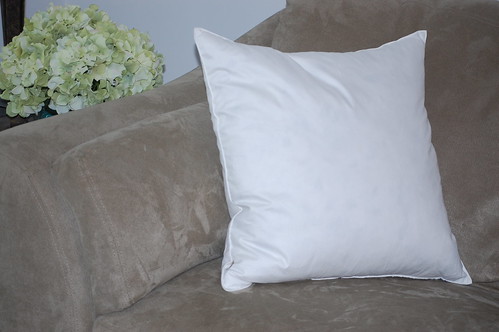
1. I start out with a nice fluffy pillow form like this:
I buy mine at IKEA - they are only $6.99 and are feather. I ♥ IKEA and their cheap inexpensive, fluffy pillows. The reason I suggest feather is that they pack down really small so when you are doing your last top-stitching, which is also sewing the pillow inside the cover, you can get the pillow out of your way! It's so great. It's a little harder to do with fiberfill forms. You can still do it, it's just a little trickier. And remember me? Hi! I'm lazy!
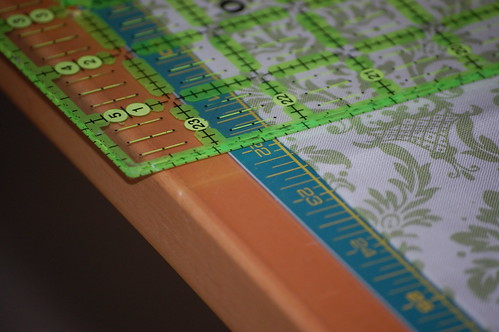
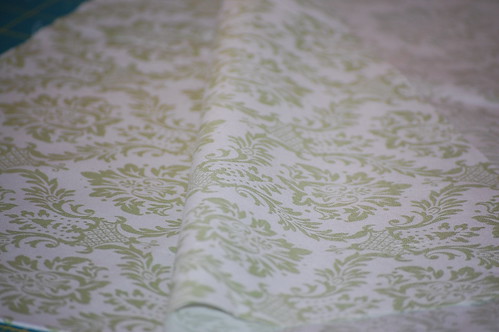
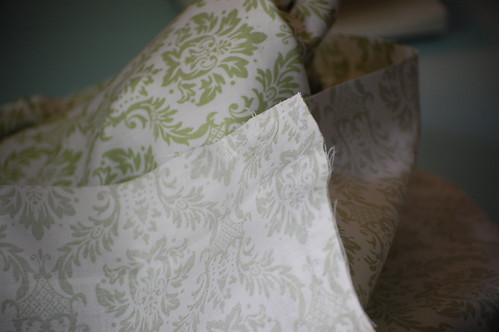
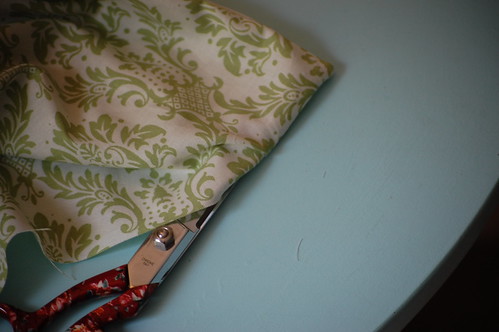
2. With your fabric ironed and folded selvage to selvage, square it up on your mat. Then cut the 2 layers into 22" squares (or if you are using another size - 2 inches bigger than your pillow form) We are allowing a half-inch seam allowance on each side as well as a half-inch flange around the edge.
3. Lay your two squares right sides together. Make sure if you have a one-way directional print, that you have them going the same way.
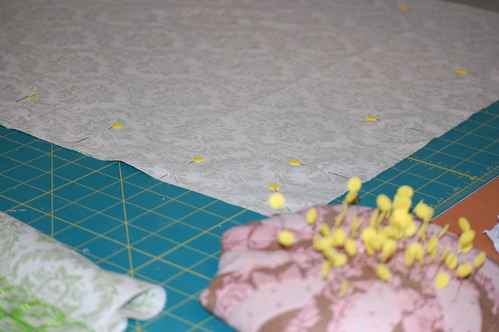
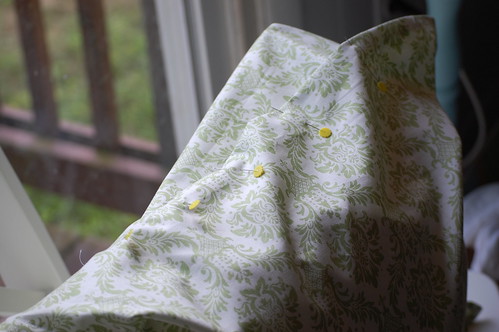
4. Pin your squares together on 3 sides. On the 4th side only pin 2" in from each corner. We will be leaving this side open to put in the pillow form. If you have a one-way print, I like to leave the bottom open.
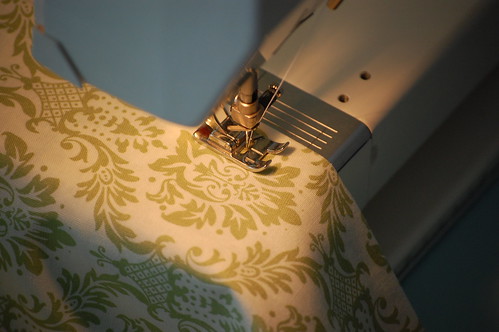
5. Starting at the 2" mark on the 4th edge, Line your fabric up for a 1/2" seam allowance. Start stitching, taking a quick back-stitch to secure the loose threads. Stitch to the edge of the fabric. Turn the cover and continue down the adjacent side. Continue until you have stitched the full length of 3 sides. On the last corner start at the edge and stitch in 2" with a quick back-stitch at the last pin. Don't forget to take out your pins while you sew. I refuse to admit how many needles I've broken by sewing over pins.
When you look at your pillow you will have 3 edges sewn with the last edge having a large hole in it. The important thing is that the corners are all stitched on the machine so they look like....
6. Trim off a little of the edges around the corner so you will get a nice clean point when we turn the cover right side out.
7.Turn the cover inside out! We are ALMOST finished!
8. Using something pointy, push out your nice crisp corners. There are tools for this. I just couldn't find mine at the time. If using scissors, be careful you don't poke a hole in your fabric. Not that I've done that...
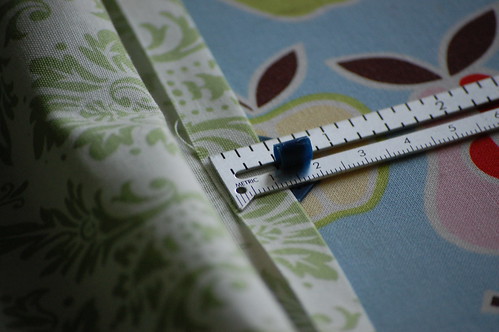
9. Wrong sides together, press your seams and corners flat. Work the seams with your fingers rolling them to the edge so you don't end up ironing folds into your fabric. You'll know what I mean once you start doing this. On the side that is open, press 1/2 inch on both sides. This will prep the cover for stitching it closed on the machine.
10. Now for the top-stitching. With the cover facing you, open end on top, start with the upper right hand corner.
Find the edge of the opening and line up the edge of the cover with the 1/2" seam allowance line, back-stitch a stitch or two and then sew. Stop when you reach a 1/2 inch from the next edge. Lower the needle to the down position, lift the presser foot, and turn the fabric so that you can stitch down the next side without breaking the stitch line.
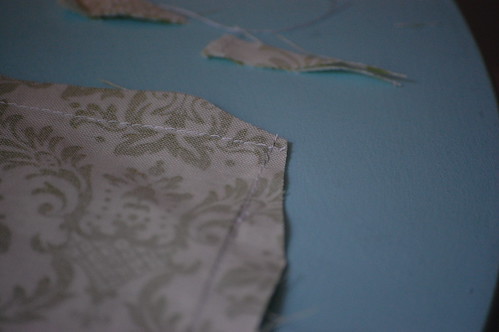
11. Continue on until you pivot the last corner, stitching to other edge of the opening and back-stitching. (click on the image to enlarge and get a better view. I should have used a better contrasting thread!)
I don't have pictures, but next, do the same top-stitching, this time just at the edge of the cover. I like to gauge it by keeping the edge right on the inside of my presser foot. (I actually did this on the second pillow I made - wait, I'll get the pic..... there we go. See how there is stitching on the very edge as well? This makes closing the pillow THAT much easier.)
12. Fold your pillow form in half or thirds. Insert it into the cover. Match up the top two corners of the pillow with the corresponding corners of the cover. This will ensure that the pillow sets right in the cover and doesn't get all twisted. Mmmm, yes, maybe I have learned from experience.
13. Squash the pillow down so that you can pull up the edge that needs to be sewn shut. Pin the edges together where you pressed your seam allowance in.
14. Starting at your back-stitch point, top-stitch the opening closed, 1/2 inch away from the edge. Again, back-stitching on both ends of the seam.
Repeat top-stitching on the very edge of the opening. Isn't that sneaky? No zippers, no hand-stitching....
15. Now grab the top two corners and shake the pillow down into the rest of the cover. This is fun - if you have any frustrations to get out, take them out now! (please not in my comments section - just let me know if I need to explain something more clearly!)
And there you go! A very cute and (hopefully) easy pillow!
If it needs a fancy little sister you can always add some pom-pom fringe!
Let me know if you make any pillows!
In fact.... because you needed another Flickr group, you can add them here!
amylouwho tutorialsI'm just warning you, Flickr is addicting!
PS - I found a 30% off coupon code for Fabric.com 2PLTRY9, you're welcome!
PPS - This is my first tutorial, so any help in making it easier to follow is welcome!